
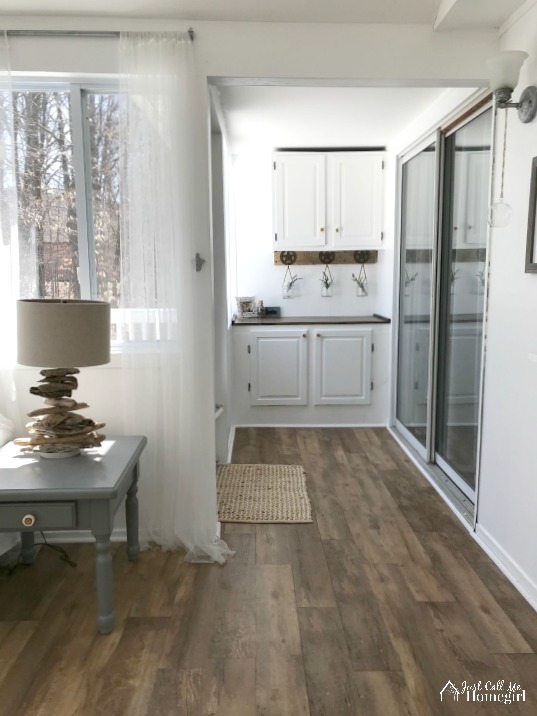
You’ve heard me say it before but I’ll say it again, our sunroom is my favorite room in the house. It’s basically what sold me on the house when we bought it since I never wanted a raised ranch. But since I started renovating it with paint and new flooring and furniture it’s my favorite spot.
When you walk out of our sliding glass doors from our dining room you enter a little nook in our sunroom, which also has a door to the outside. This little nook had no function whatsoever and I always knew I wanted to put a built in cabinet there.
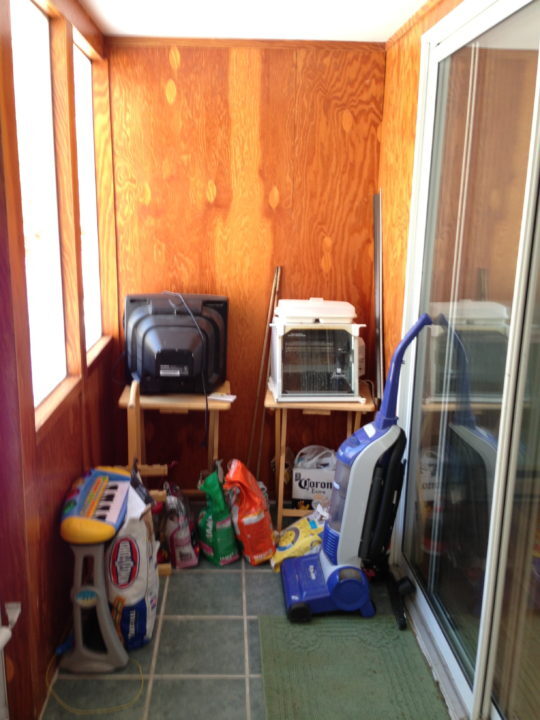
Obviously the old owners didn’t know what to do with that space either. Here is how it looked when we first looked at the house.
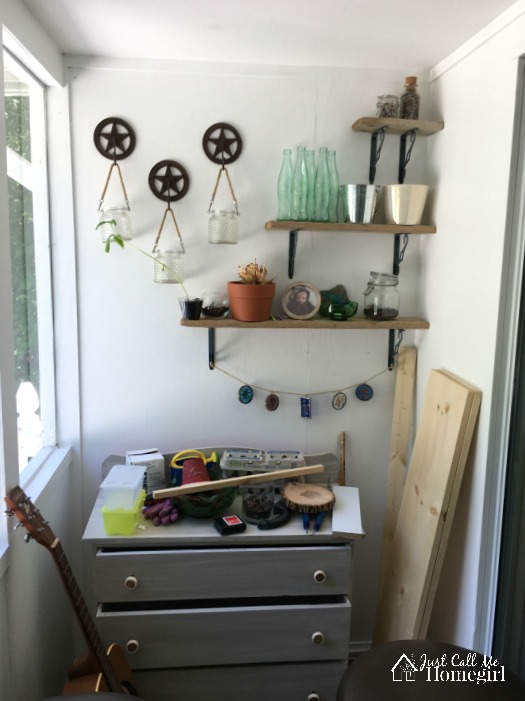
Then once I put down new flooring and painted it, I wanted to give that space a little storage. So I got this little dresser for free and repainted it. I thought it would hold grill items, outside stuff for the kids etc. I also made these shelves out of driftwood from my family’s lake house.
Well this is what it looked like before this past week. As you can see this area just became a catch all for undone projects, pots that needed flowers, outdoor lightbulbs that need to be replaced etc. It wasn’t working.
I loved heading to our local Habitat for Humanity Restore to see what little treasures I can find. I ended up purchasing 3 deconstructed 2×4’s for a $1 each and two cabinet doors for $5 each.
I also scored some old upper cabinets on the Facebook marketplace for $20.
I wanted to create a built-in cabinet with work top and add the upper cabinets where the driftwood shelves were.
While my Dad was visiting we got to work.
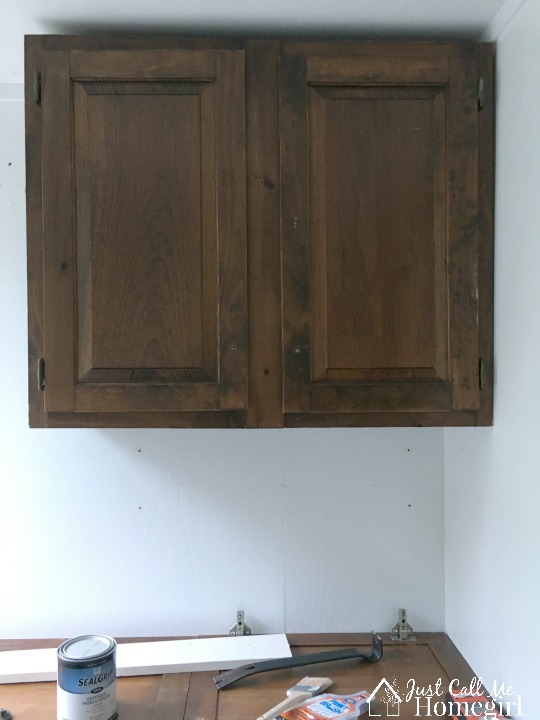
We hung the cabinets where the shelves used to be, and started building the frame for the cabinet using the 2×4’s I bought at the Restore.
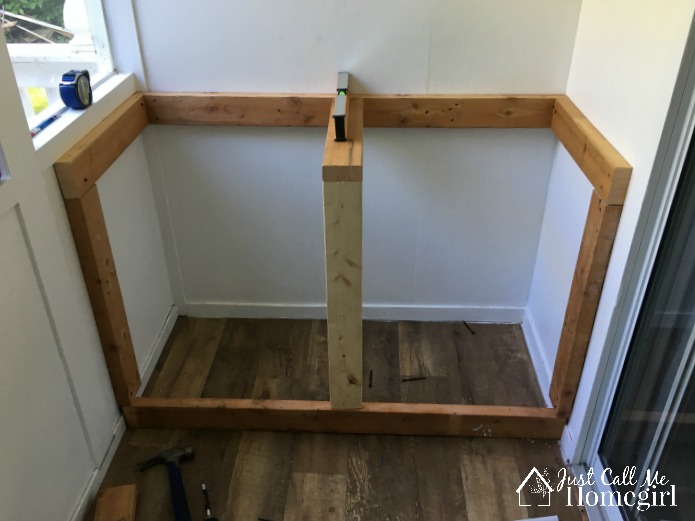
And that is basically all my in progress photo’s! I got so caught up in building the piece I forgot to take more pictures!
After this framing I put 2 1×12’s on the top of the frame. Added one shelf inside the cabinet just by laying down a piece of plywood on 2 pieces of 2×4’s that we screwed into the side.
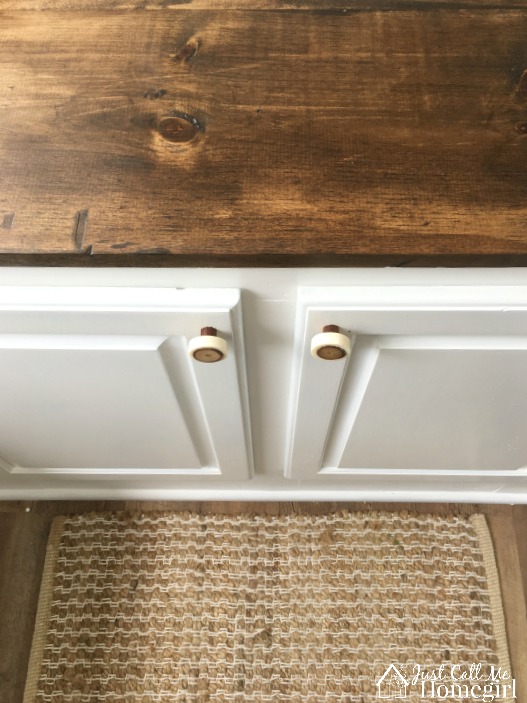
Then to save money I found some scrap wood mostly 1×6’s and 1x8s. We framed in the front so we could attach the cabinet doors from the Restore and then caulked the heck out it! You have gotta love caulk!
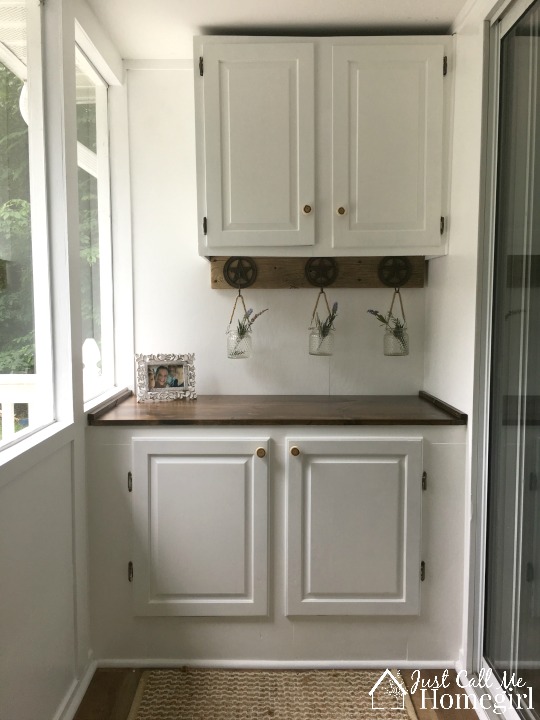
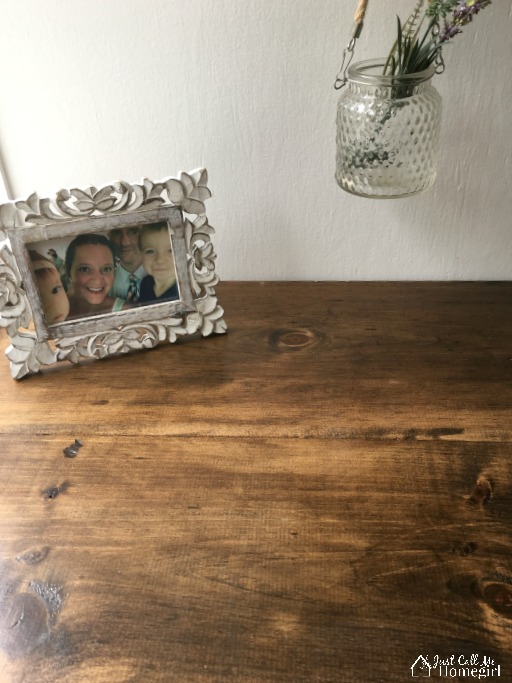
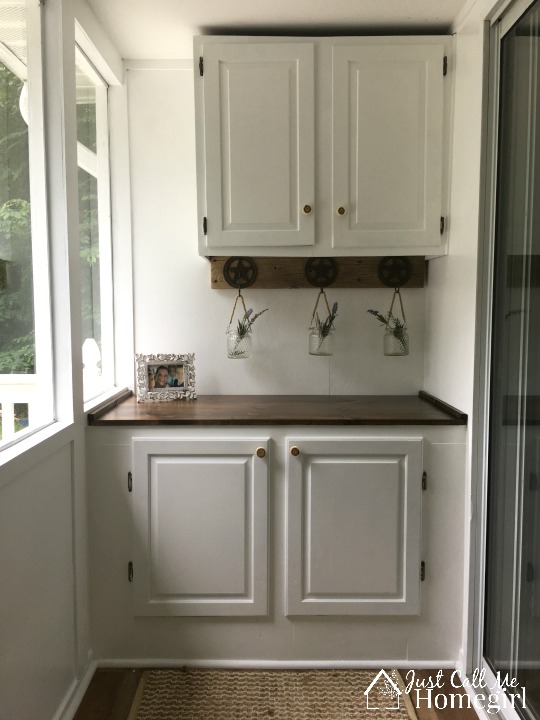
I LOVE the way it turned out. We painted the whole thing white using the leftover paint from my kitchen cabinets and then stained the top and used 3 coats of polyurethane on the top to seal it.
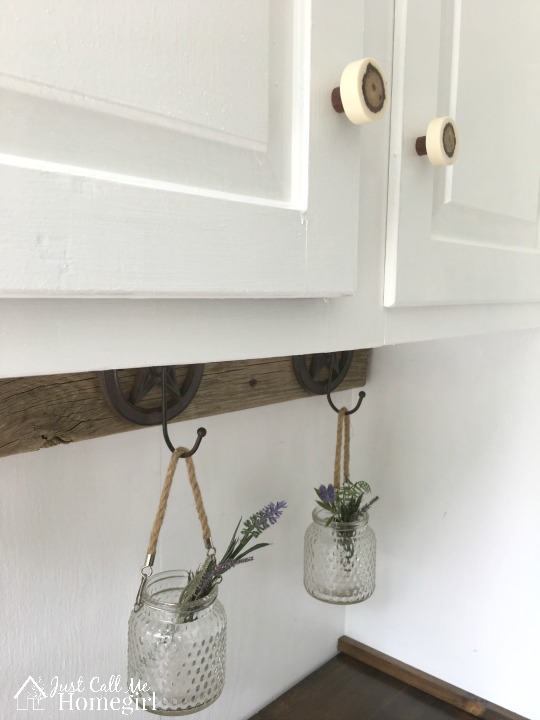
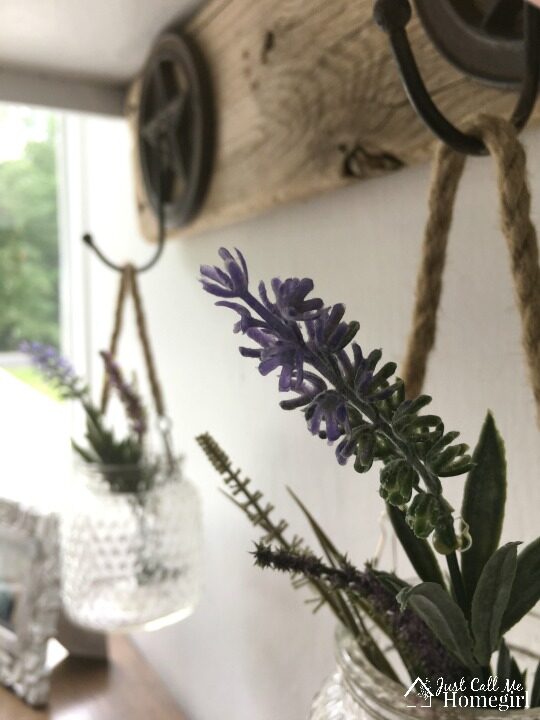
I ended up using one of the driftwood shelves underneath and added the hooks that were on the wall previously.
How awesome does it look now?! So much more functional too! I have filled it up with entertaining items, grill accessories, bubbles, some pots and outdoor toys.
Now I can use it for anything, potting table or even a bar when entertaining
Because I used scrap wood and purchased most of the materials at the Restore and second hand, except for the two 1×12’s which were $18 for both the whole, this whole thing cost me $51!! Can’t complain about that! Oh I also sold that little dresser for $40 so really, it only cost me $11!
Looks great and storage too!
Wow! This is such a great makeover and awesome use of space. Well done!
Great job!!
This is an amazing idea and you “pulled it off” magnificently!