
I have dreamed about adding built-ins to our downstairs family room since we moved in. I feel like the room has been a work in progress because I have always wanted built-ins.
When we had a contractor in our home when we first moved in he said that built-ins would be around $5k+ (in 2013) not really something I wanted to pay. So I knew I would end up DIYing them when it was time.
I built built-ins in our cottage on the lake using stock upper kitchen cabinets as the base and I love how they turned out. It was like a practice run. Since the upper cabinets were still around $90 a piece and I wanted about 5 of them, plus the wood I was waiting until I had a little disposable income to build them since they weren’t really a “need”.
But then I scored big on Facebook Marketplace. I purchased these 5 cabinets for $40. FOR ALL! What?! I sent my husband out at 9:30 at night to pick them up because I didn’t want anyone else to scoop them up!
See all the supplies I used in my Lowe’s Storefront!
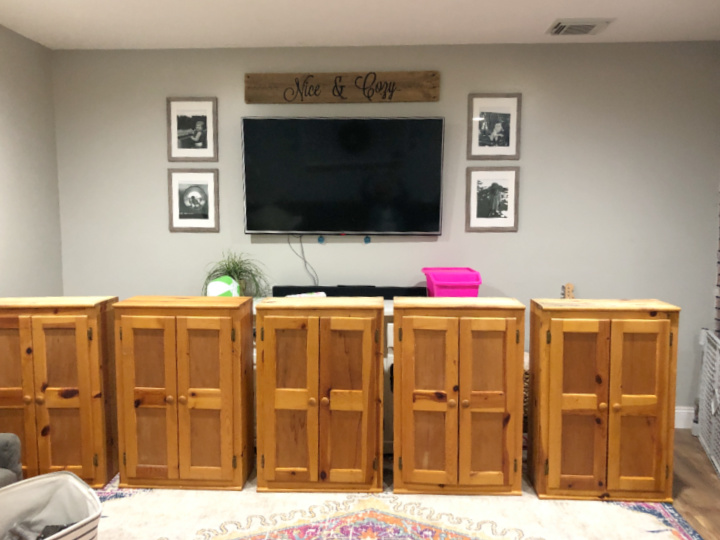
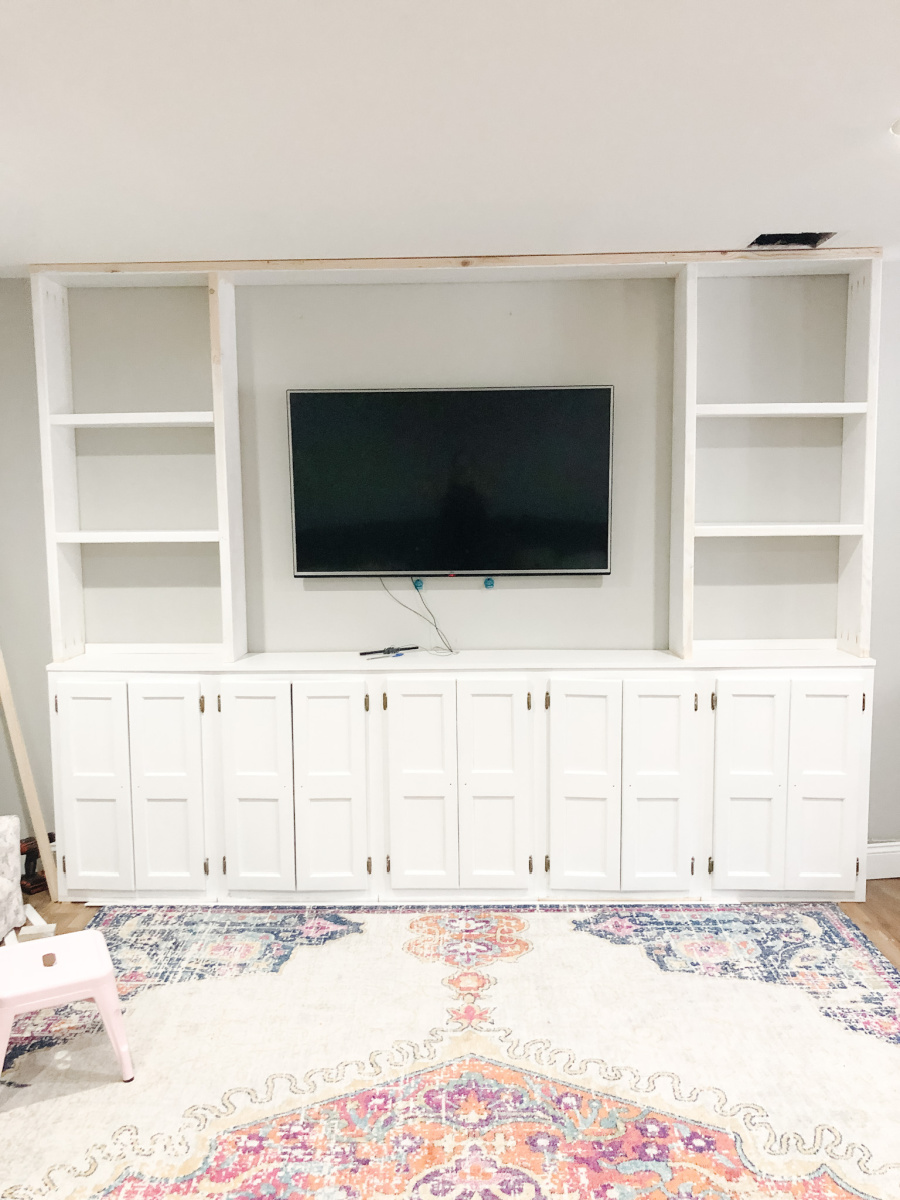
I was going to use all 5 cabinets as my base centered in the middle of the wall and build from that.
These cabinets I believe were handmade and they had a top and a bottom overhang with a rounded edge, I used a jigsaw to cut off the edge on the bottom so trim would sit flush and then I unscrewed the tops so I could lay one long board on top of all of them for a seamless look.
Using a level and a few shims I leveled the cabinets and secured them together to create one unit. I did this just by screwing them from inside like kitchen cabinets.
With my drill I also cut holes in the back of the cabinet for outlets and cords running from the back of the tv, through the wall and back out into the cabinets. I used a power strip to accommodate all of our video games, sound bars etc.
*Tip* When running cords through walls for your TV always add an extra HDMI cord. That way if you want to add anything – gaming system, computer etc. there will be one available.
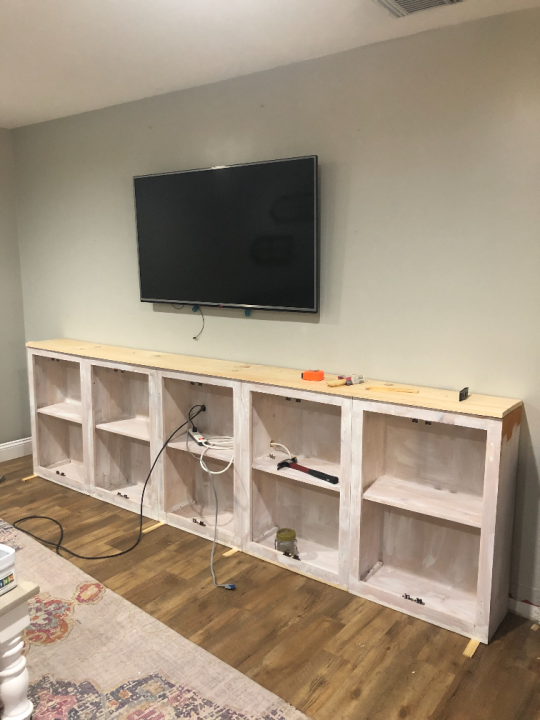
When everything was secured together, I added a 1x12x10 to the top of the cabinets.
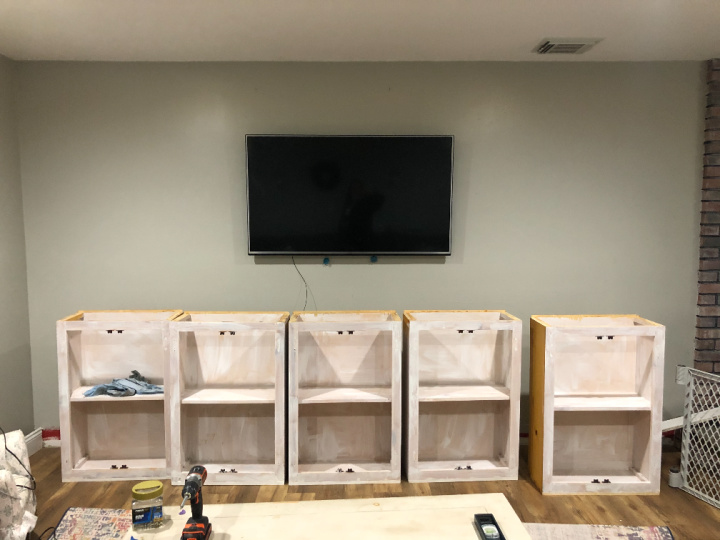
I planned out my shelving accommodating the TV. My husband wanted to make sure that there was enough room on each side that if we wanted to go bigger we could easily.
For the whole surround I purchased 2x10s. I wanted the shelving to sit just back from the top of the cabinets, as well as wanting them sturdy. This room is our downstairs family room, and in a Raised Ranch/Split-level it means that it is halfway under ground. It’s cool and damp in the summer and dry and hot in the winter with our wood stove. 2x10s were a good choice with the temperature changes…plus they were cheaper than 1x10s!
I also purchased a 2x10x10 because I wanted a board across the ceiling to box the whole thing in and make it look like one cohesive piece.

Using my Kreg Jig, I drilled pocket holes in the ends of the uprights to secure to the bottom cabinets as well as the ceiling piece.
I then drilled pocket holes in the ends of the shelves.
*Tip* On the higher shelves where you can’t see the top, flip over so the pocket holes are on the top. Less to fill in! I realized that on the second set.
I made sure everything was level and screwed them all together through the pocket holes.
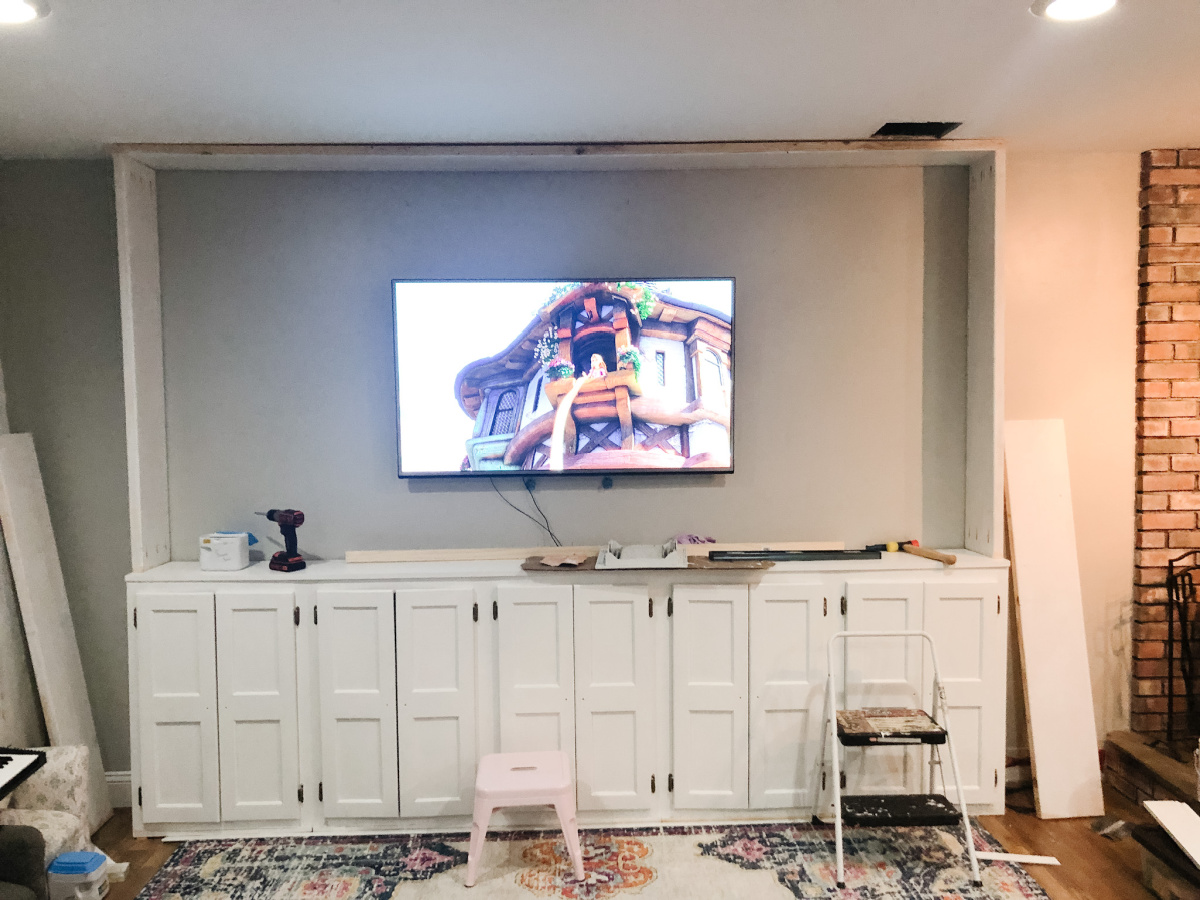
This is what it looked like painted when everything was together.
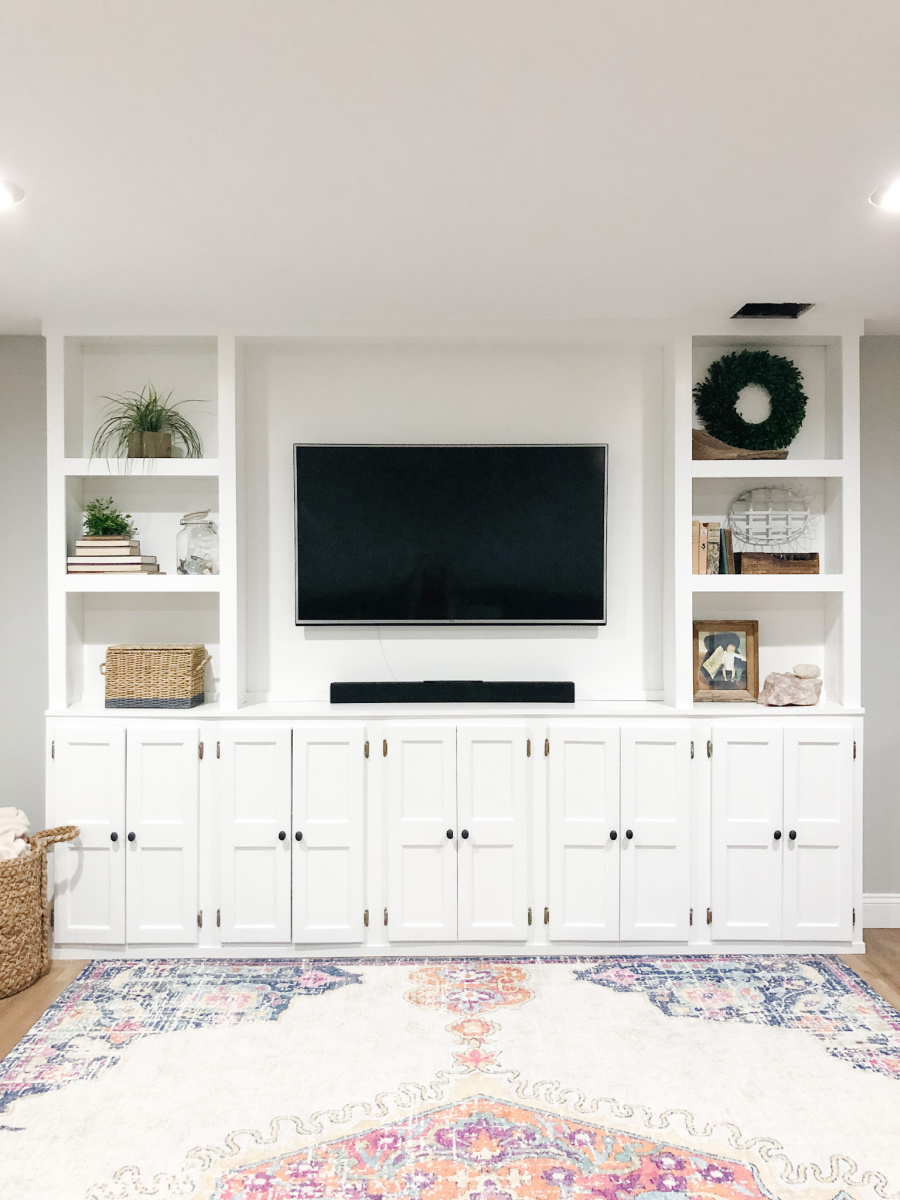
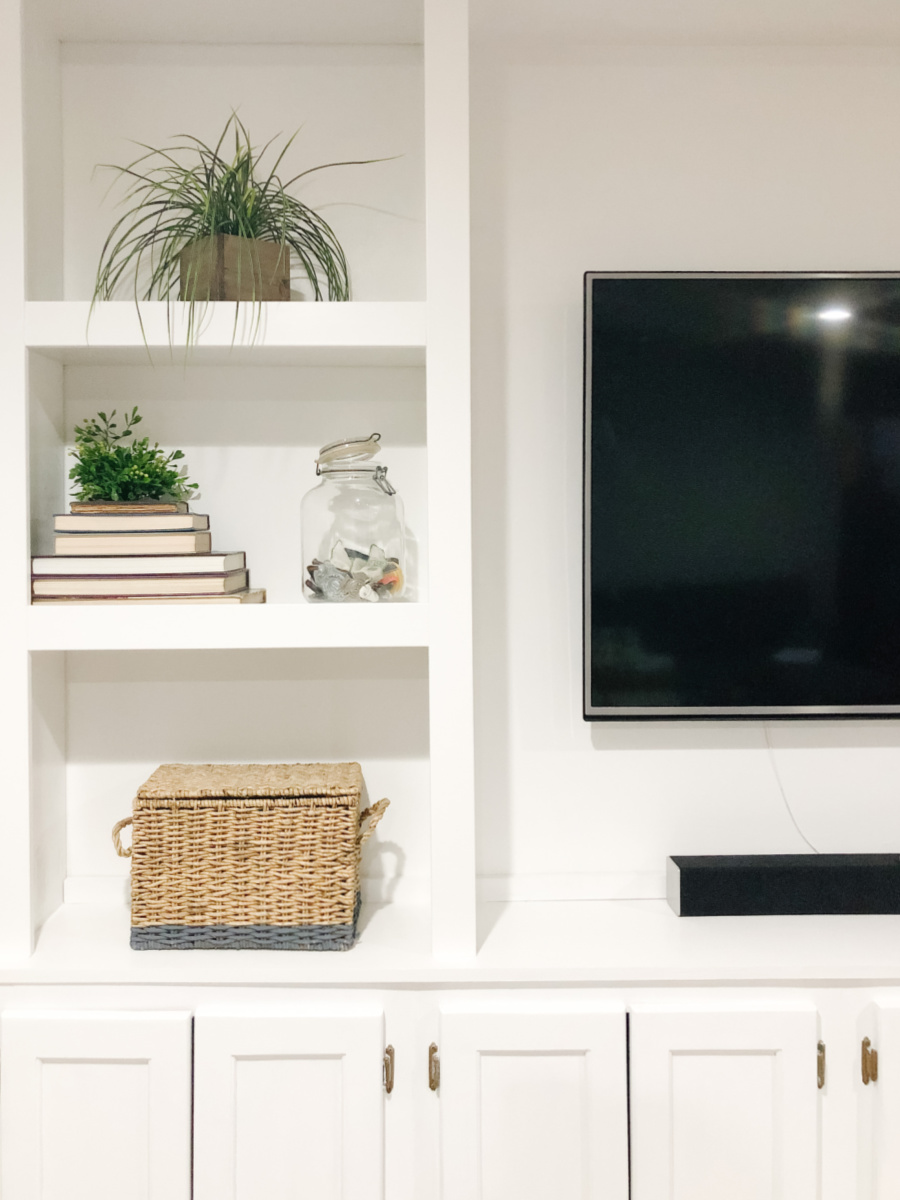
But it needed something more. So I went back to Lowe’s and grabbed 1x3s primed MDF boards and trimmed out all around the shelves.
I am so glad I did! It elevated the whole build and finished it off nicely.
Some of the following links are Affiliate links. Click here to see my full disclosure.
To fill all the cracks, seams and anywhere there was damage to a door (the cabinets were second hand) I used DAP Premium Wood filler as well as DAP Alex Plus Latex Caulk they are both my “go to” to create a seamless look on all my projects. I painted the last coat of paint and stood back to admire my work!
I am so proud of myself with this build! This was one of my first bigger builds that I did all on my own.

DIY Built In Supplies (Affiliate Links)
See all the supplies I used in my Lowe’s Storefront!
Nice job!!
I spent the better part of the summer updating much of my downstairs plumbing including installing a whole house water filter that can be monitored via wifi. It was a big project, and phase two 8s slated for this summer.
When u set your mind to it, you can accomplish just about Anything!!
You have truly inspired me
Beautiful
Love this. You did an awesome job.
Great job!!!! You should be very proud of yourself and the skills you possess in providing your family with a wonderful home!
Wow! What a beautiful built-in! You’d never know that it wasn’t custom made from a cabinetry shop. You are truly talented and have the most amazing ideas. I always enjoy seeing your projects as they inspire me to take on my own.
Beautiful! And inspiring.
Amazing! Can you pop round to UK And build it for me! You’ve done an amazing job for so little cost. VERY WELL DONE 10/10
WOW!!!! Just WOW!!!! You did an amazing job with this project
I am speechless you couldn’t get this in a furniture store without paying a exorbitant price. You have a good eye for building
This looks awesome
Did you use support pieces under each shelf? Or no since you used the kreg jig? Just curious and looking to complete a similar project! Thank you
What type of 2”x 10” wood did you use? Pine? A nicer type? Looks amazing.
Just plain pine. Knots and all!
What are the dimensions of the entire unit?
Still rocking the Nintendo Wii I like it
Kids love it
Hi! Just wondering what the “fire code” you mentioned was in regards to the hearth. We’re preparing to DIY built in’s flanking our fireplace but I’ve never heard of anything regarding a fire code (and lots of people have built ins surrounding a fireplace), so just curious! Thanks!
I believe the wood stove needed to be 36″ from flammable material. That’s what I read and how I perceived it.