I have had LifeProof Vinyl Plank flooring in my in my home for over 8 years and it is the #1 post/video that I get the most questions and comments about.
I figured why not put everything I know about LifeProof Flooring in one easy spot to find!
First off, here are all my blog posts that you can find on my blog about LifeProof Vinyl Plank Flooring:
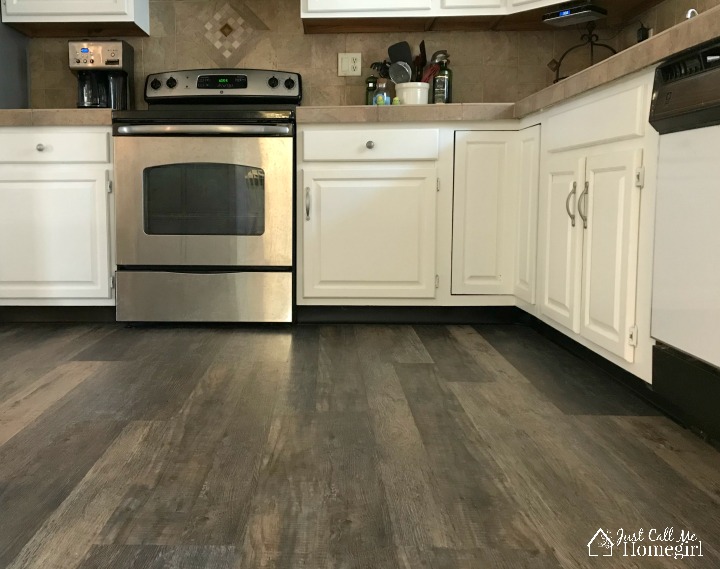
- LifeProof in Our Kitchen (my very first time using the product)
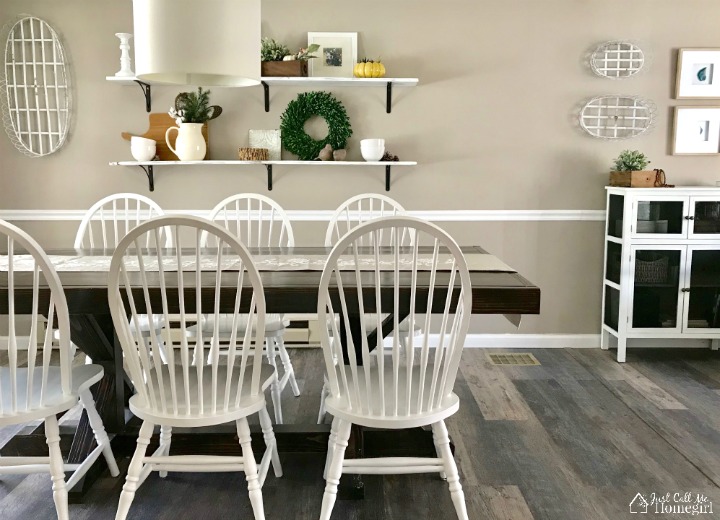
- LifeProof in our Dining/Living Room/Hallway
- LifeProof one year later and FAQs
Most recently I have put down the LifeProof flooring in our daughters room because her room is small and we had some leftover so we didn’t have to purchase anymore. Our original plan was to put carpet in bedroom which is the reason we didn’t do it all at the same time. We plan on doing the other two bedrooms when we get a chance.
Here you can see a time-lapse video of putting down her room:

Videos:
I have two videos that I have done explaining LifeProof Flooring. The first one is a FAQ video with pictures and a little explaining.
The second video was originally a Facebook Live giving a tour of our flooring and answering questions one year later.
FAQ:
LifeProof Tour and Update
My Most Asked Questions:
Why did you use Transition Strips in your rooms?
We used a transition strip from the kitchen to the dining room because we did the flooring at two separate times. We were only planning on doing the kitchen, but we fell in love with the flooring about 6 months later we decided to to continue it into the other rooms.
We used a transition strip from the dining room into the living room because when we got to that point, we realized there was an uneven gap in that line because our house is manufactured and that is where it game together. If we would have just layed the flooring down it would not have layed flat. – Yes we could have put leveler down but I didn’t want to wait etc. The transition strip worked great. – Is it ideal no..does it bother me no. I don’t even noice it anymore.
Did you remove the baseboard/moulding?
Yes, I removed all the baseboards to put in the flooring. Then installed it back in when I was done to cover 1/4″ gap needed from the flooring to the wall.
In my daughter’s room you can see from the time lapse video I did not remove the baseboard. I decided it was so nicely caulked and such a small room it would have been more work to remove it. So I layed down the flooring and then put cove moulding (or you can use quarter round) around the room to cover the gap from the flooring to the moulding.
What is the color of your walls?
In the pictures it’s Perfect Greige by Sherwin Williams. But, recently I have repainted to SeaShell Gray by Valspar.
What tools do you need to install?
Some of the following links are Affiliate links. Click here to see my full disclosure.
- Utility Knife
- Tapping Block
- Soft Mallet
- For unique cuts around doors or other items I used a jigsaw.
- Tape Measure
- Carpenter Square or Straight Edge
- LifeProof Flooring (Mine is Seasoned Wood)
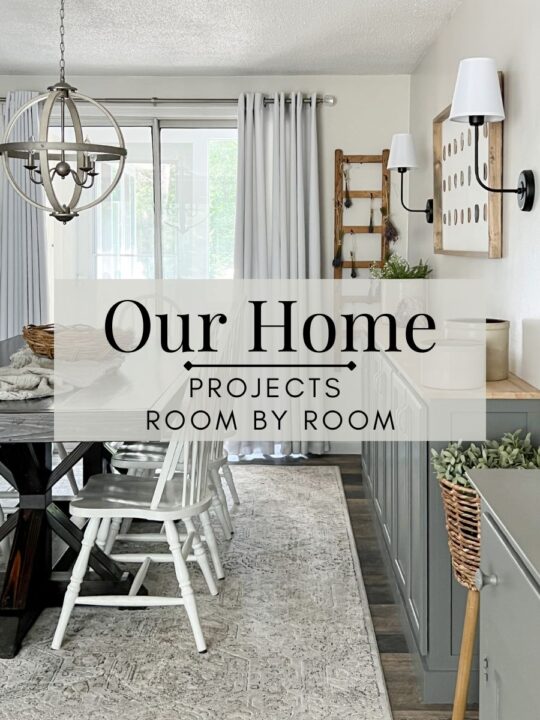
If you would like to see the rest of our home room by room, you can see all of it here.
Don’t forget to follow along on Instagram and Pinterest to see all of my decor and DIY ideas!