
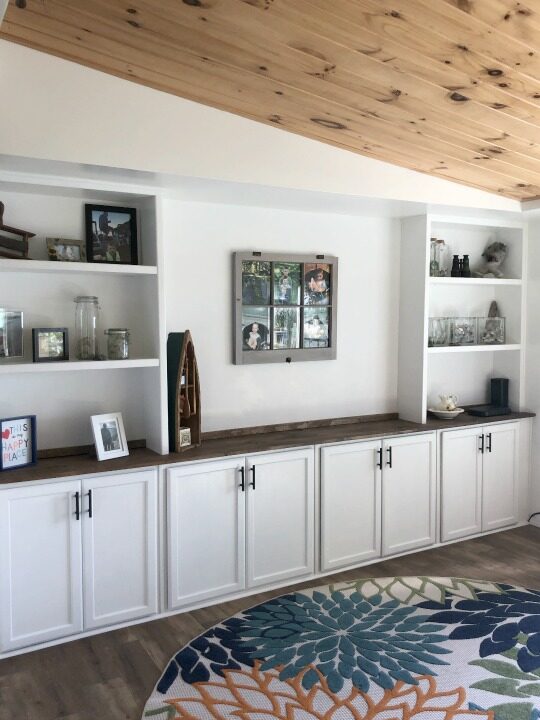
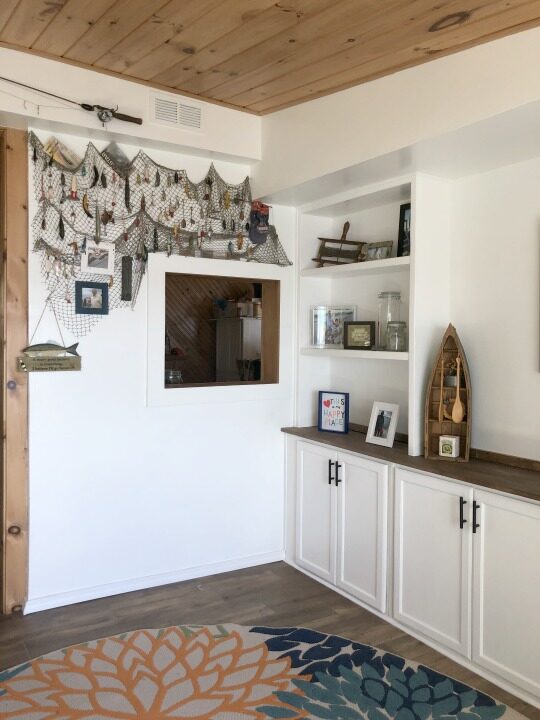
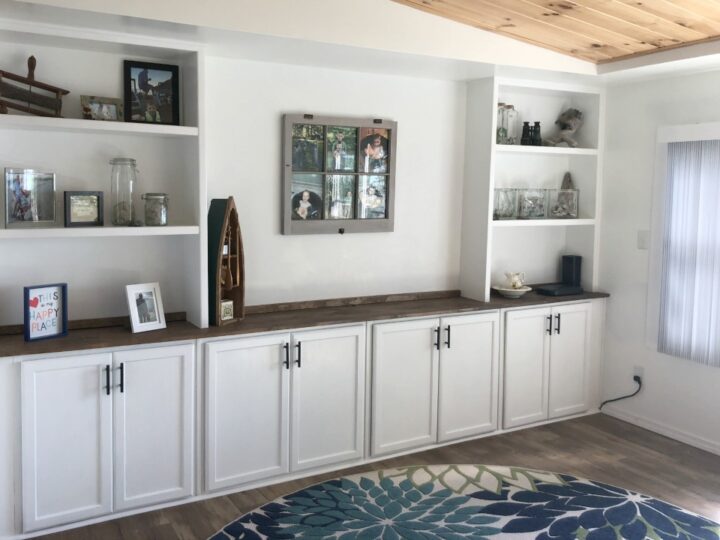
This wall at our lake cottage has never really been functional. The modem, sea glass and other lake treasures seem to get thrown on that too small of a console table. It was time to create built ins…but the easy way with upper stock kitchen cabinets!
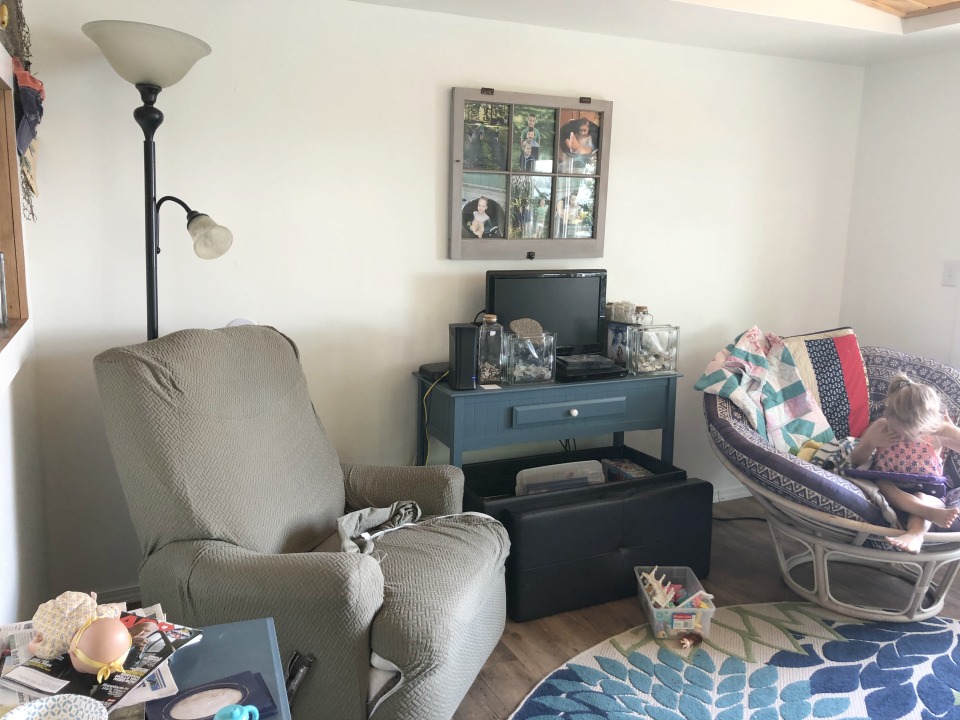
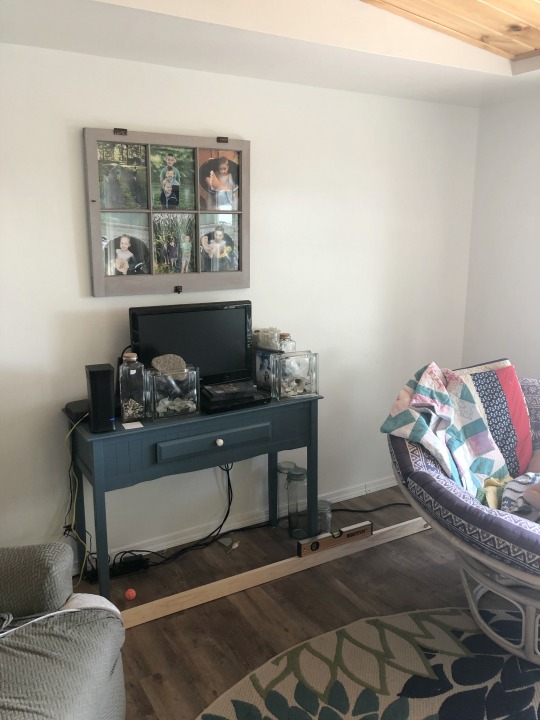
This wall was basically a blank slate and I couldn’t wait to start. This was actually my first time building built-ins. So if I can do it, so can you!
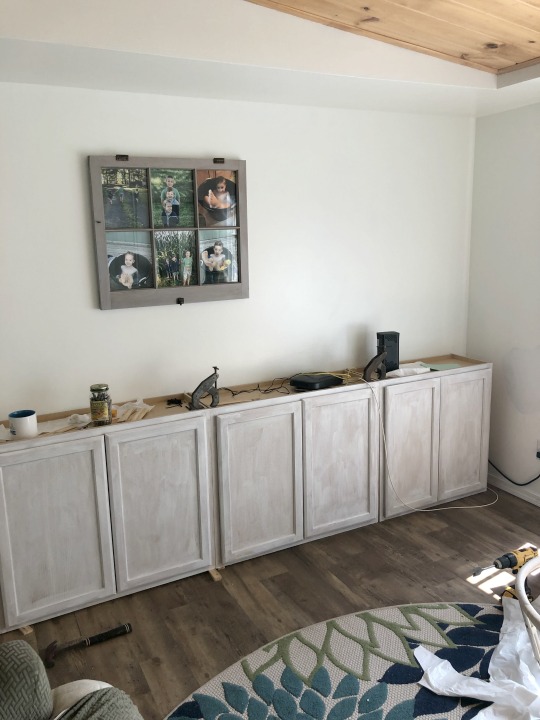
First, instead of starting shelves and cabinets from scratch, we purchased basic stock, unfinished cabinets from Lowes. You could easily find used cabinets in good condition on Facebook Marketplace or your local ReStore as well!
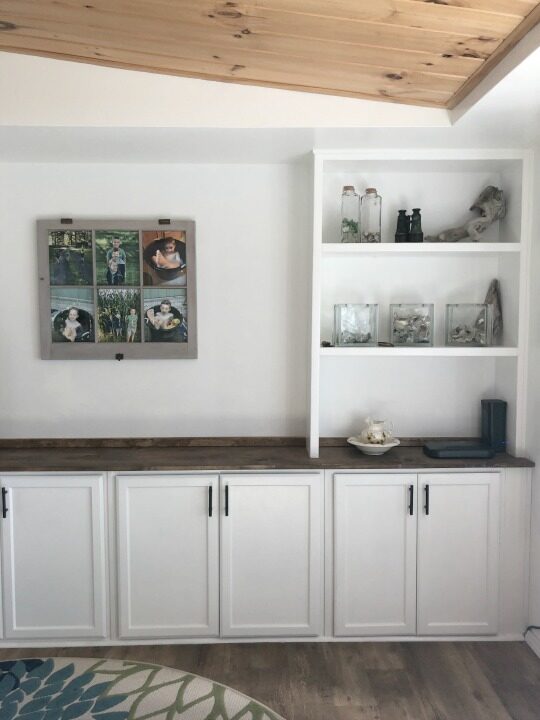
For our space, we purchased two 30×30 upper cabinets as well as two 36×30 cabinets. Once we got them into the space they needed to be leveled. Since our Cottage is old it’s very uneven. With the help of shims we got them perfectly leveled!
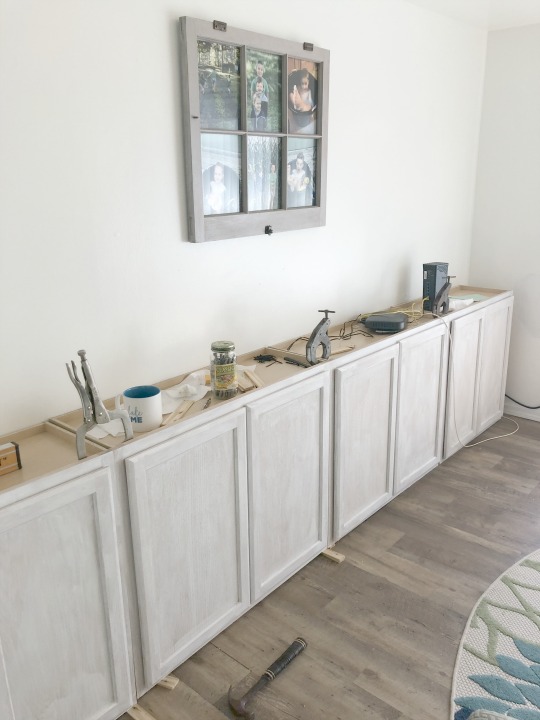
On the sides there was still about a 5 inch gap so we took a piece of scrap wood and screwed it behind the edge of the cabinet, then took a 1×6 and used a brad nailer to adhere it to the scrap wood. Making the sides flush with the cabinets.

For the top of the cabinet, we used a 1×12 piece of pine and played it across. Since the upper cabinets are 12′ deep we also put a 1×3 in the back so the 1×12 would create a small overhang on the cabinets to give it a finished look.
Once everything was secured, holes were drilled on the top and through the sides of two cabinets with a 11/2 bit for cords and cables and access to outlets.
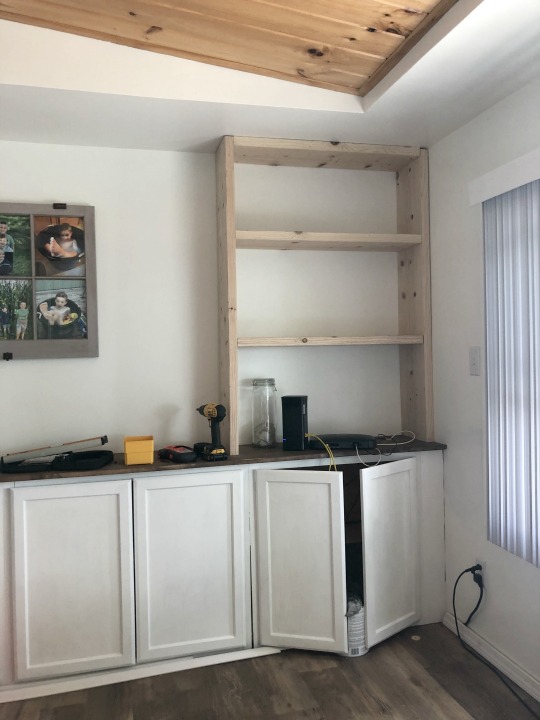
For the shelves on top of the cabinets, we used 2×10 boards. We created a frame attached to the wall, ceiling and down the side.
We then screwed in our shelves at the height we wanted.
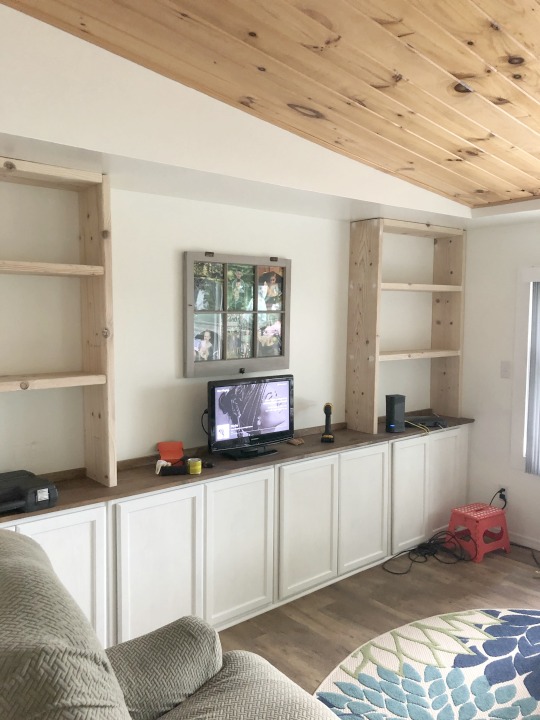
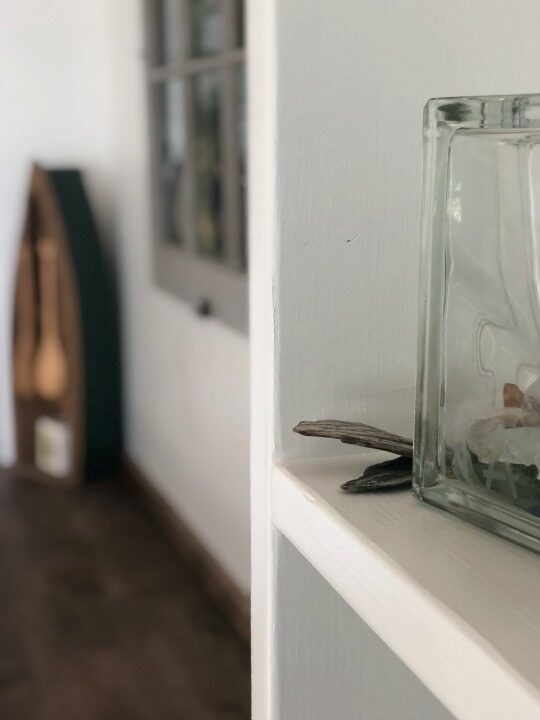
Since the Cottage is not level and the walls are not straight we trimmed out the shelves as well as the cabinets using a little trim. This covered any gaps created from crooked walls.
I painted the cabinets and shelves using Benjamin Moore’s Advanced paint in Simply white. The same paint I used on my kitchen cabinets.
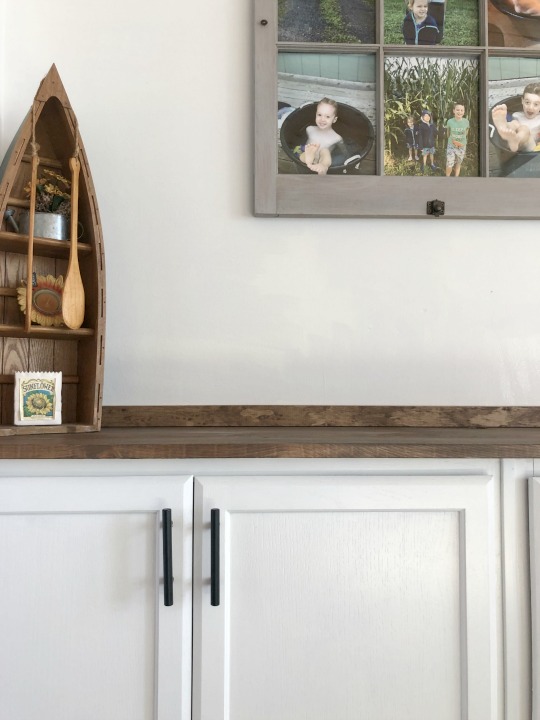
The top of the cabinets I stained in Special Walnut.
Some of the following links are Affiliate links. Click here to see my full disclosure.
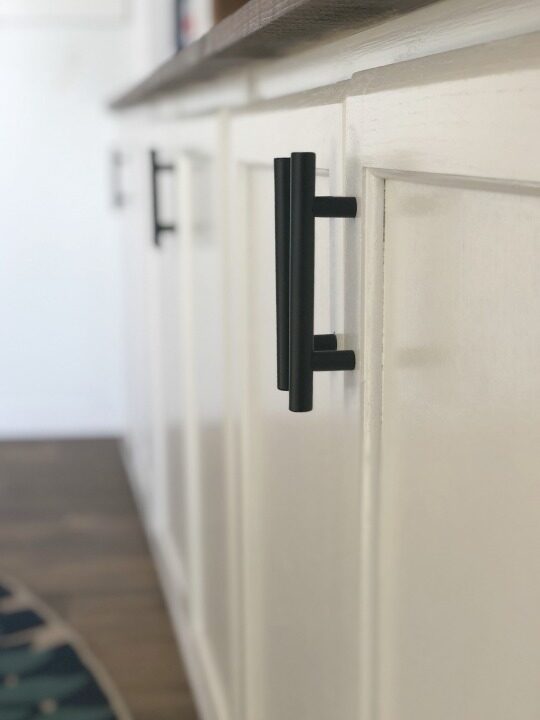
We added these pulls from Amazon which were such a great price and that’s it!
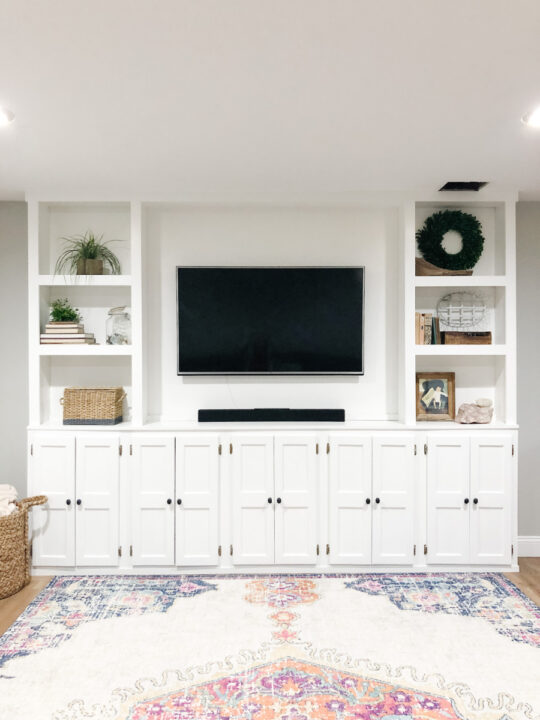
What a huge difference this has made in the room. So much needed storage, a non cluttered wall and I think it actually makes the room look bigger!
This project is an easy project for a beginner. With simple cuts anyone can achieve this look!
What a great difference this made! Kudos to you. I wish I could do this but I already don’t understand a couple of the terms you used, so that puts me in the “not so capable” group. Enjoy your success because it looks wonderful.
What terms do you need help on?
How did you actually attach the counter? We are doing something similar and can’t figure out how to secure the counter to the cabinets.
Could you please add links to all your purchases, including the upper cabinets. I like your blog, but you leave out so much detail in each one, it’s hard to follow. Or, you add a lot of detail that is not necessary. If you want to teach, please list information that is actually helpful to others.