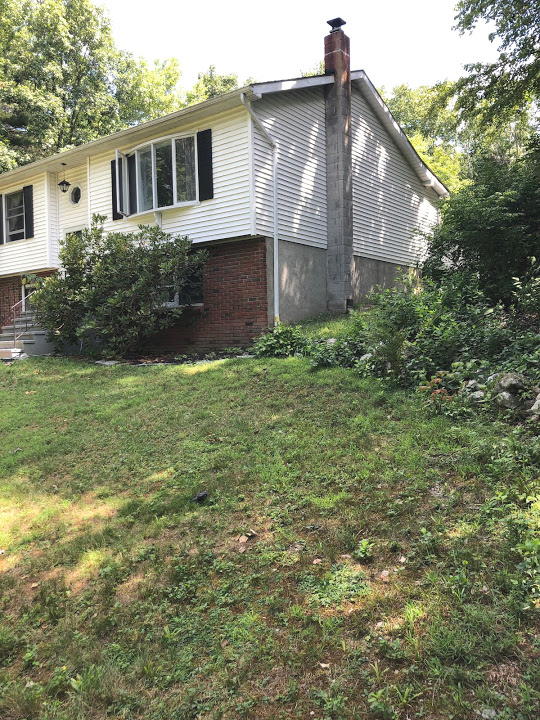
This was going to be the year when we tackled the outside/landscaping of our home. Then Covid hit and that pushed our plans, materials and all the things we needed to accomplish back until now.
We have been slowly getting a few projects done now that materials are coming back and stores are opening up but we are still a little late to the game.
We wanted to extend the garden bed in the front of our house in the Spring, but here we are now…it’s okay because Fall is a great time to plant as well.
I partnered with STIHL again, you can see my other STIHL posts here, but this is the first time using the STHIL Yard Boss and I was so excited about everything this versatile tool can do!
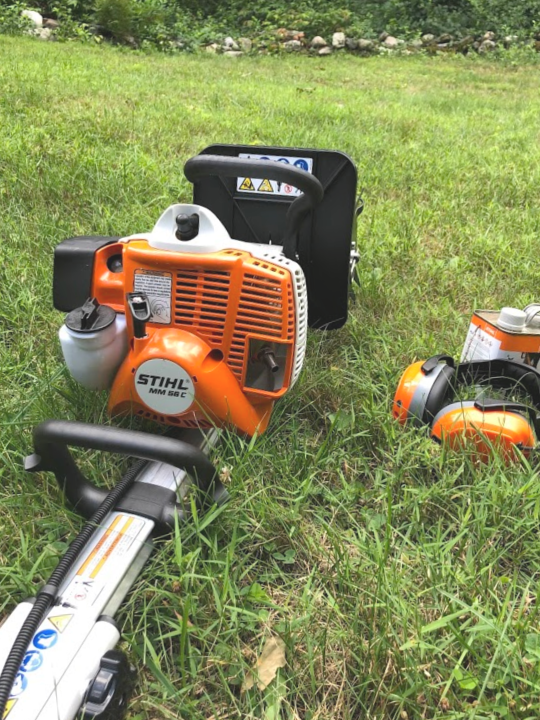
The Yard Boss has different attachments that can be changed out for each task, so it’s not only cost effective, it also saves on storage instead of purchasing a tool for each project.
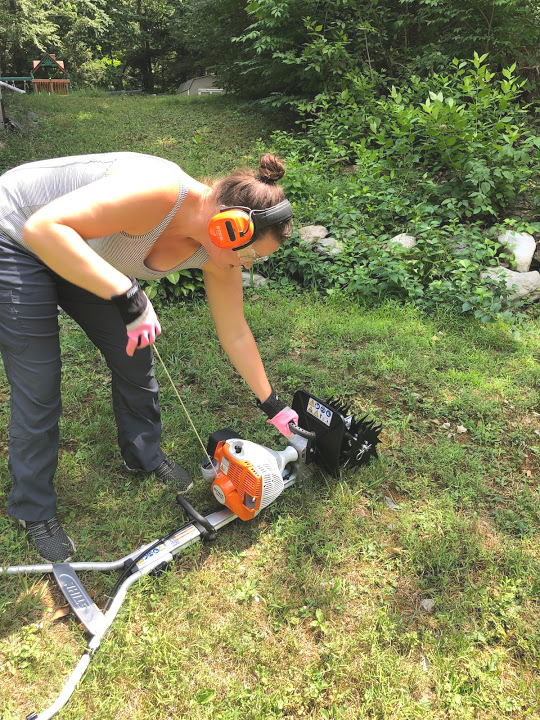
The first thing I wanted to do was to edge where our garden bed would stop using the edger attachment. Even though we are putting natural stone as the edging, cutting an edge is important to discourage lawn grass and creeping weeds from creeping into the new garden bed.
Using the Yard Boss
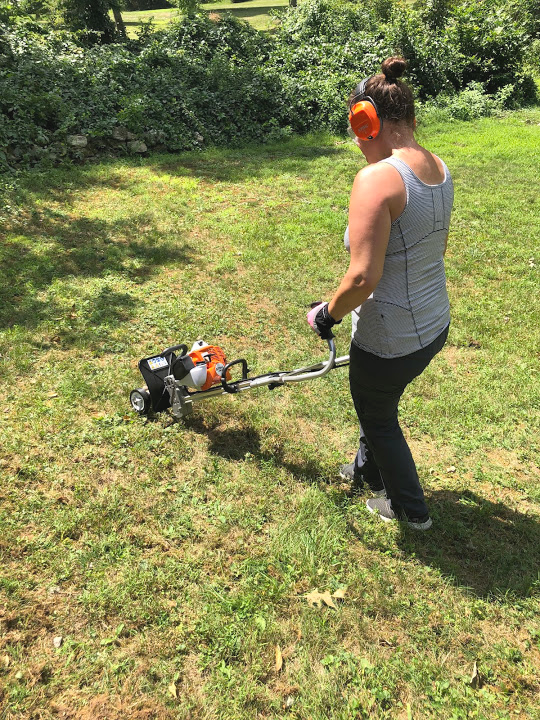
The Yard Boss is gas powered and uses the STIHL’s Easy2Start™ system. This makes starting almost effortless, no need for a strong pull of the starting cord and is designed to make starting the Yard Boss fast and easy.
It was easy to maneuver on my edge line and I didn’t feel like it was pulling me or uncontrollable.
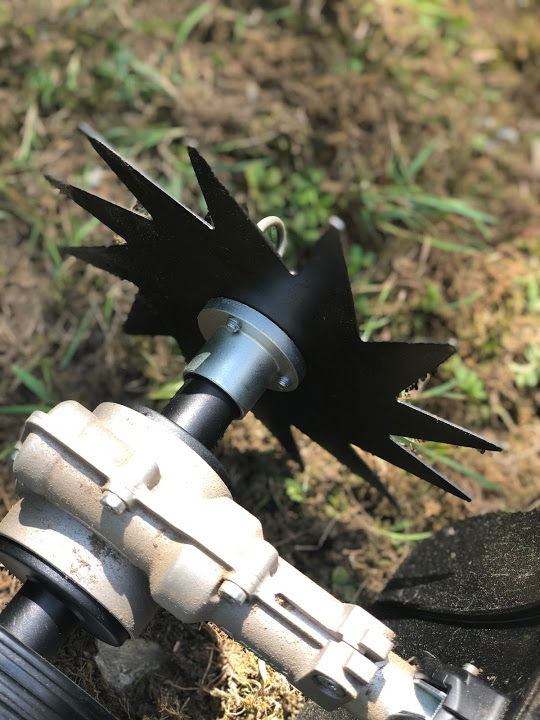
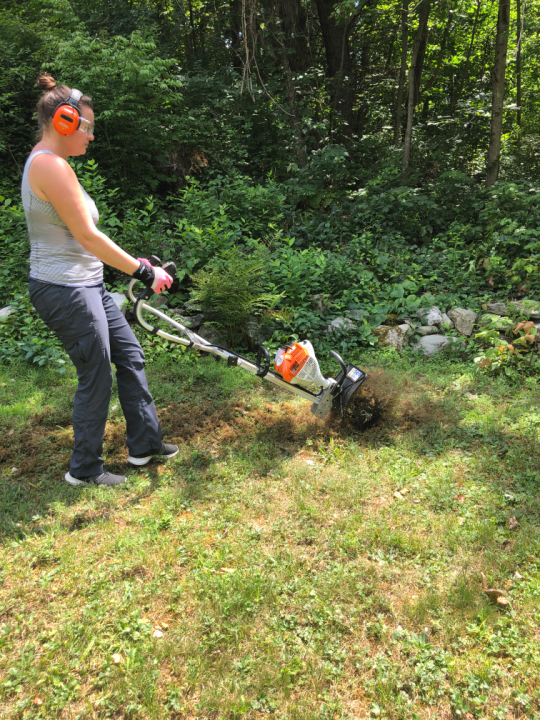
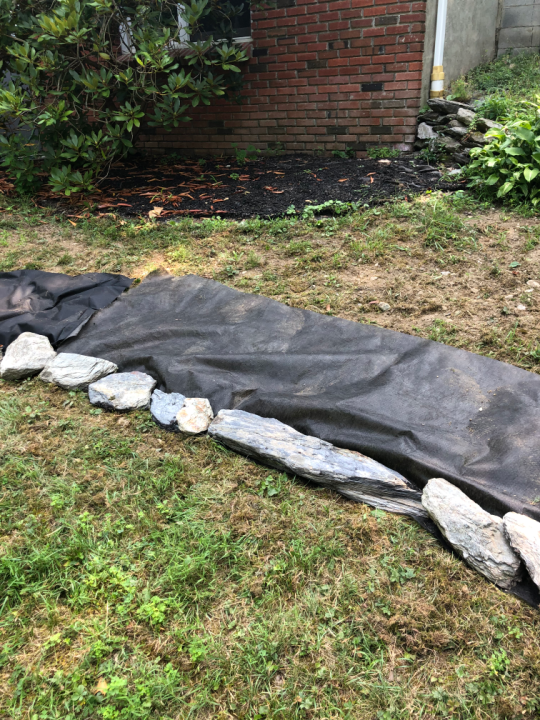
Once the edge was cut, I needed to cultivate the yard. Even though we were putting down landscaping fabric and mulch, our yard is very rocky and hard. So it would have taken a ton of effort to actually plant the plants I wanted to put into the bed if we didn’t cultivate and loosen the soil first.
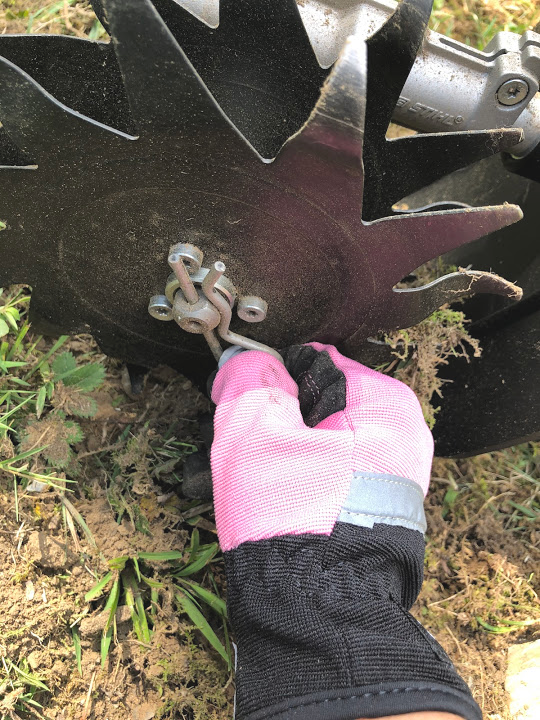
To change out the attachment from the edger to the cultivator was very simple and quick. You’re basically removing a pin, and sliding the new attachment on.
The cultivator moved through the soil with ease, despite the rocks that it would turn up. I just made sure to get them out of the way before going over it again.
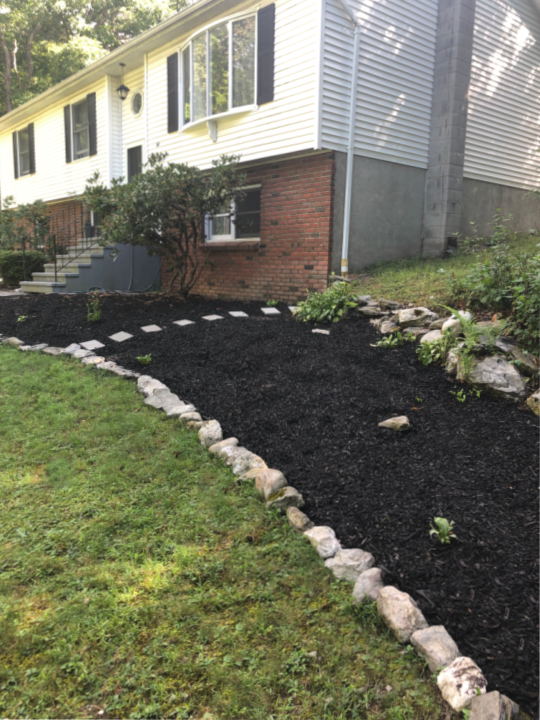
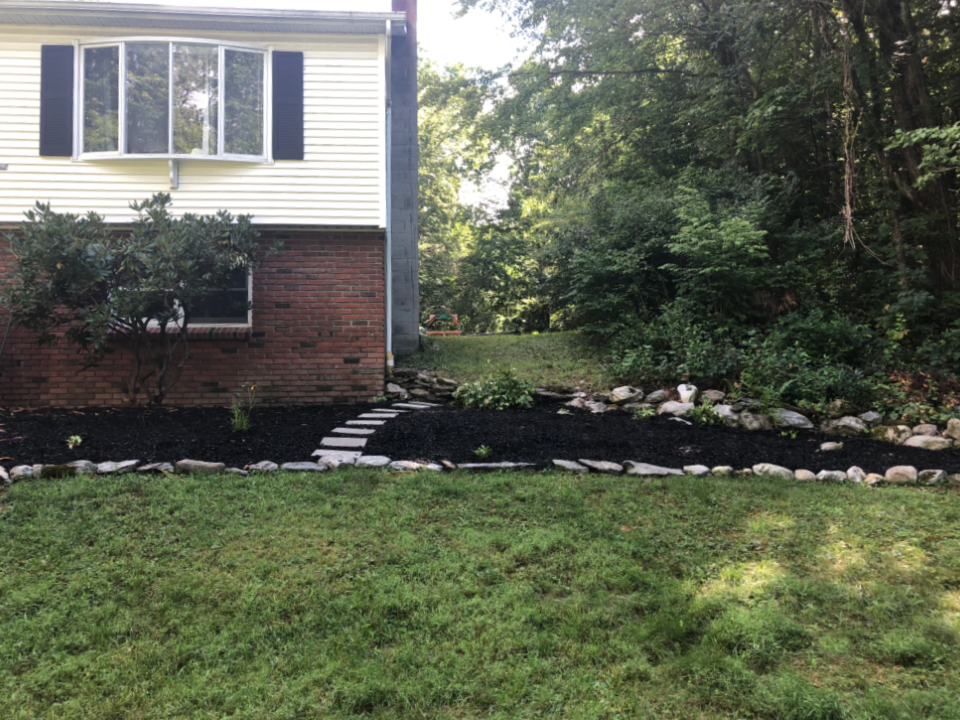
Once the soil was loosened and raked, I laid down the landscaping fabric and rock edge. We used rocks from the rock walls that surround our property. It’s free and blends in with the natural landscaping!
Once a load of mulch was spread out, I replanted the Hostas that I had dug up around the rock wall to replant at various places.
I like to wait in-between seasons to purchase and plant more plants to see how they fill in. It’s also budget friendly when you do a little at a time.
I added basic stone to add steps to the side of our home. As well as trimmed our Rhodadendrum bush that was taking over the front of the house. To trim the bush I used STIHL’s new GTA 26 Garden Pruner that I wrote about here.
I think the new garden bed gives that area of our yard a little more purpose, and I can’t wait to add more plants, solar lights and more fun garden elements next Spring.
A few more outdoor projects in the near future include painting of the brick on the house, aerating the yard and reseeding and hopefully adding lights/solar lights to the exterior.
Don’t forget to follow me along on Instagram while I do my projects in real time!