
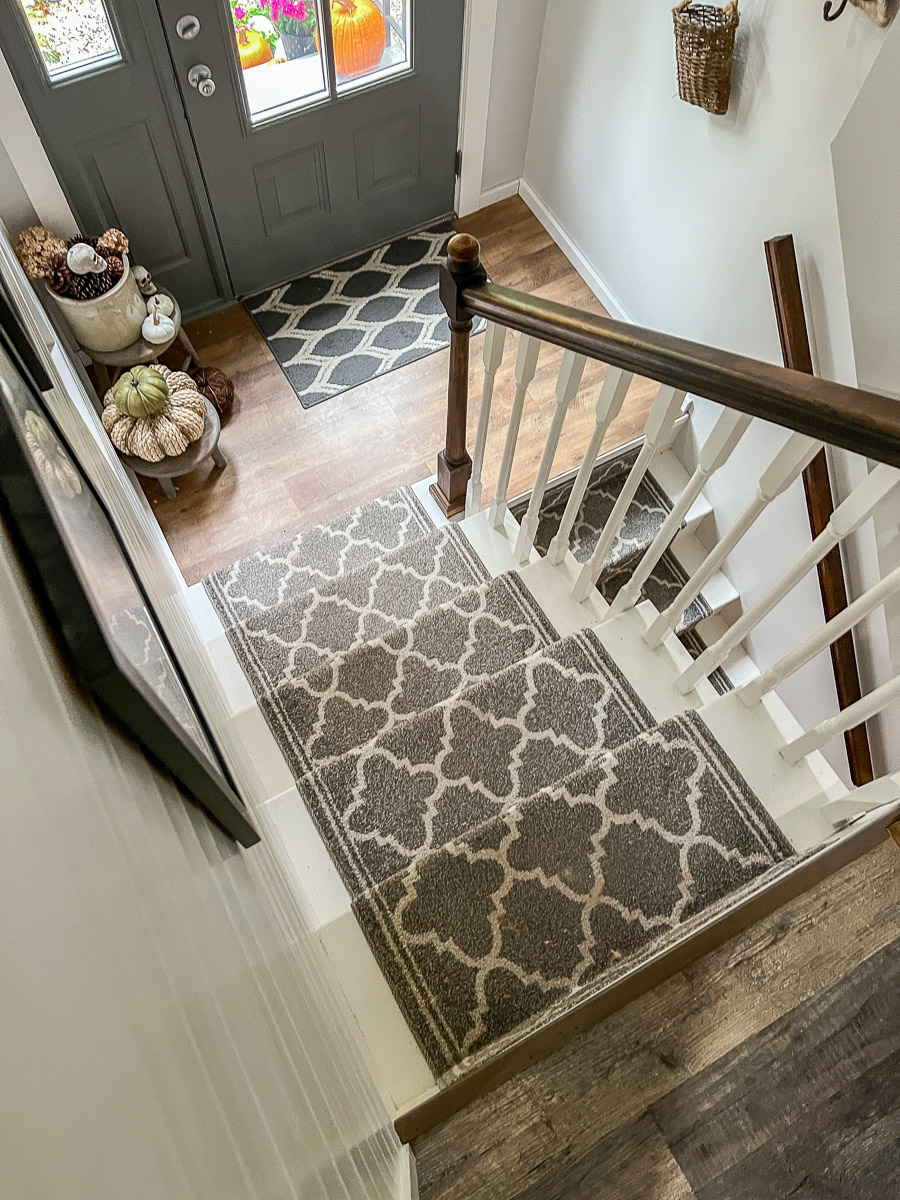
If you would have told me I would be installing stair runners myself 10 years ago I would have said no way, but here I am installing my 2nd stair runner in 6 years and I have learned a few things to share with you.
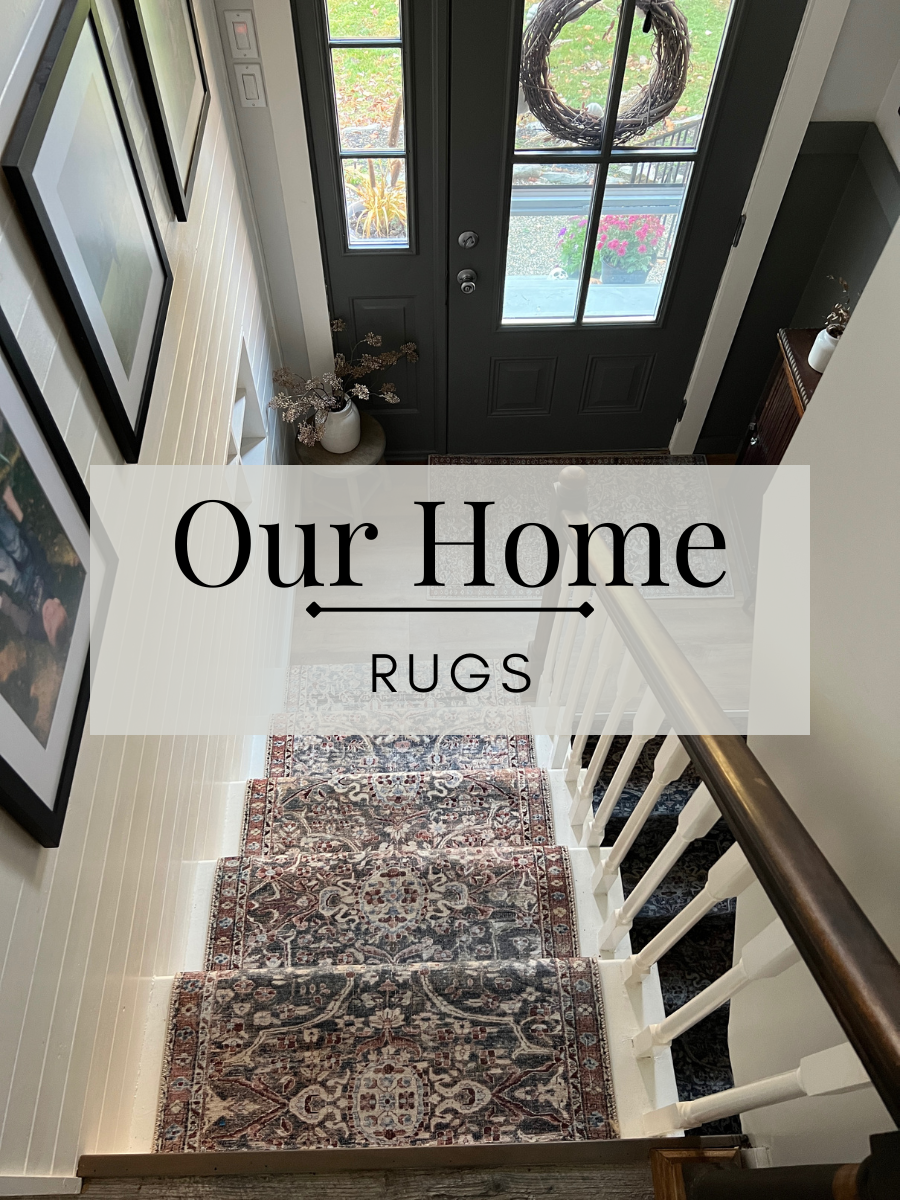
This runner has served us well the last 5 years but it was time for change!

Some of the following links are Affiliate links. Click here to see my full disclosure.
Supplies:
- Runner (this is mine)
- Stable Gun (I used this one)
- Rug pad or no slip
- Utility knife
- tape measure
- Carpet Tucker
How to Measure
Measuring for you runner isn’t hard. I literally measured the tread and the riser of the stairs I was covering and added them all together. I then rounded up to take into account the tucking, stair nose etc that the runner will be attached over.
Starting out
Measure the tread width that you will be wanting to center the runner on. If you have a railing or spindles on one side or both measure to that instead of the edge of the tread.
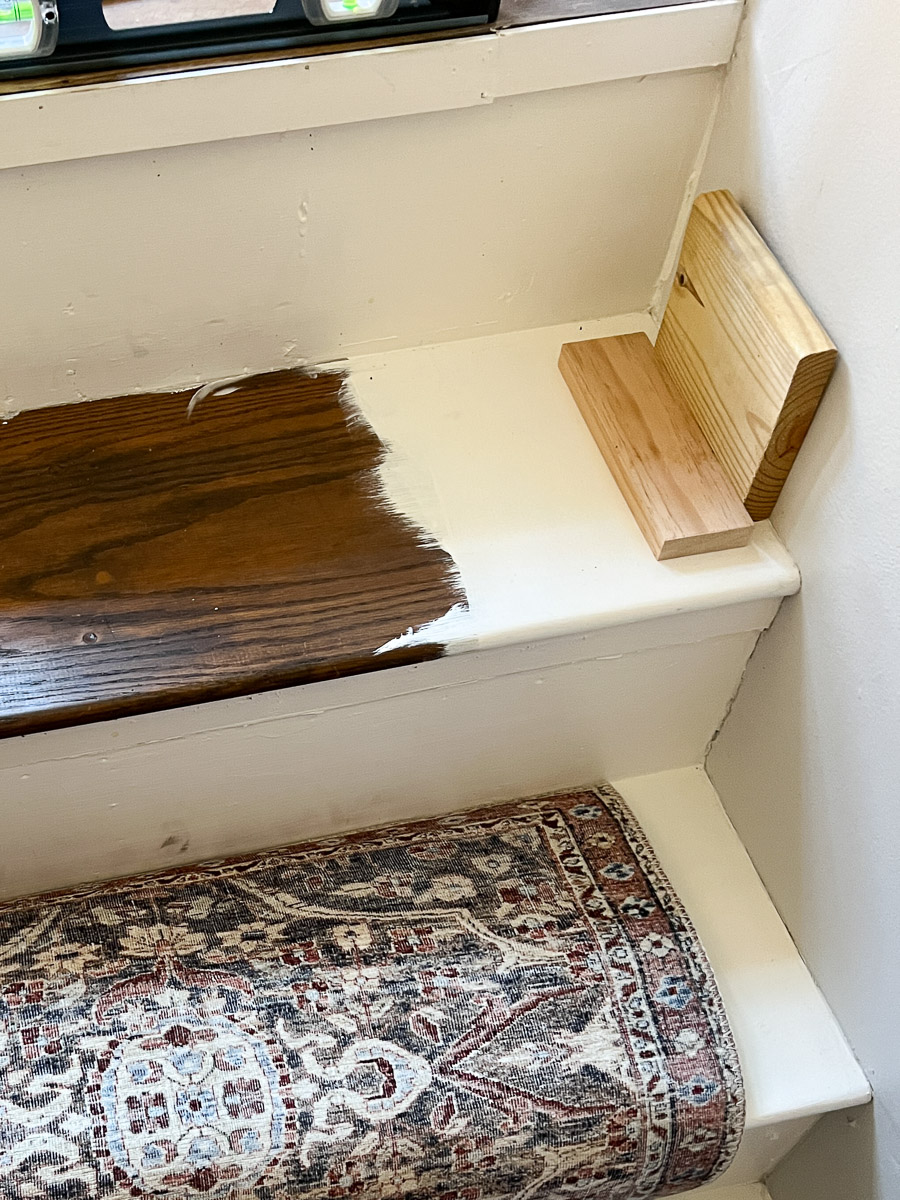
Measure the width of the runner and figure out how much of the tread will be showing on each side. Either mark each tread down the stairs to make sure your runner stays straight, or create a spacer with a scrap piece of wood to move to each step as you install.
Rug Pad
You can choose to add a rug pad underneath the runner if you’d like. It will prolong the life of your runner. I opted to skip a felt pad and only used a piece of very thin no slip. Just putting it under the rug on the tread and I went along.
If you chose to use a felt rug pad you can staple it on the tread or use a carpet tape.
Installing The Runner
Start from the top and make sure the piece you are lining the runner up to is level. You don’t want to start off not straight or your whole runner will be off.
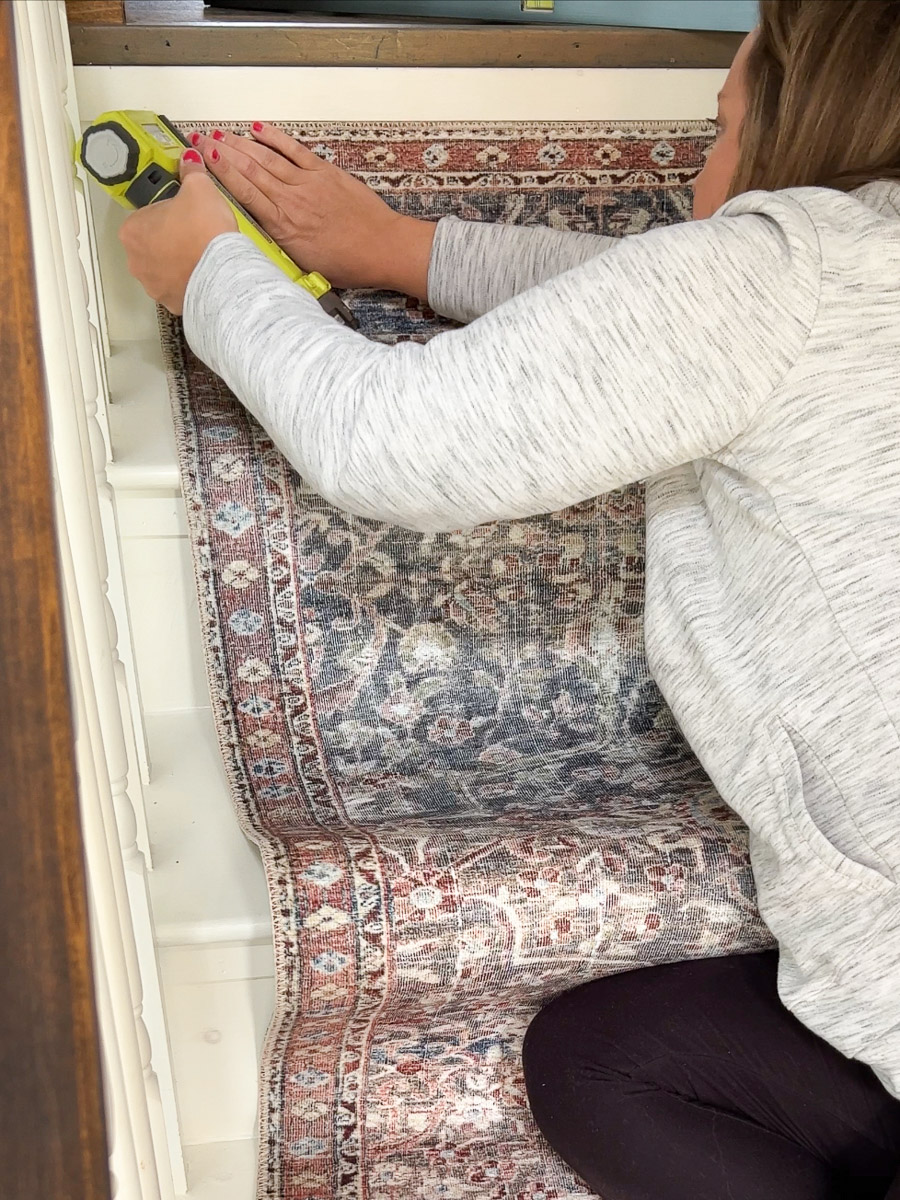
Once that is level, you can start to staple your runner. I used my stapler set to the max drive force. I stapled the top of the runner across and then pushed in the runner to the crease of the step and put another staple at the bottom of the riser, all the way across as well as on the the tread by the crease shown here.
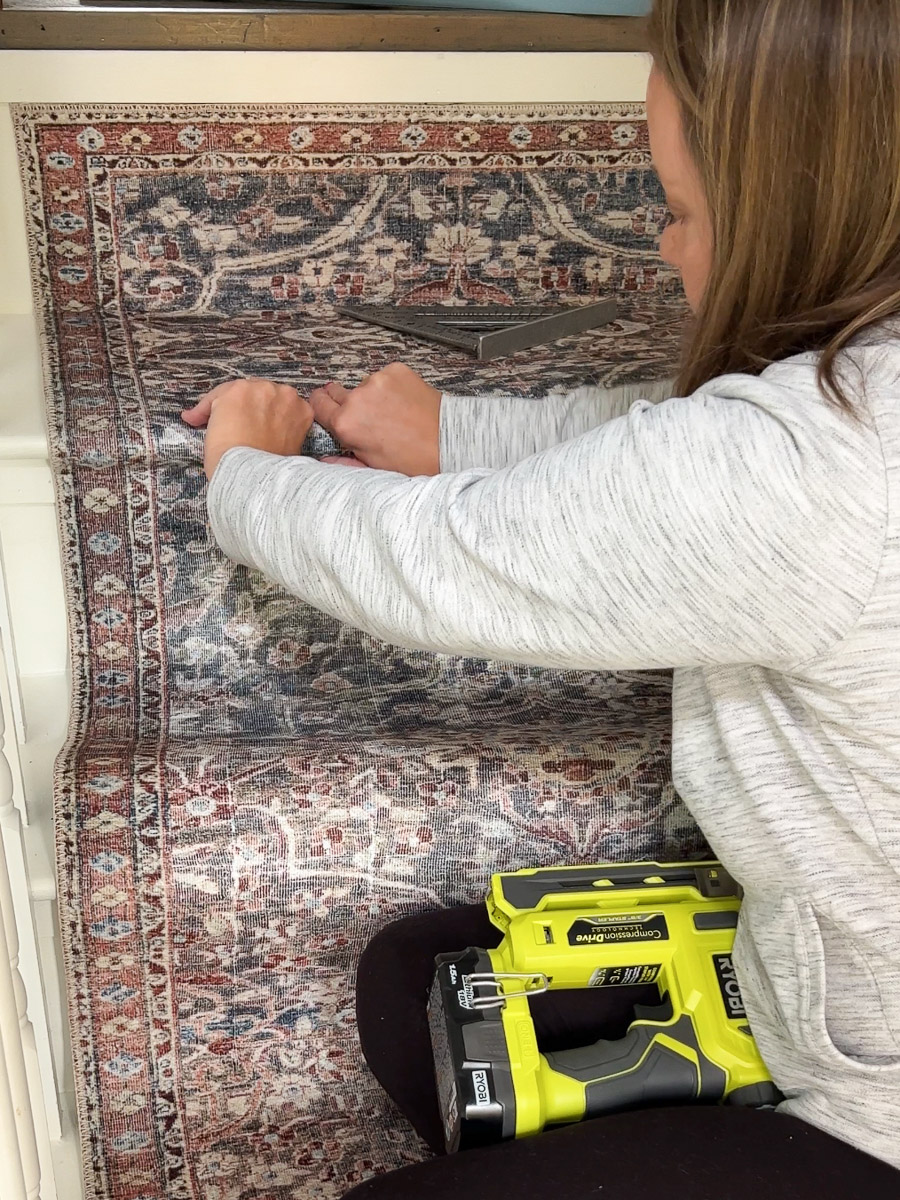
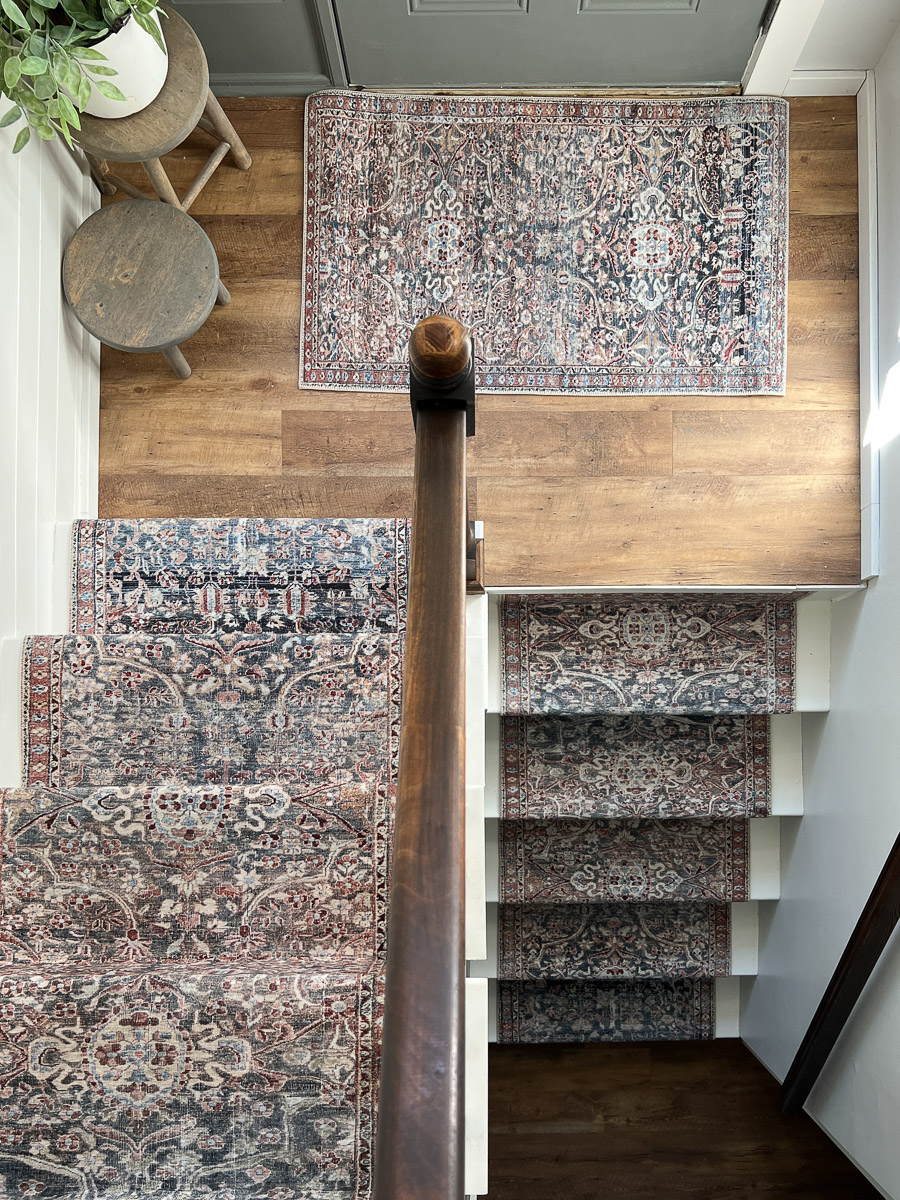
To go over the treads, there are a few ways you can do it it’s all based on the look you want. I chose to staple up under the nose of the step to get a clean, finished look. You can also choose a waterfall method where you bring the runner all the way down over the nose and then staple it into the crease to create a more formal look.

As you’re going down the stairs make sure you keeping the rug straight with your scrap wood by checking with each step.
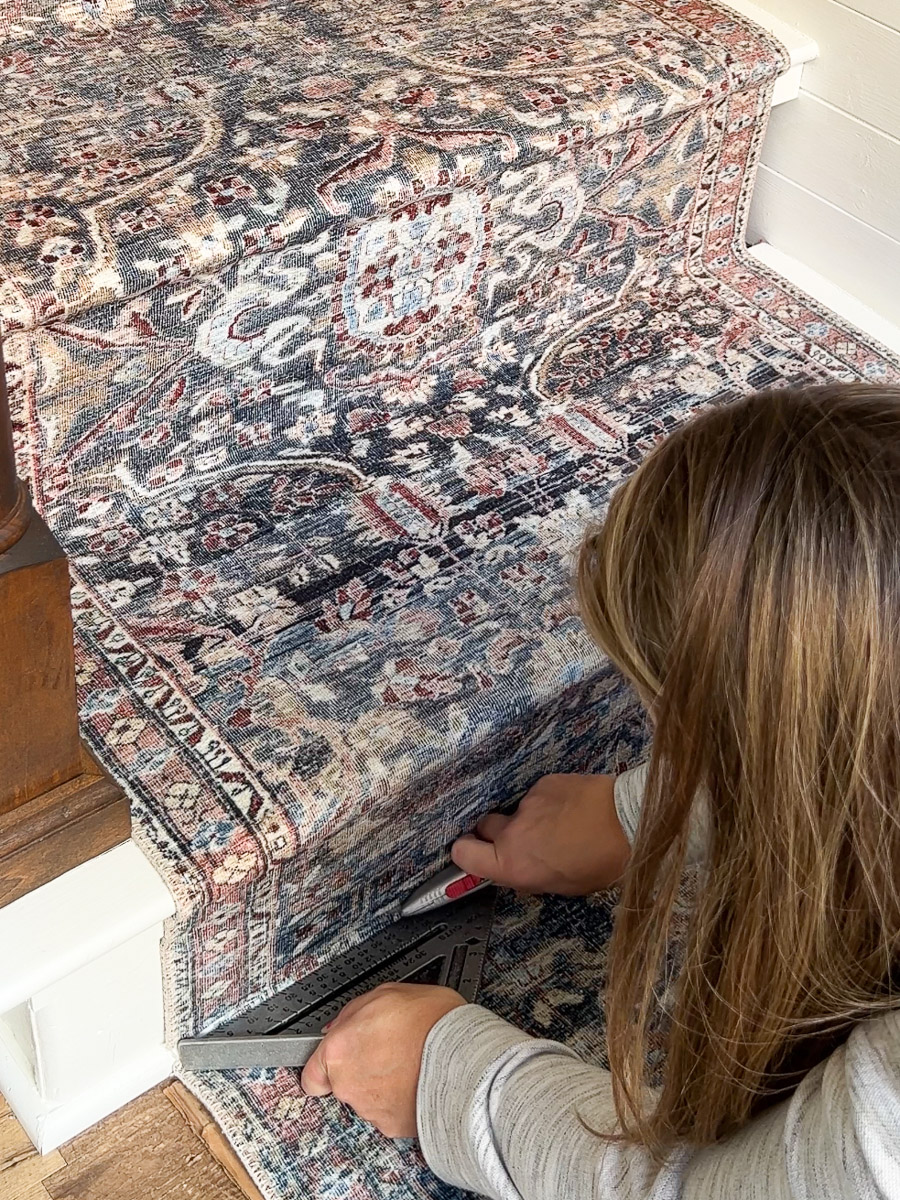
Repeat all the way down the steps. When you reach the end and you have extra runner left. I used a utility knife to cut the remaining off. I have a piece of trim at the bottom as well I kind of just tried to tuck the edges into it.

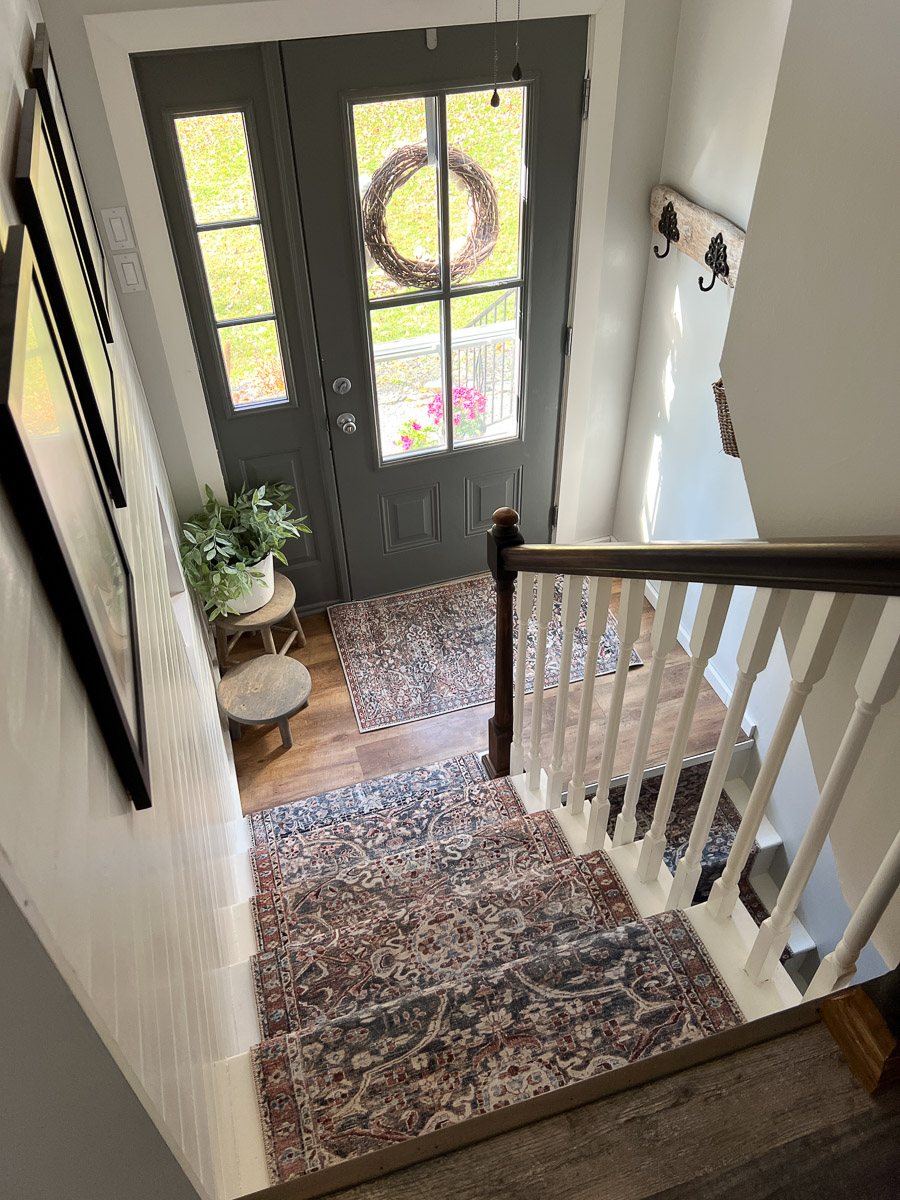
Step back admire your work!
If you want to see behind the scenes and projects as I am working on them follow me on Instagram !


Absolutely love this project along with your others. You are an amazing and creative woman! I too live in a raised ranch. I know folks knock them, but I find ours beautiful and yours. Sometimes we just need to appreciate the blessings we have