
Last year we started clearing a path down to the creek that runs in the back of our property..and I told the kids we should set up a little area down there so we can wade, fish, spend hot days down at the creek, and plus it’s just really pretty!
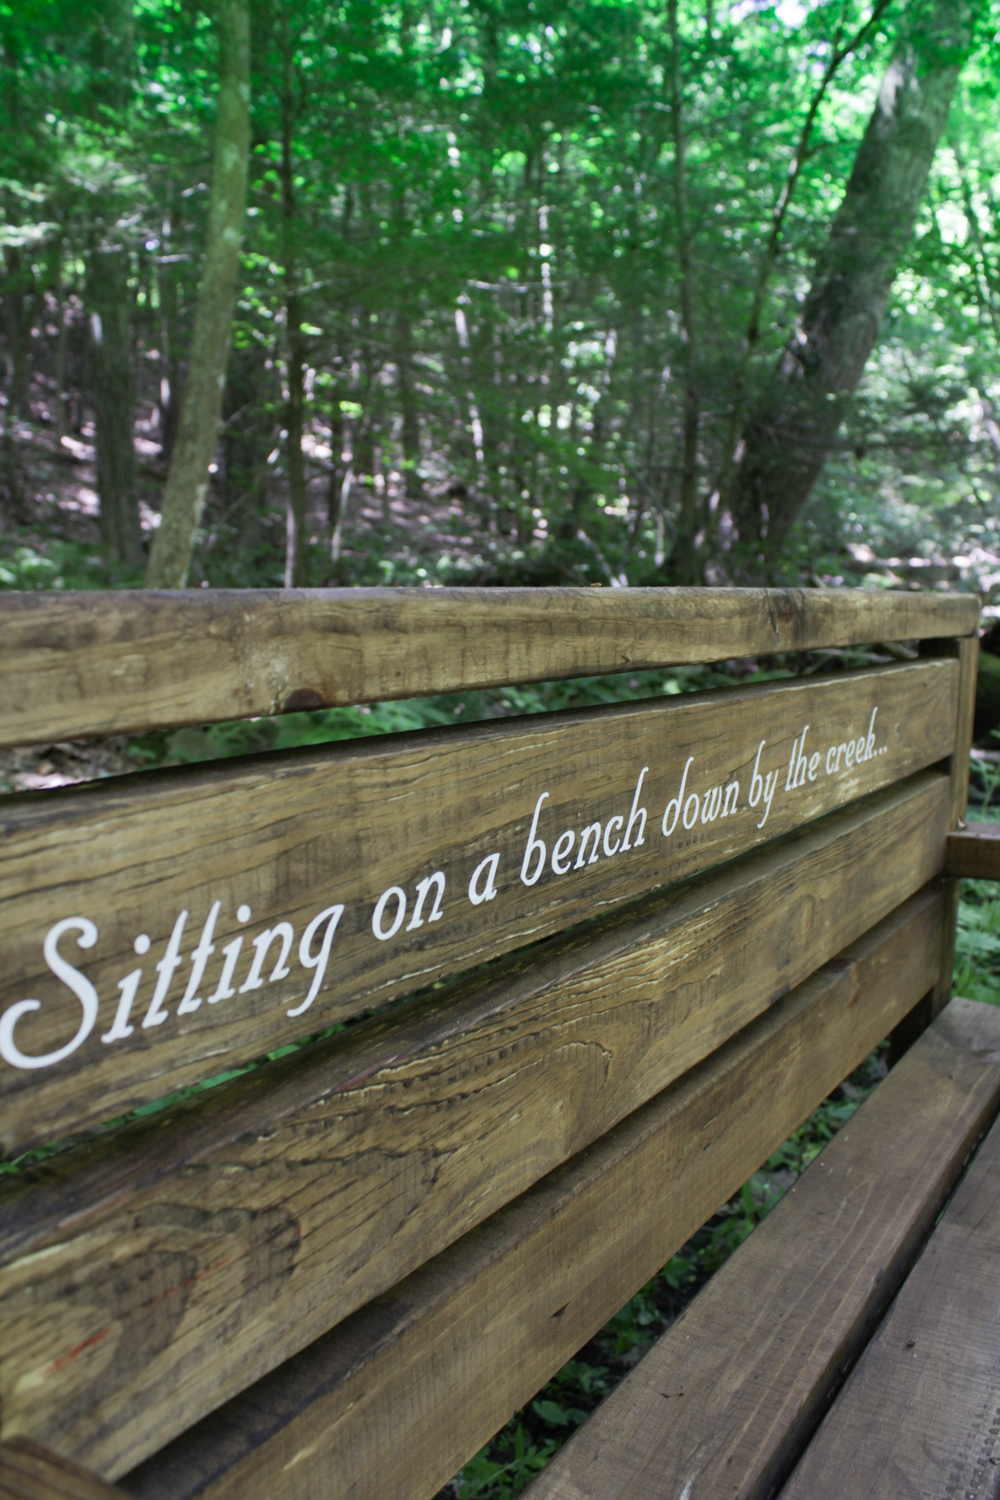
First thing I wanted to do was make was a bench so we actually had a place to sit and relax!
The bench needed to be sturdy, able to be outside in the elements, and I wanted it personalized. There is a small path that people use when fishing, and even neighbors will walk the creek. I knew that using my Cricut Explore Air 2 was going to be perfect for personalizing the bench with our humor as well as our address.
I found plans for a bench I liked as a starting point but made adjustments to fit what I wanted and needed. Making the bench out of 8 pressure treated 2x4s will help withstand the elements down by the creek.
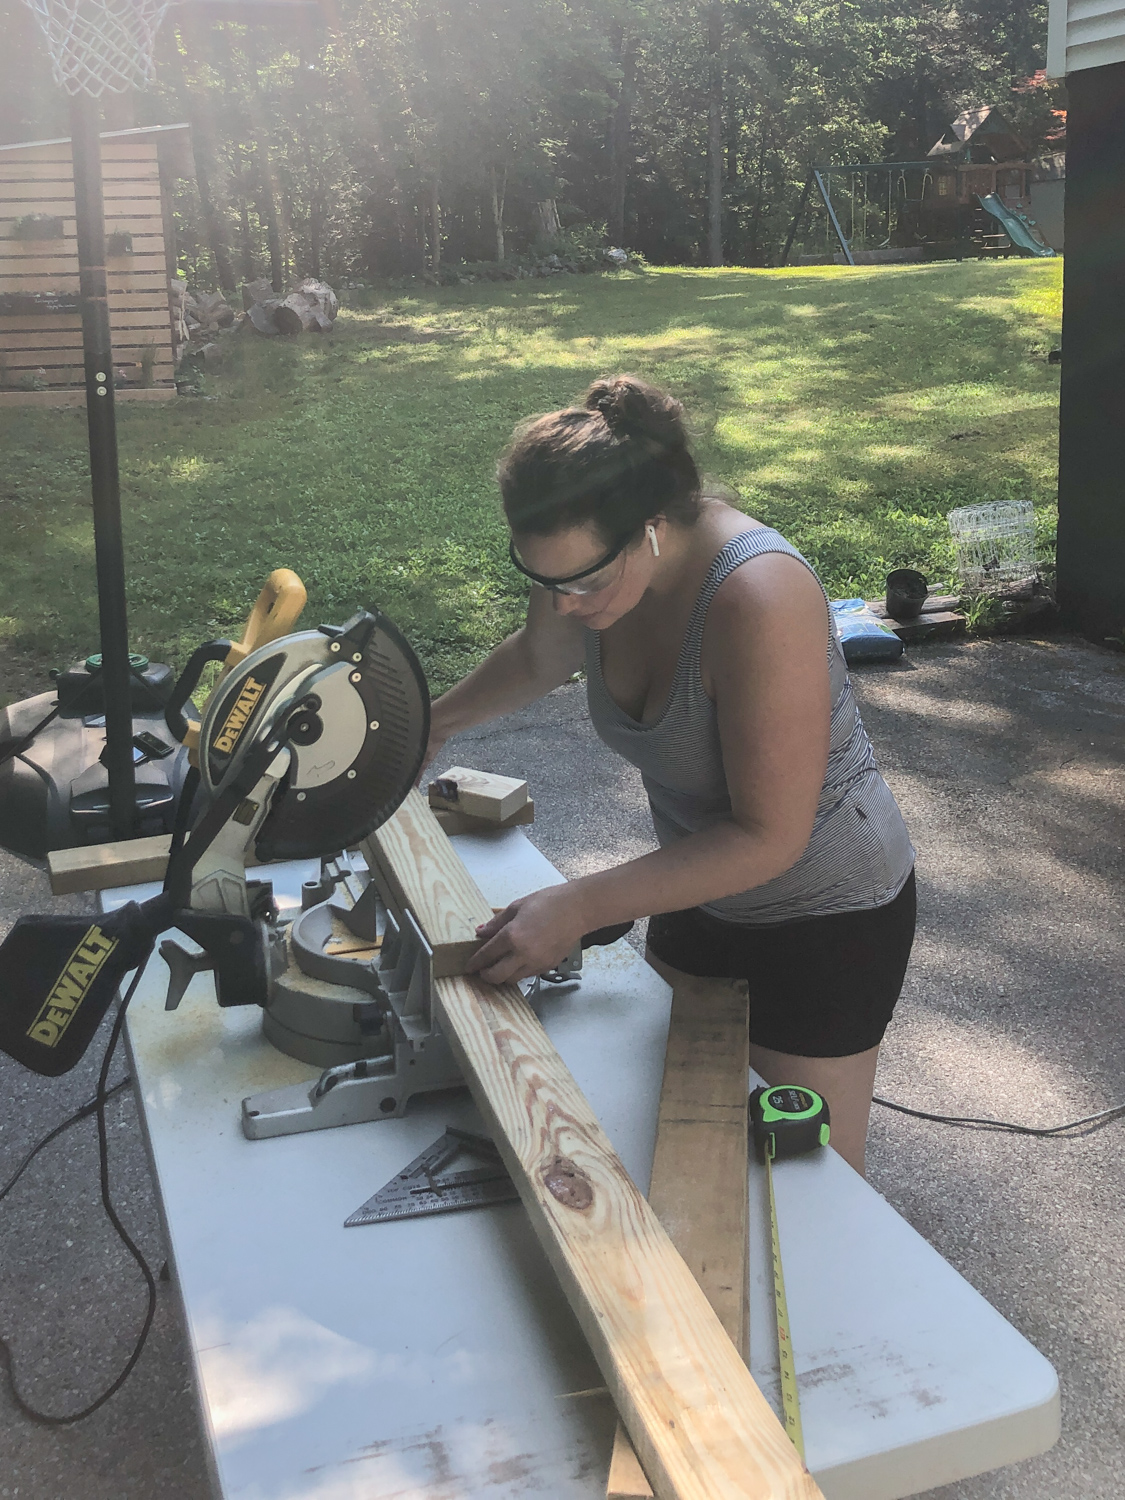
Most of my cuts followed the plans, but when it came to the back of the bench, I wanted to switch it so the boards were horizontal so I measured and cut them to the length I needed and attached them using my Kreg jig.

When it was assembled I sanded the whole bench and stained it with Minwax Provencial.
Here comes the fun part!
Using Cricut Explore Air 2 for Outdoor Projects
Anyone remember Chris Farley’s SNL skit about living in a van down river…or am I aging myself? Well…now we are sitting on a bench down by the creek!
Some of the following links are Affiliate links. Click here to see my full disclosure.
Supplies:
- Cricut Explore Air 2
- White Premium Permanent Vinyl
- Cricut Transfer Tape
- Cricut 12″ Trimmer
- Cricut Extra Large Scraper
- Cricut Weeding tool

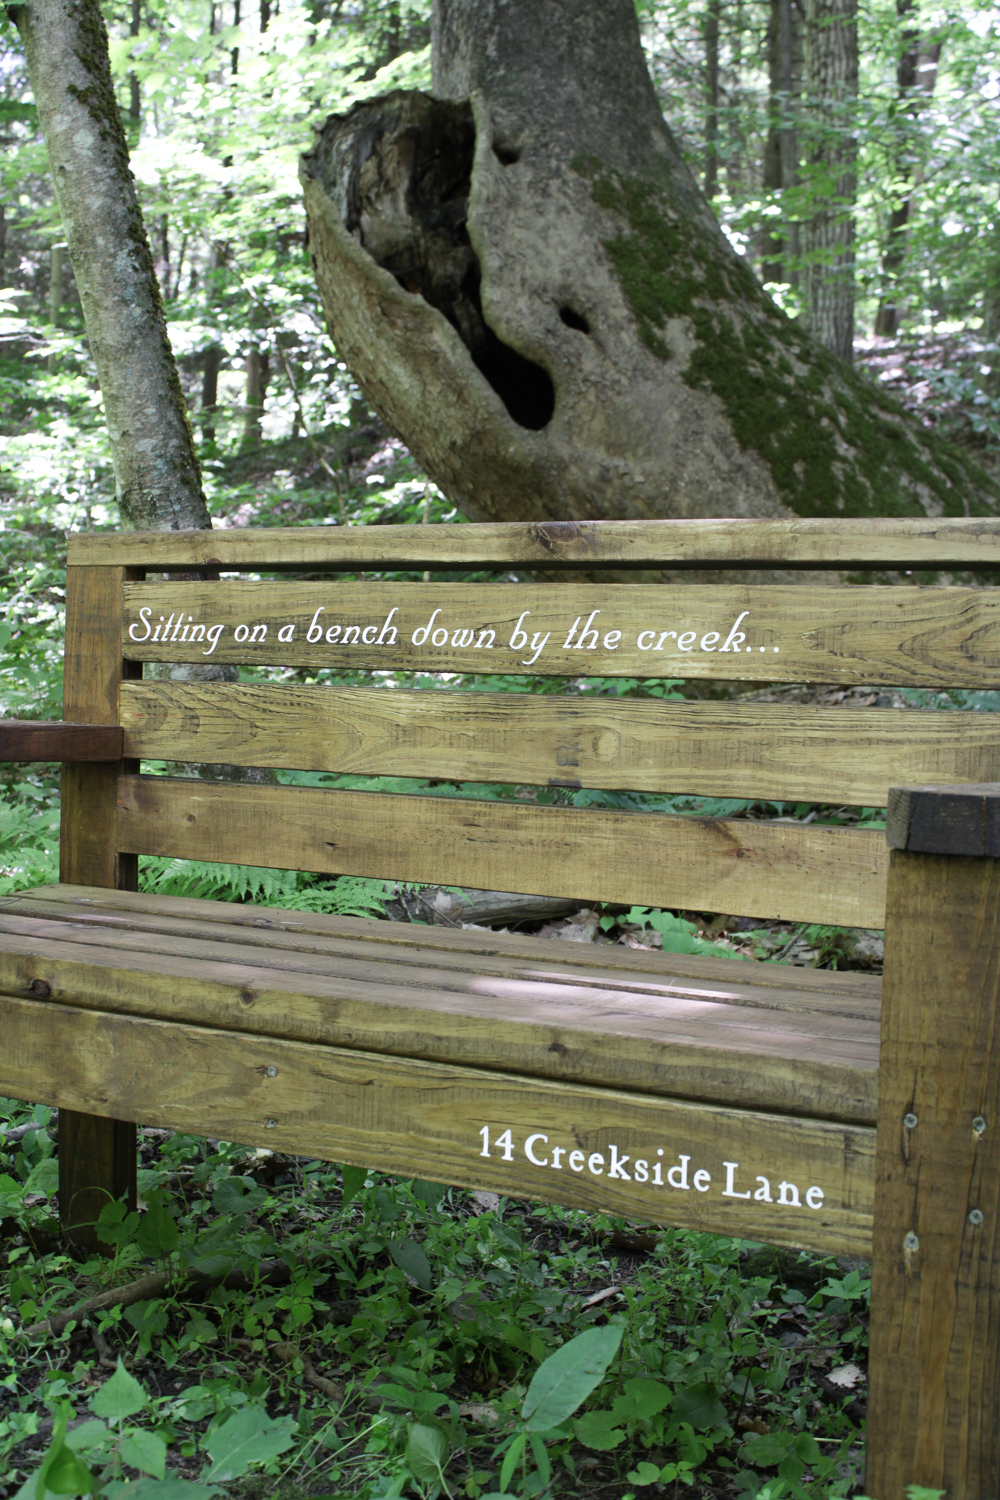
In the Design Space Software I wrote in the text box what I wanted it to say as well as our address making sure it was the correct measurement to fit on the back boards.
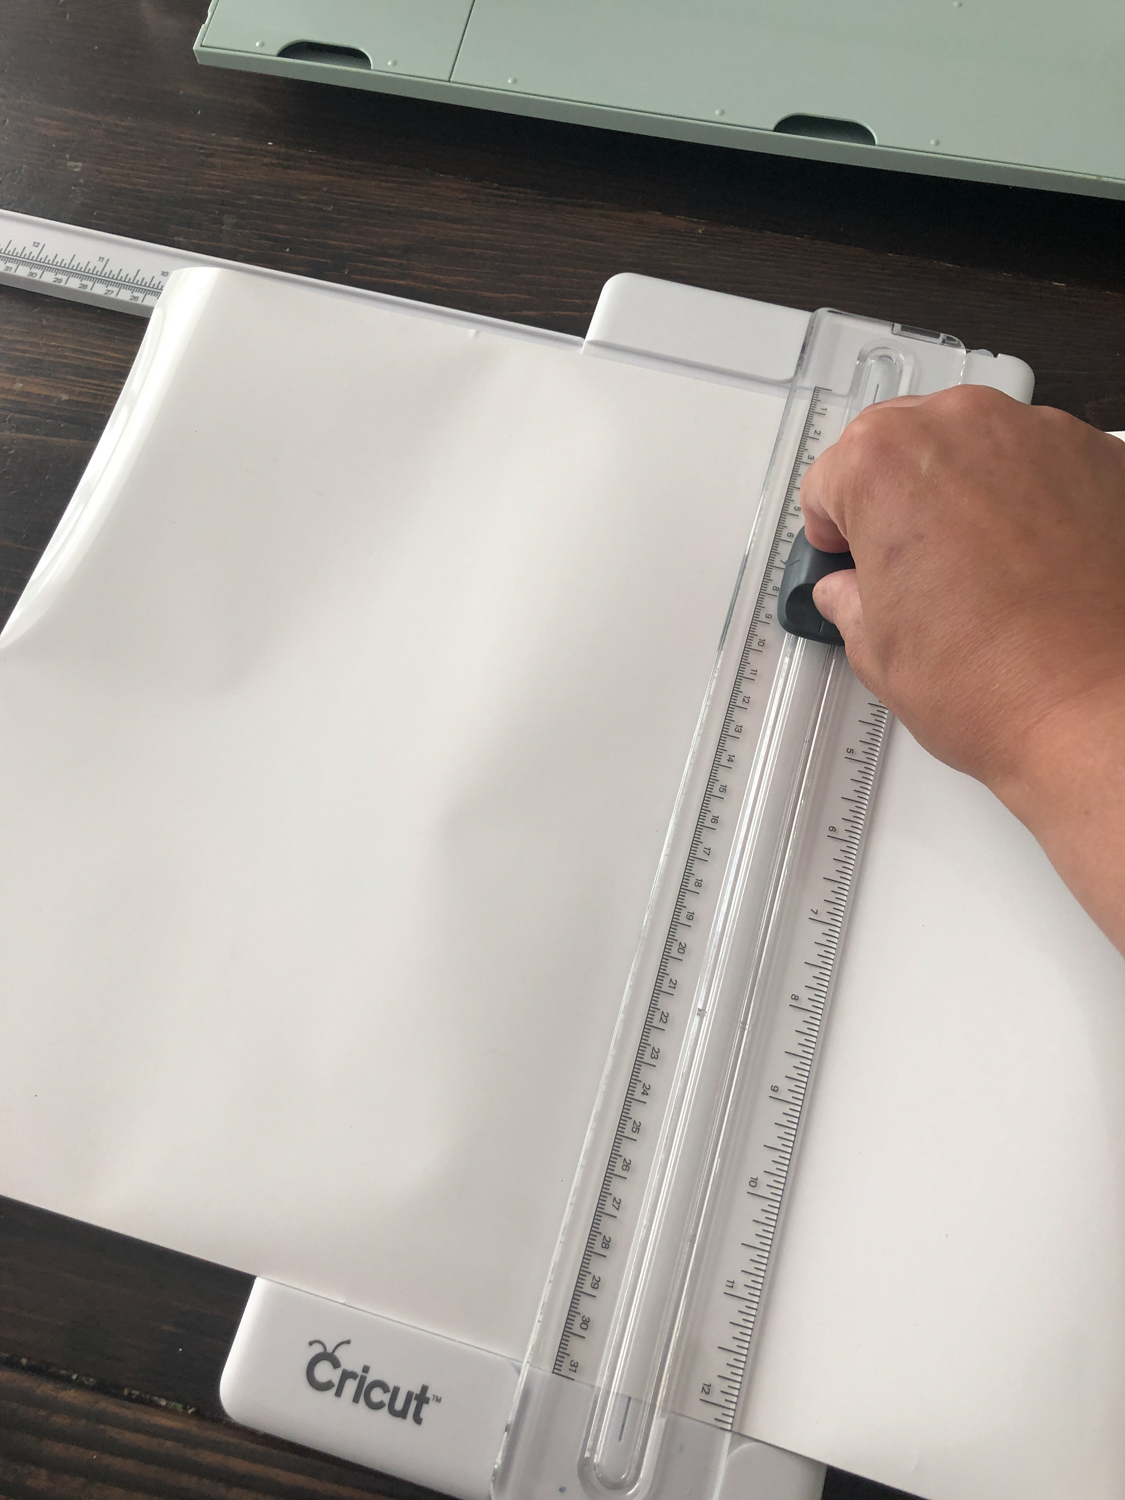
I chose to use white premium permanent vinyl because I thought white would look great on the darker stain, and did you know that premium permanent vinyl is water-resistant and UV-resistant, and lasts up to three years even outdoors!? So using this vinyl was a no brainer.
After clicking “make it” in design space, I can see how much vinyl I need. I always cut the vinyl down so I am not wasting too much. I love cutting it with my 12″ trimmer. It’s fast accurate and easy to measure.
I smoothed it onto the mat, loaded it into the machine and hit start.
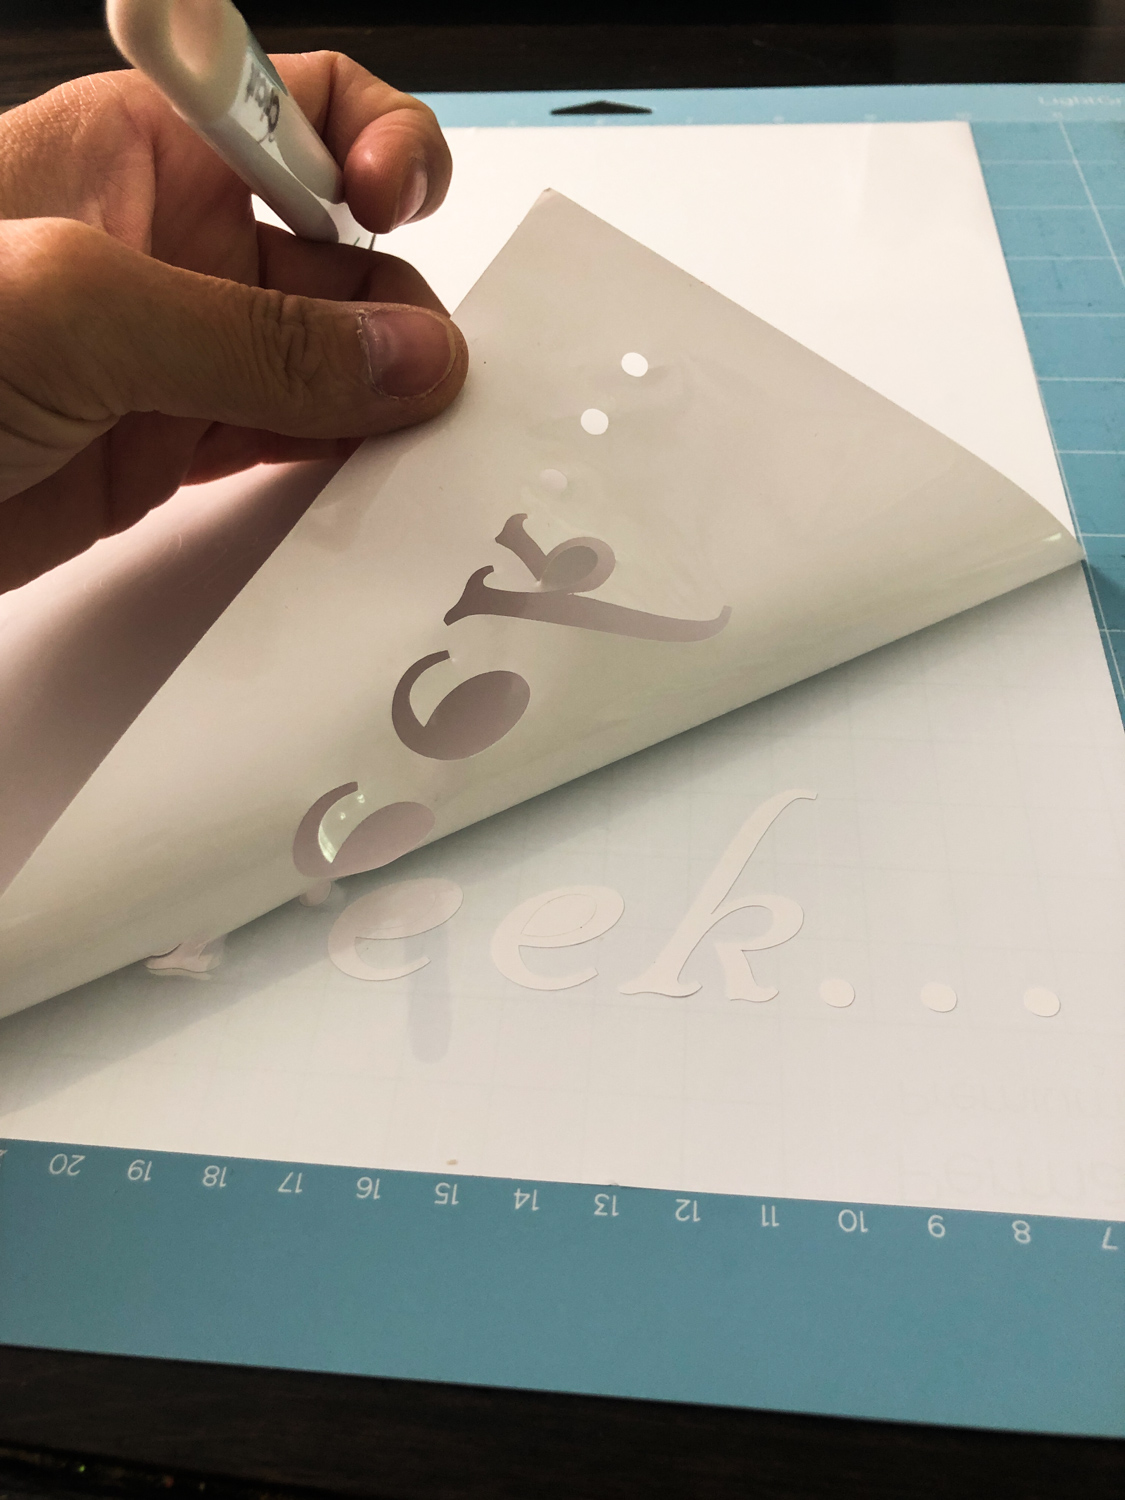
When complete, I weeded and put on the transfer tape.
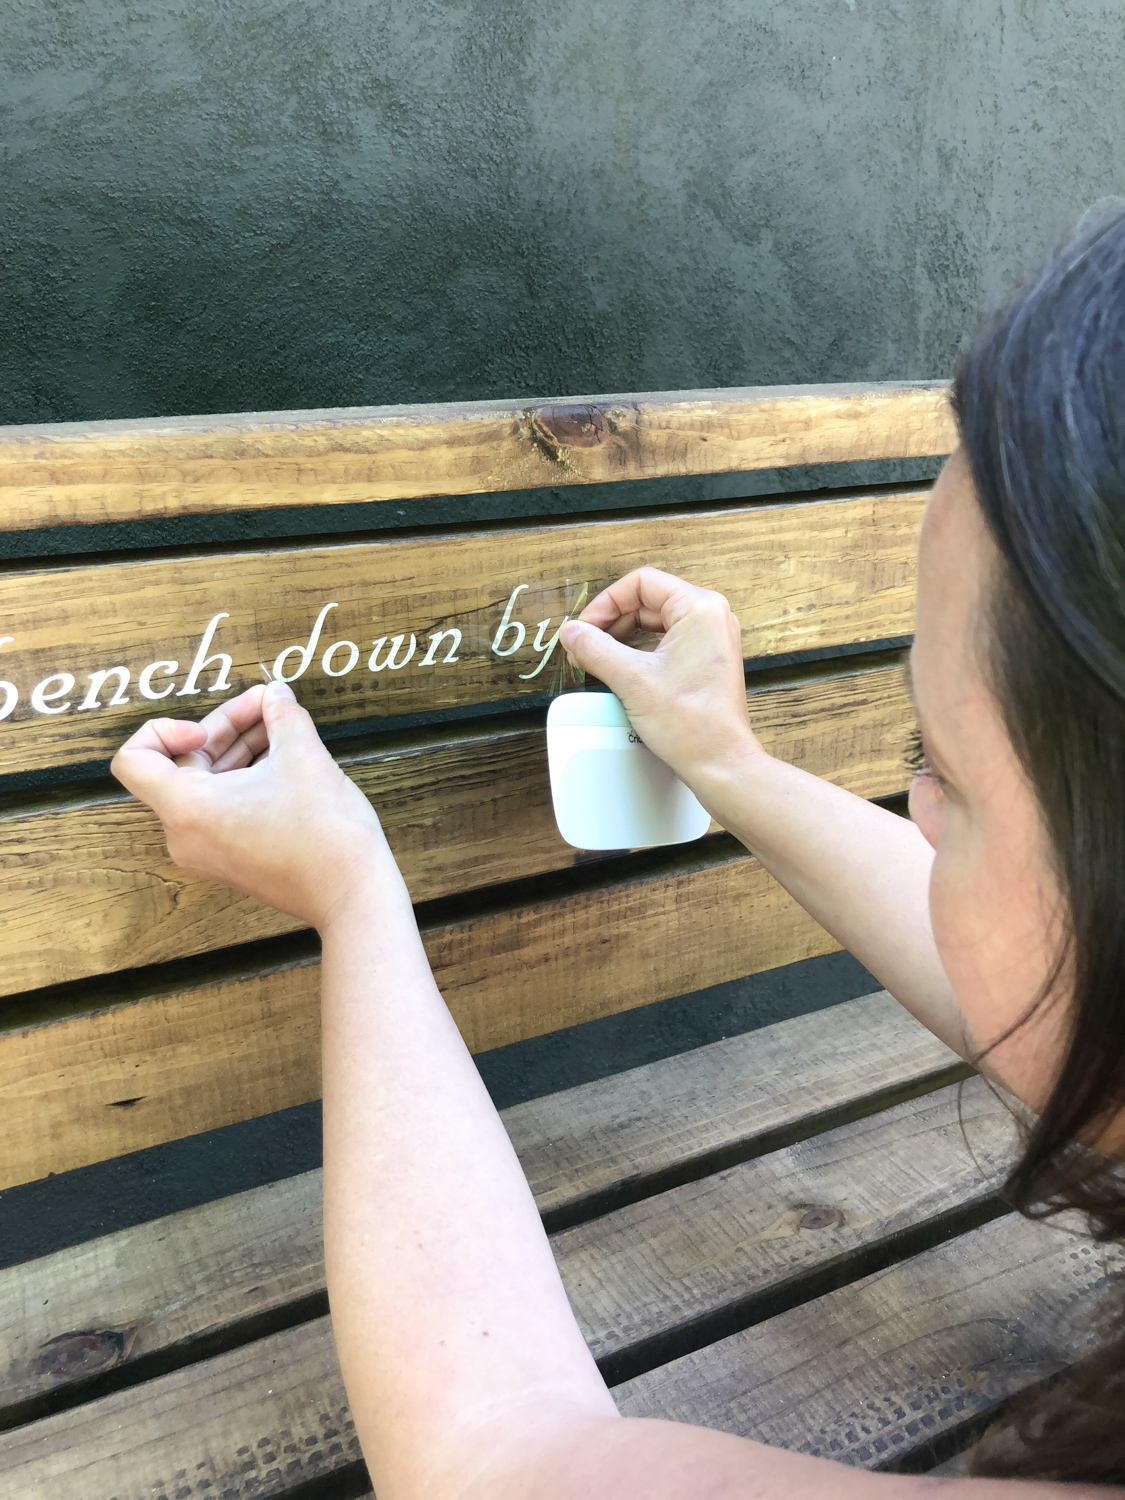
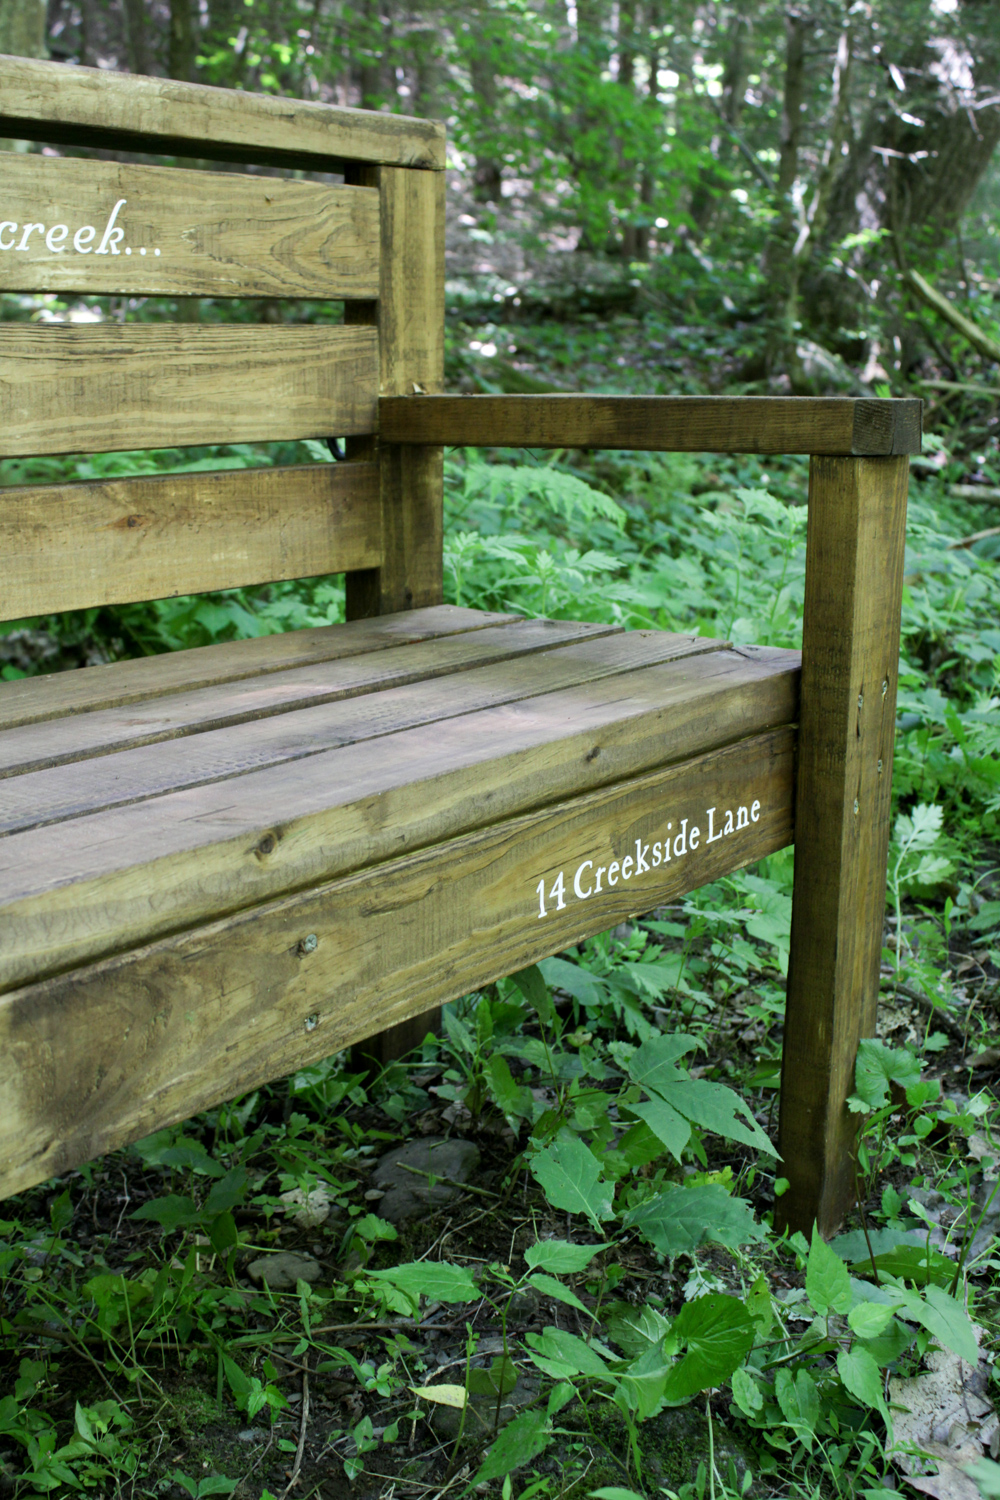
Before putting the vinyl onto the wood I made sure everything was dry and smooth and I used my XL scraper to smooth it on really well before removing the transfer tape. I also smoothed it out after removing the transfer tape.

Now that the vinyl was on the bench and looking so good..it was time to take it down to the creek which was going to be a challenging. The creek is down a pretty steep hill but my husband and I managed to carry it a lot of the way and then layed it on a big piece of cardboard and slid it down the hill. Hey, it worked!
I’m so excited to have this little personalized bench down at the creek where we love to explore. This is only the first part of this space to make the creek an experience but it’s a start!
What do you think? Do you think passerbys or neighbors will get it?
Well folks, 3 weeks later we had major storms and during those storms the creek was raging and the bench disappeared! The waters washed it away down the creek and we never found it!
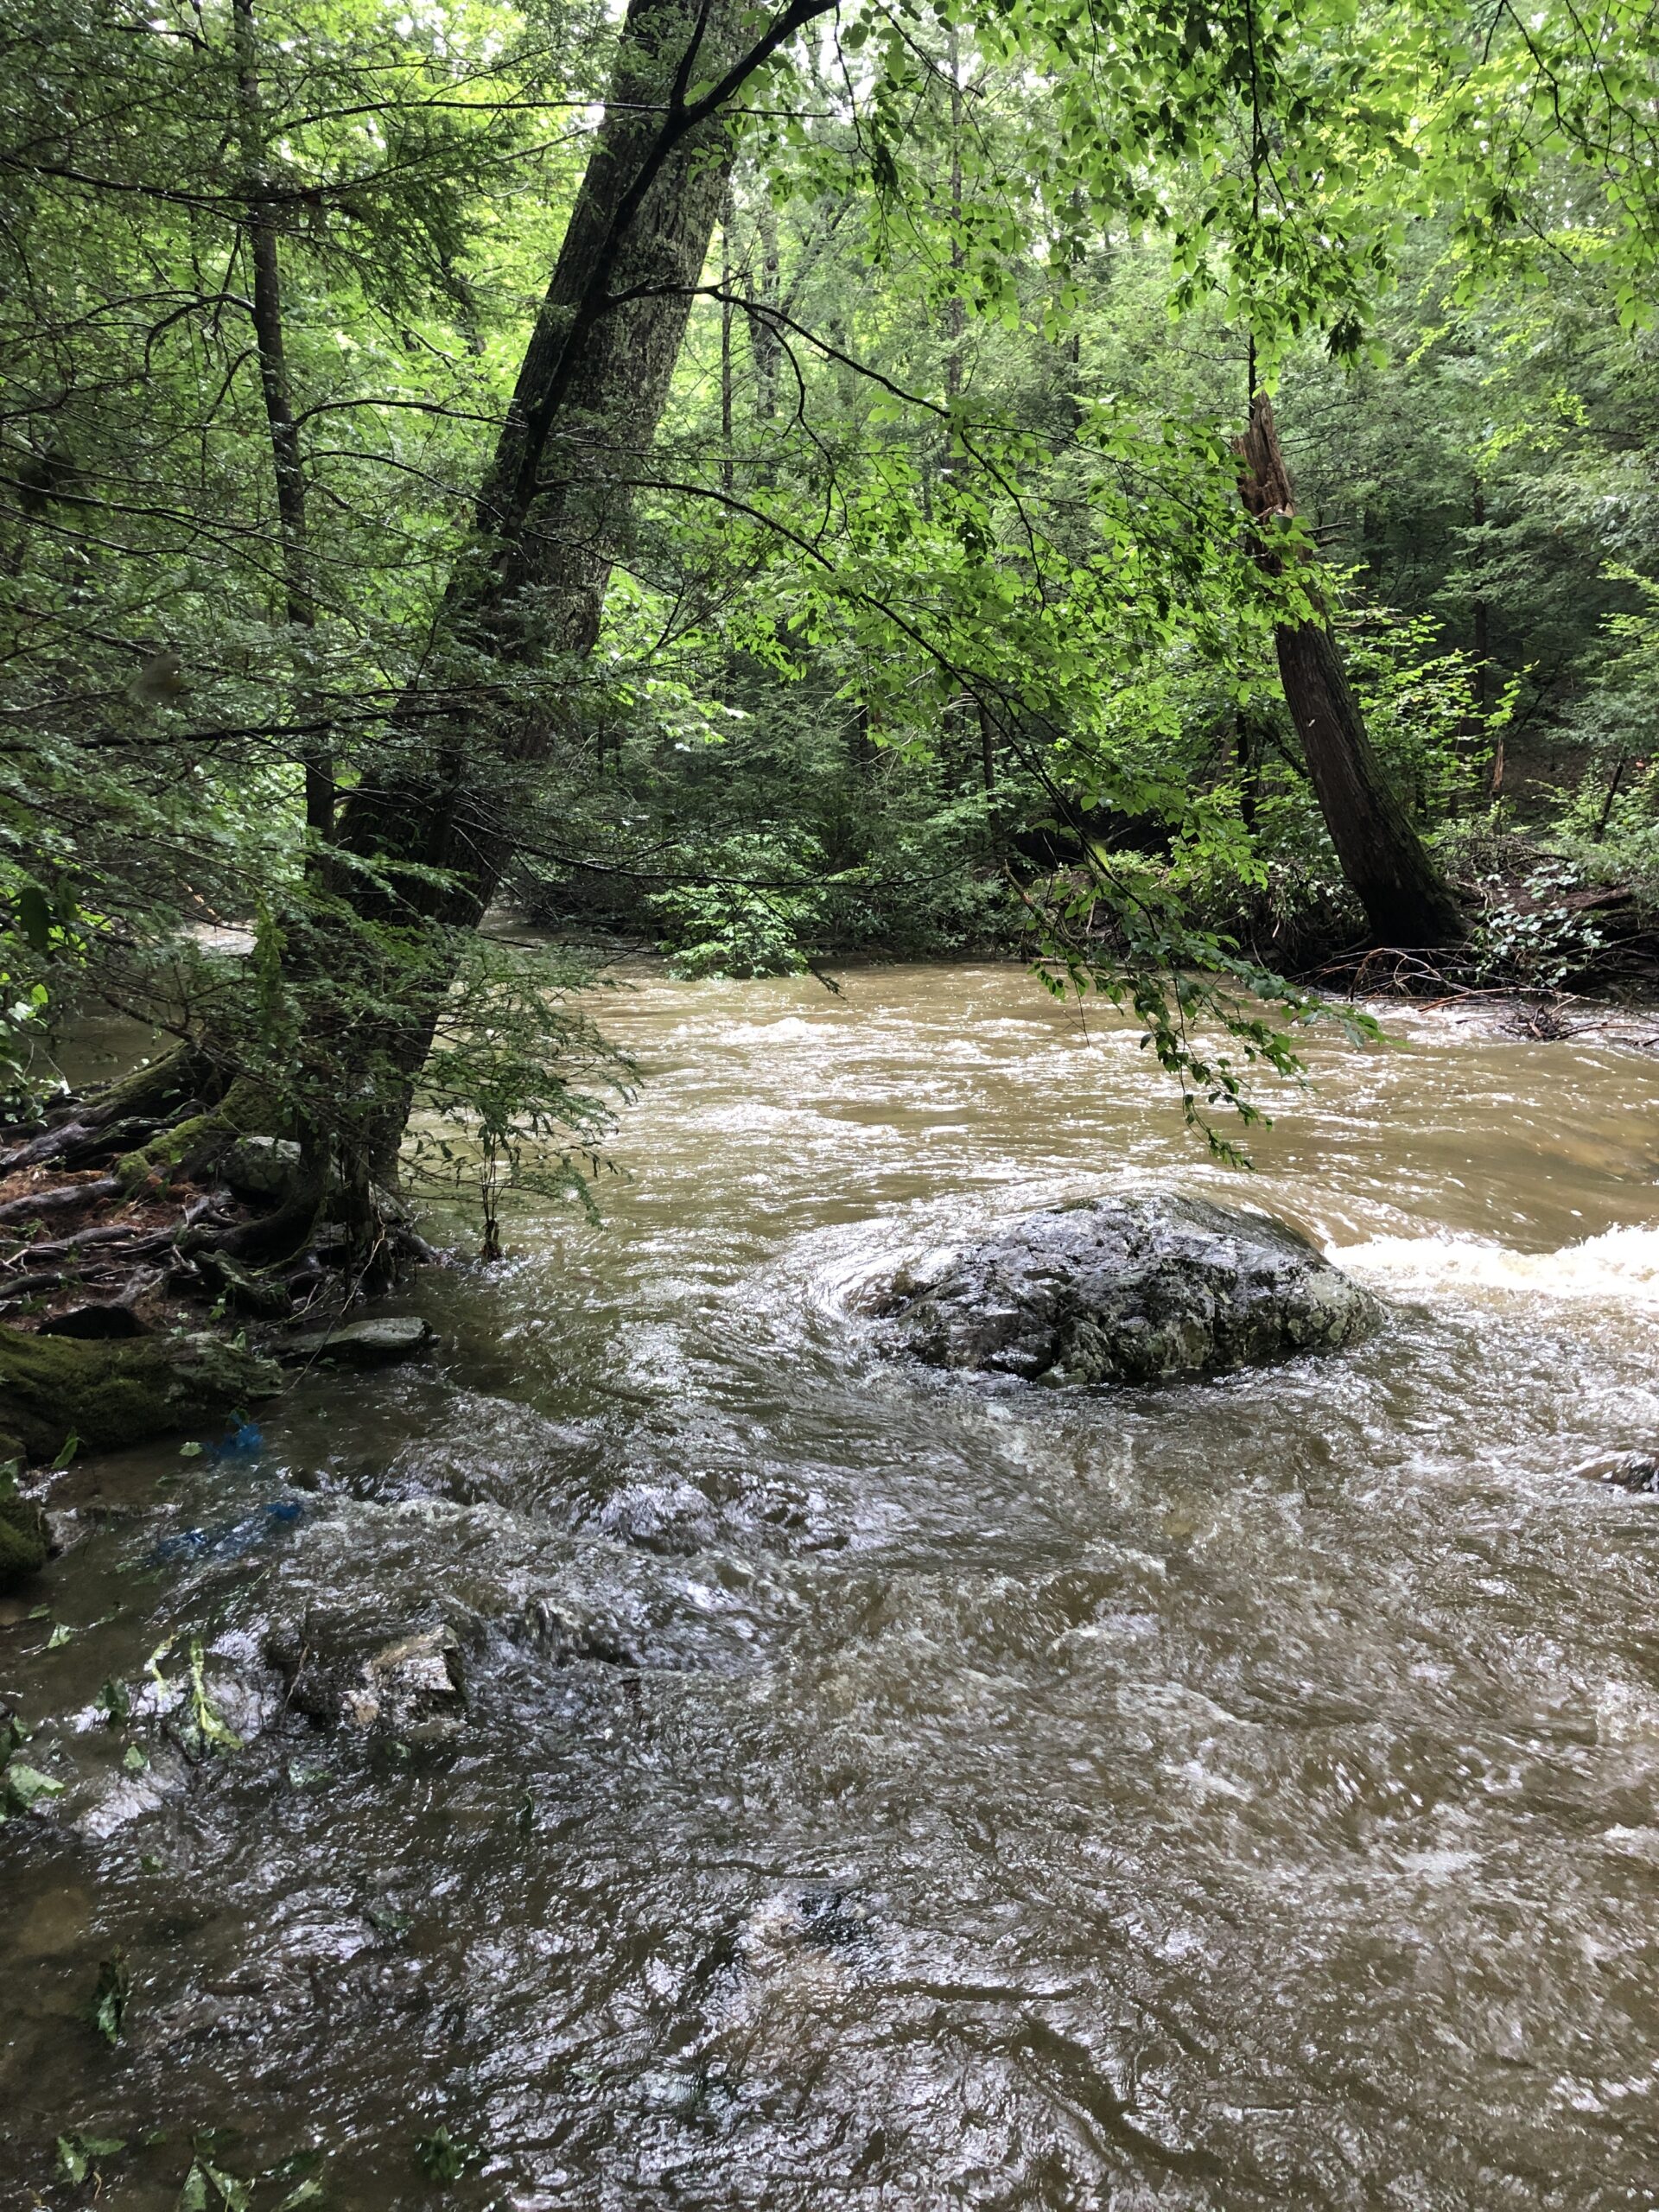
As of right now I remade the bench but now it sits by our house. Next time I make a bench for down by our creek it will be chained to a tree…

Awesome!