This post was posted about a year before I made the now extremely popular Burlap Wreath Video Tutorial Post.
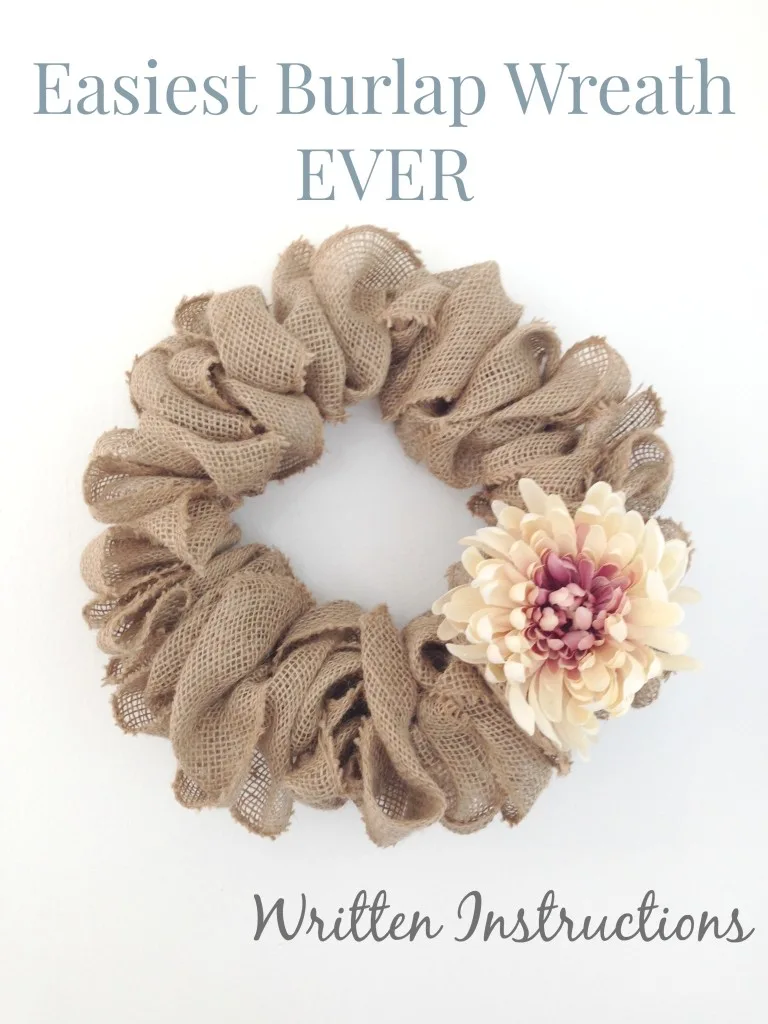
Because of the popularity of that post, I have decided to use this post as just the written instructions for the Easiest Burlap Wreath Ever!
Supplies: (Affiliate links for your convenience. See full disclosure here.)
- Burlap ribbon: For a standard wire hanger I used, 10yds/30ft and it was plenty. It was 5 or 6″ wide. If you’re making a large one you will need more.
- Wire Hanger: If you don’t have one dry cleaners might sell you some for cheap.
- Embelishments: Depending on the holiday or season you decorating for you can use whatever you’d like!
This literally took me 10 minutes. I was standing at our dining room table while little Henry was stacking blocks in the next room.
Here is what I did.
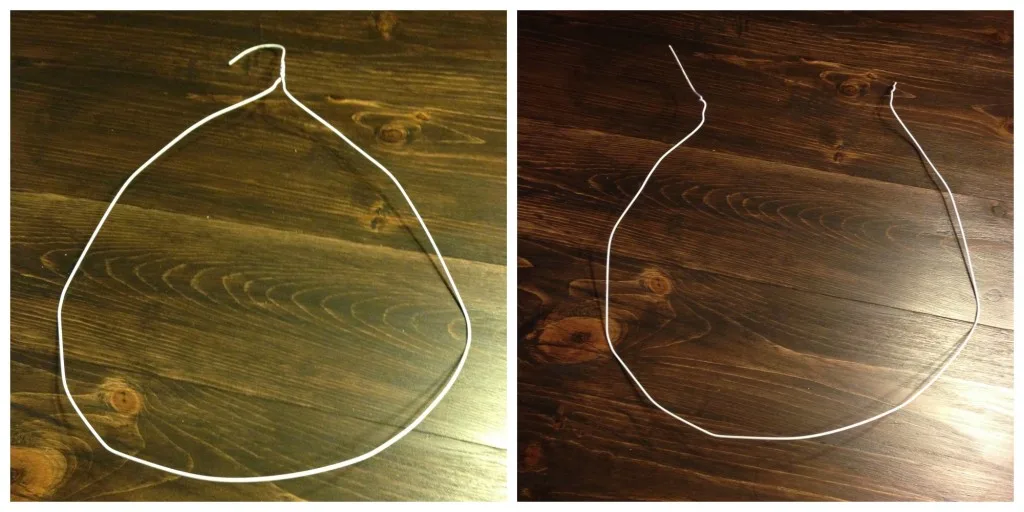
Depending on the wire hanger you have, unscrew the top hook or take off the cardboard “bar” to reveal an open wire.
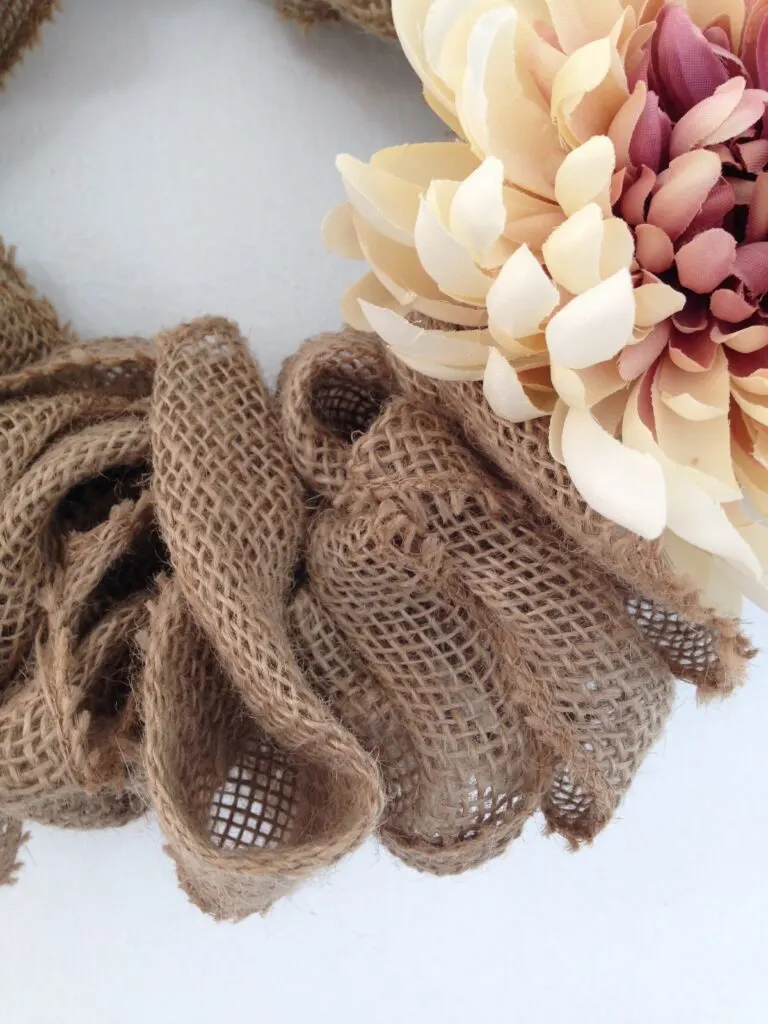
With the burlap ribbon, I stuck the hanger through a hole in the corner of the ribbon then went about 3-5 inches (the bigger the gap the fluffier it will be.) and stuck the hanger through a hole on the opposite side of the ribbon.
Another 4 inches and placed the hanger through another hole on the opposite side etc etc etc. So you are zig zagging through the ribbon about every 3-5 inches. The shorter the distance in-between where you place the hanger the tighter the wreath and the longer the distance, the fuller it is.
So to make it a little more clear, you are putting the hanger through the ribbon then crossing over and putting it through again. You will go through the SAME side you came out on. There is No Twisting!
The roll of burlap I used was 10 yards and this was perfect for the size I wanted. When I was done with the roll, I simply just folded the corner into the wreath.
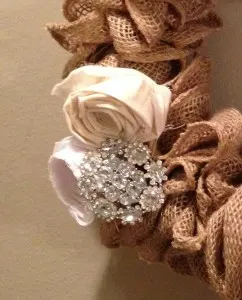
Now is where you can get creative. I have seen so many neat embellishments to adorn a wreath but I like the tutorial of Susie Harris with fabric flowers. Even though mine did not turn out half as beautiful as hers, I still loved them. I also decided to add a little glimmer and unexpected beauty with a jeweled pin I had bought years ago for about $4.
This is what my first burlap wreath looked like with the embellishments.
 What do you think? Easy right?
UPDATE: I have just posted a video tutorial of this wreath here.
There is also a second post with my most frequently asked questions here.



Margie
Tuesday 9th of February 2021
How did you connect the ends of the wire together. Can you use deco mesh with this technique
HOMEGIRL
Thursday 11th of March 2021
I made little hook ends on each end and hooked them together. Yes you can use DecoMesh!
Susan
Wednesday 10th of June 2020
I made my first burlap wreath with an old coat hanger and a roll of burlap. It was so easy and now that I know how to make them I will be making more and bigger ones. I wish I could post my picture I have of it hanging on my office door.
Judy
Wednesday 30th of January 2019
I must be an idiot. I know this is simple but I just don’t get how u looping. Can u slow it down a bit and show me the first 2 or 3 loops up close?
Tara
Thursday 13th of December 2018
Hello I’m Tara and I tried your wreath it was a breeze! You explained it well and I love how mine turned out. Thanks for sharing!
Elizabeth
Saturday 25th of November 2017
Thank you so much! I used to be a crafty kind of gal when my kids were little, 20+ years ago. That’s a long time, and it seems I’m seriously out of practice ? but this is a perfect way for me to dive back in!