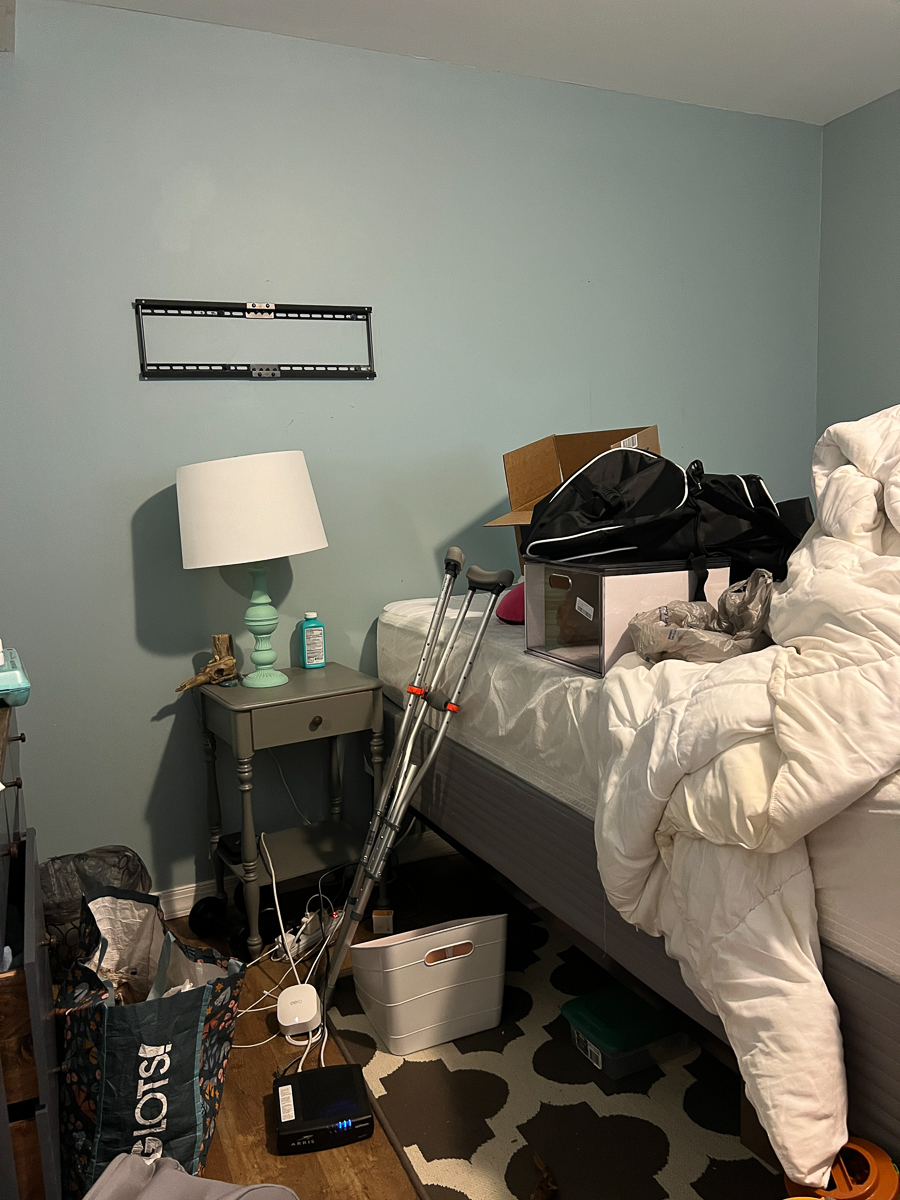
Our guest room was a catch all of random items and I wanted to make it into a more functional space for our family but the queen sized bed took up a lot of space. Especially since it only gets used a few times a year when my parents visit.
Some of the following links are Affiliate links. Click here to see my full disclosure.
So to make room, I decided to build a Murphy Bed. I did a lot of research and I found www.easydiymurphybed.com. They sell kits with all the hardware you need as well as detailed instructions on how to build it.
I ordered the Queen Vertical Kit. I also measured the mattress to make sure it would fit since it says it shouldn’t be more than 12″high. Mine would fit, no problem.
When I received the kit and started looking through the instructions books it felt overwhelming but once you, sit and read the manuals they tell you everything you need to know as well as options. (ie plywood vs mdf)

Supplies I used and cost
- Murphy Bed Hardware kit and guide ($289)
- Materials ($510)
- Tools (I purchased for this project but will also use in future) ($105)
- Handles ($16)
- Hinges for cabinet door (had them leftover)
- Wallpaper ($20)
- Paint ($36)
Total: $960 – this built the Murphy Bed as well as using scraps for the built in. When you look for Murphy beds to purchase online it is easily $1.5k + most I saw around 2k. This is also including some of the tools I purchased for the build (accurate-cut and panel handle) but I will use these in the future and you don’t need to purchase them either.
Using their guide I ordered all the materials I needed from Lowe’s and had them delivered to my home. It was worth the small extra fee to get it delivered.

One thing that I purchased as well with my materials is the Kreg Accu-Cut. Since I was going to be ripping down the plywood by myself I didn’t want to rip it the large sheets with my table saw. The Accu-cut is a track that a circular saw sits in and allows you to make straight cuts.
This worked really well for me on the large pieces and then I was able to rip the smaller pieces on the table saw.
I’m not going to tell you how I built the Murphy Bed since I followed the instructions in the guides. If you want to build a Murphy Bed I highly recommend purchasing the hardware from EasyDIYMurphybed.com.
Suggestions when you build a Murphy Bed:
- Use self drilling screws. This will save you time of pre-drilling holes.
- If you’re painting or staining your Murphy Bed, do it before you add hardware pieces. Also paint the wall the Murphy Bed will be on if you are.
- Adhere the edge banding when it tells you in the manual, I thought it would be fine if I did it once it was together and that wasn’t the case – I also didn’t add it to some parts that wouldn’t really be seen.
If you’re hesitant about this project, I don’t think of myself as an advanced builder or beginner. I am somewhere in the middle and I was able to build this whole thing myself. I did need my husband to hold a couple things at then end as I was lifting but that was it. So go ahead and try!
I essentially built it in a week while the kids were at school.
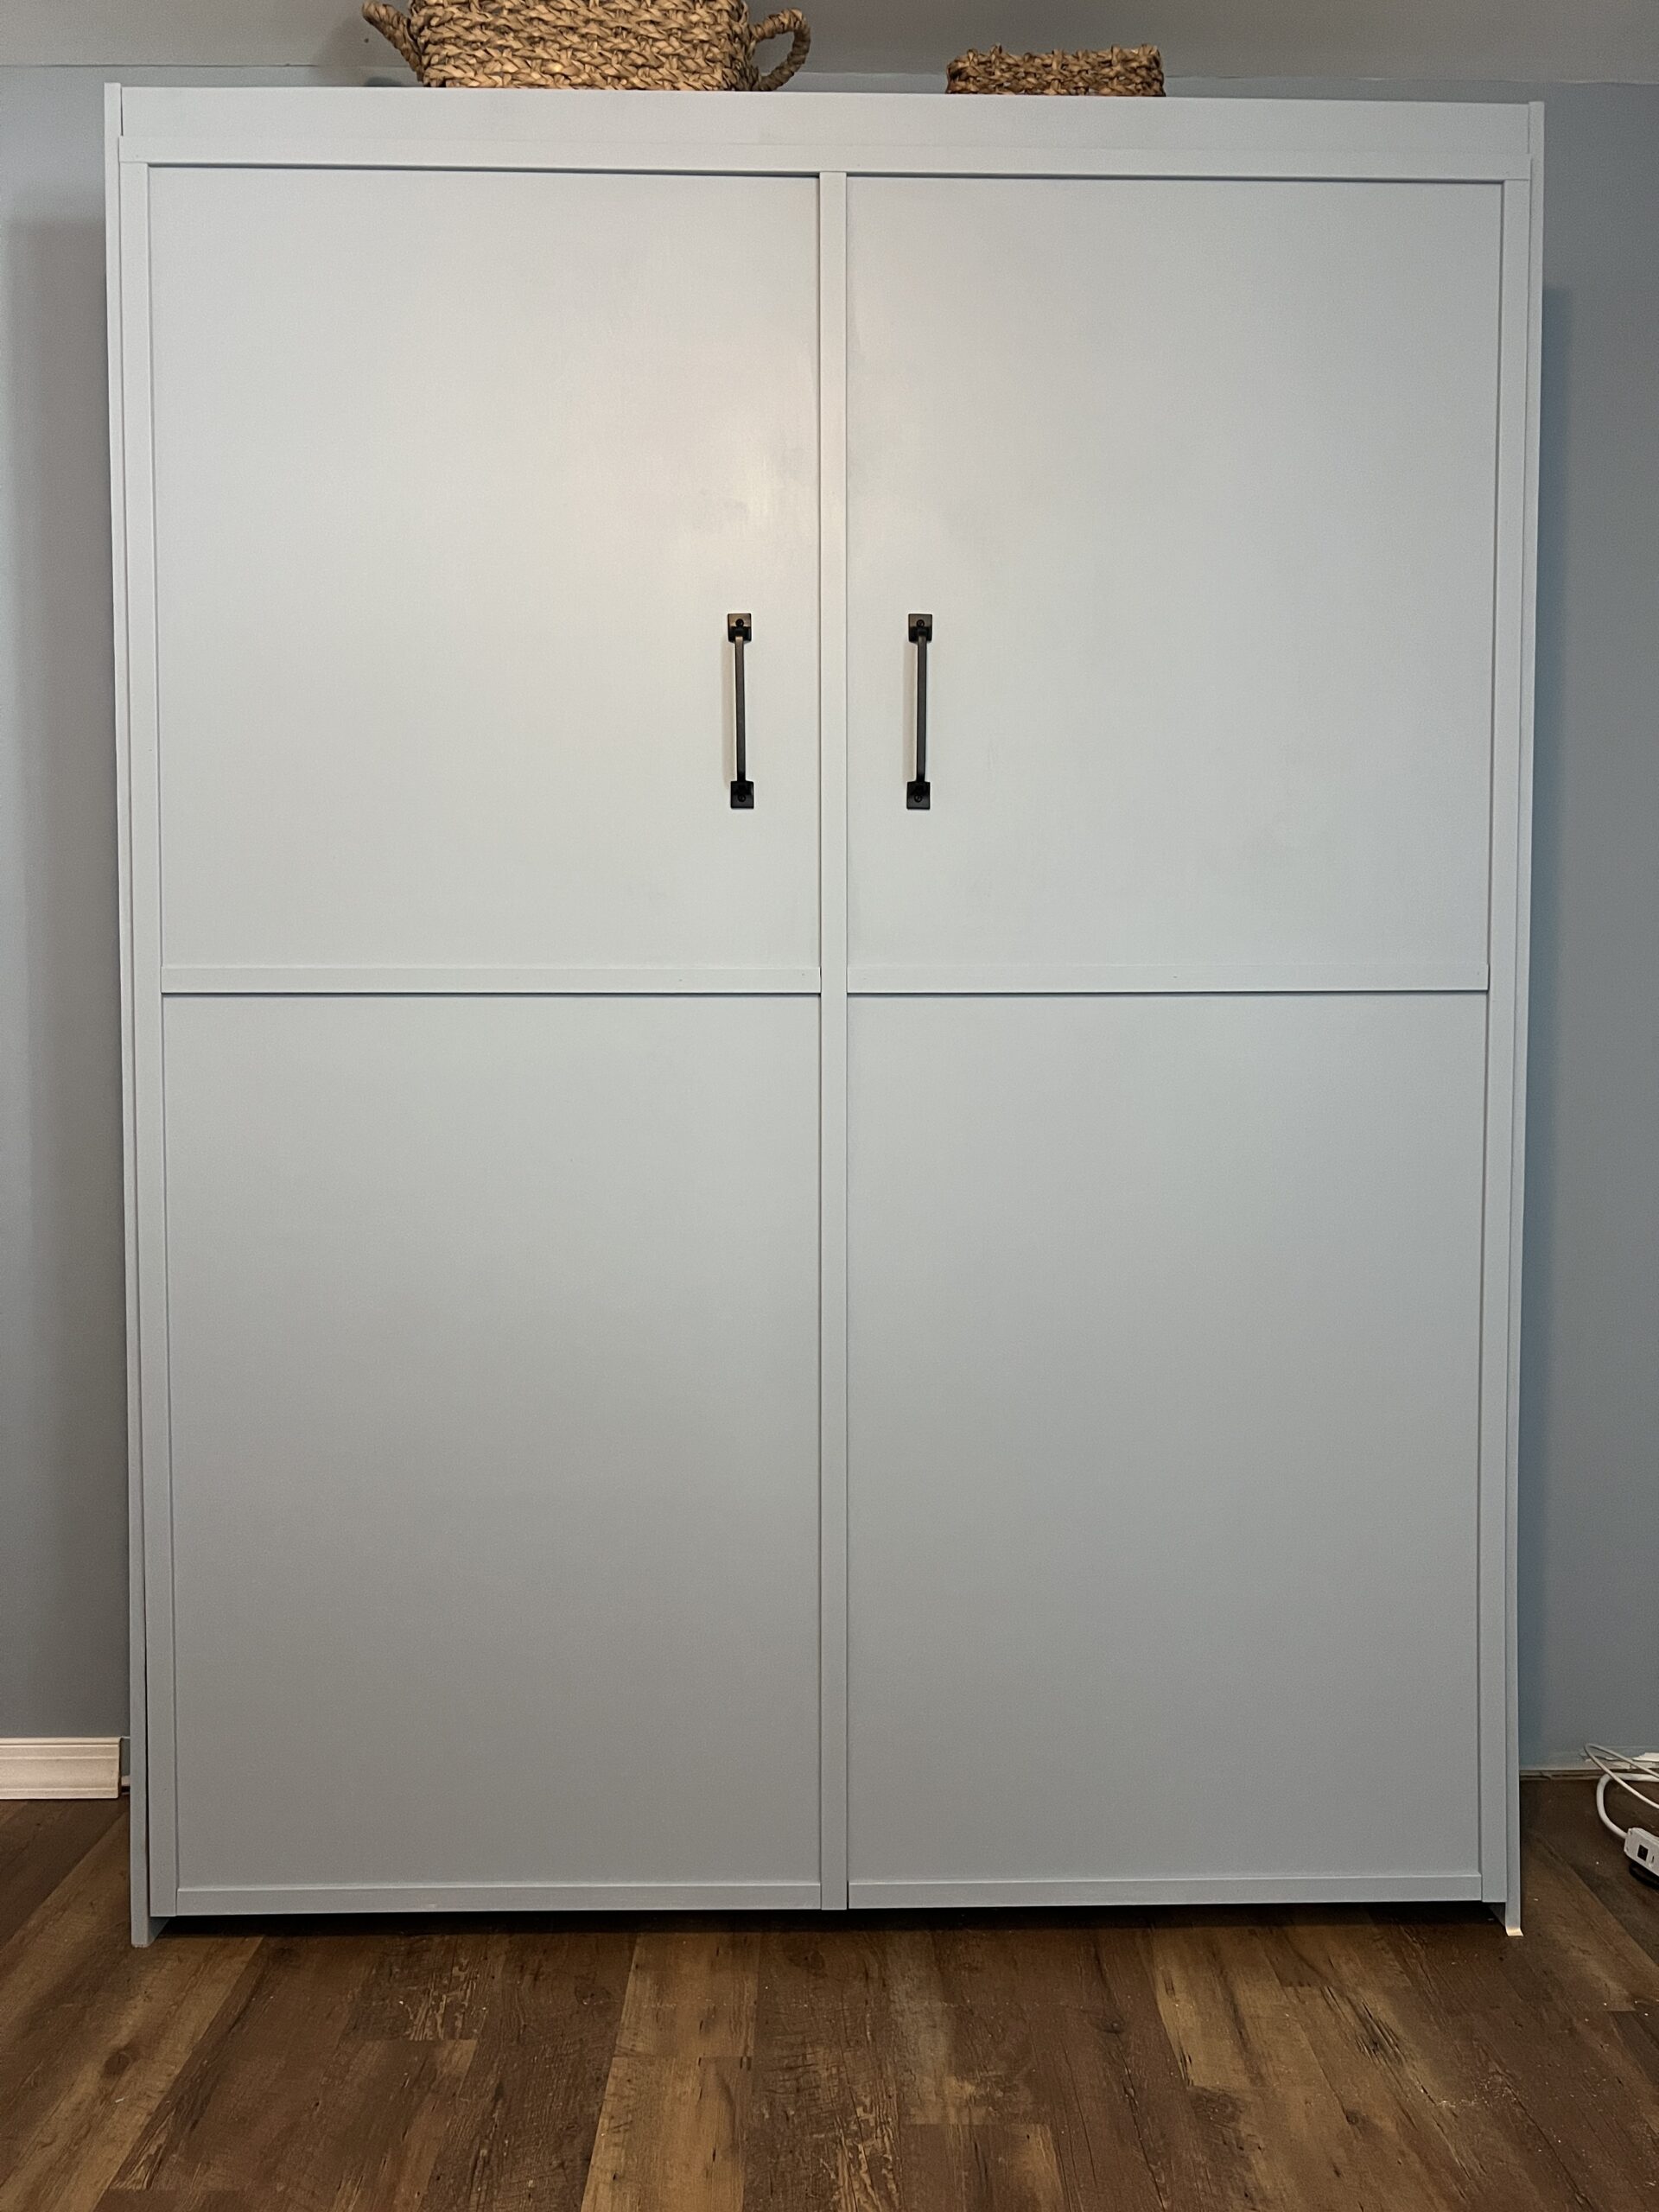
This is the Murphy Bed built as the manual suggests but I also added trim to the outside to make it look more like cabinetry.

Once the bed was complete I decided to use the scrap wood plus a tad extra to create a built in shelf and cabinet on one side. This provides extra storage and a place for a drink etc.

I built them creating boxes and used my shaker cabinet door post to create the door.
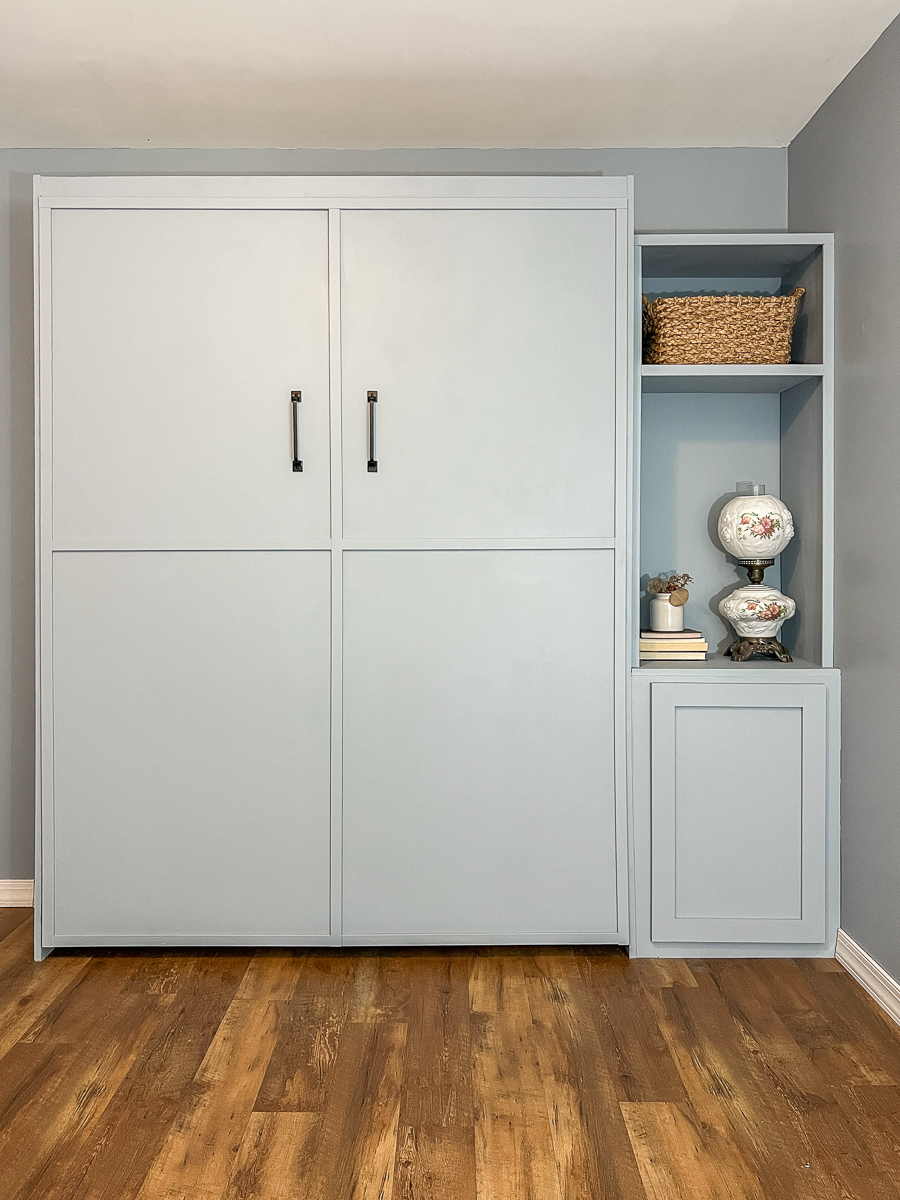
I also wanted a fun pop of wallpaper on the inside and so I used a peel and stick and it came together beautifully!
Here she is in all her glory! What do you think? Would you try this project?
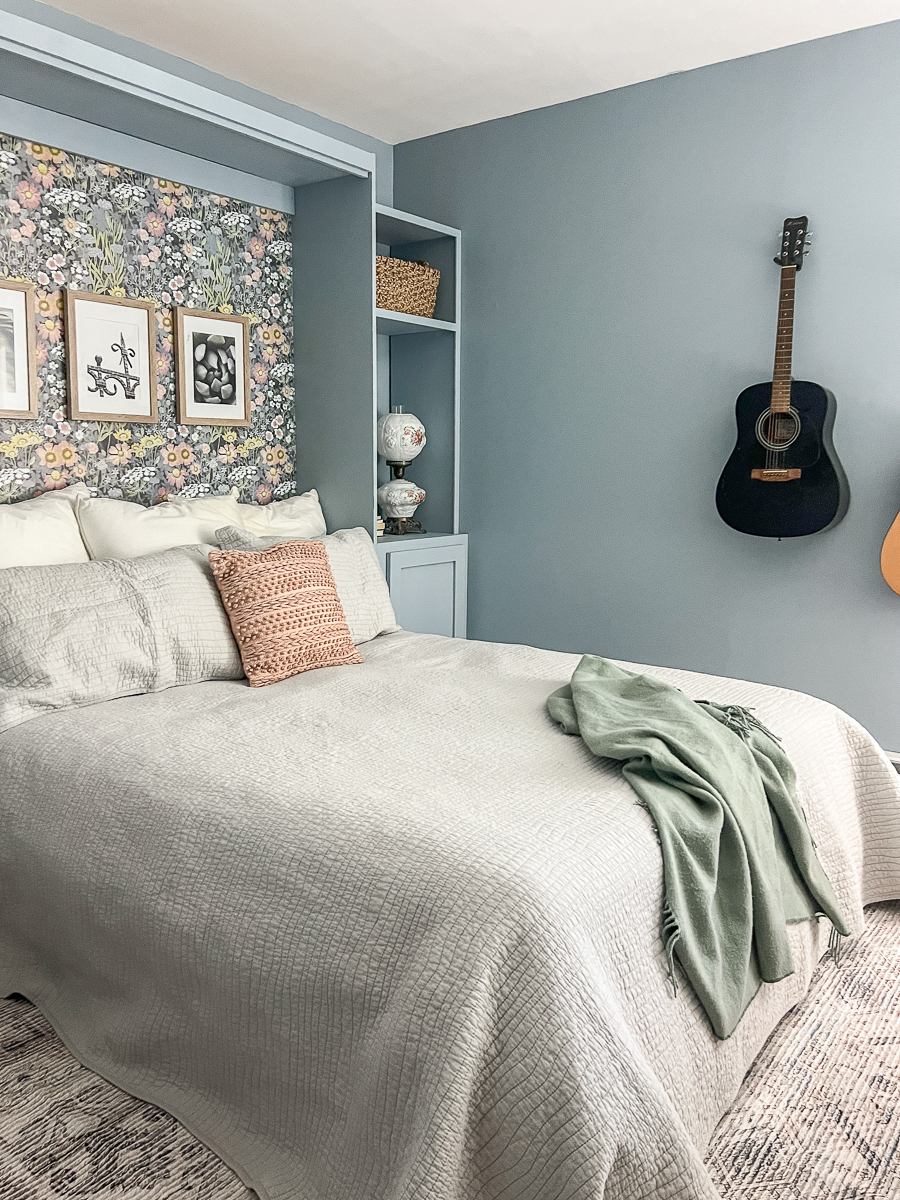
Follow me on Instagram here to watch my projects happen in real time!