
In the summer my daughter went to a local farm camp and one of the crafts she did was wool felting. She enjoyed it so much she asked for a kit for Christmas. Little did I know that when she asked me to help her the first time, I would end up loving it too!
The kit my daughter got was a cat and dog kit that came with the tools, wool, and instructions she needed to make 8 cats and dogs. We made the first little dog and it was surprisingly easy.

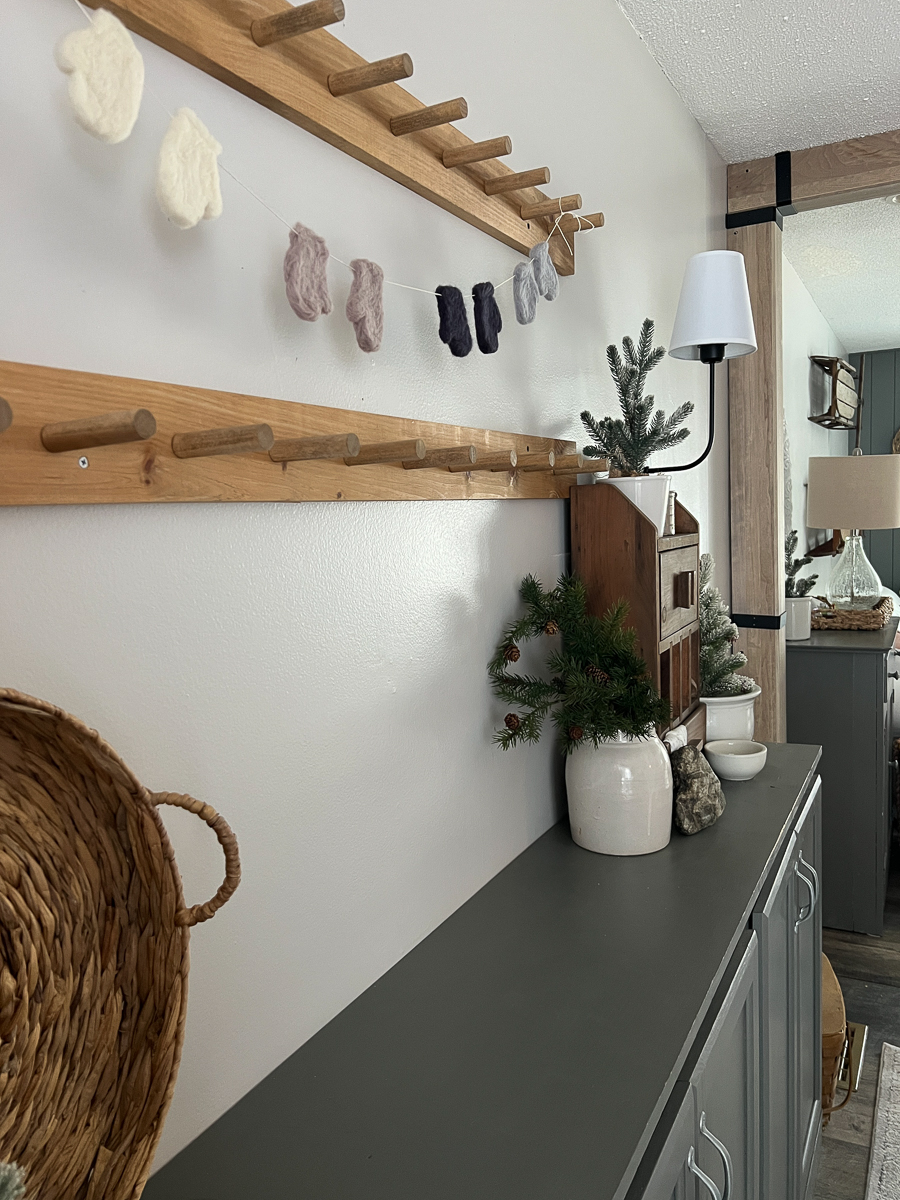
After that I was hooked and already ordering wool of my own thinking I would make little hearts for Valentines Day. But as I was taking down my Christmas decorations I had an empty peg rail and I didn’t know what to put on it. I asked my followers and someone said hats and mittens. I loved the mitten idea so the wool hearts were put on hold and I tried to make mini mittens.
When I googled needle felting I found out that many people use cookie cutters to create the shapes and I realized I had a mitten cookie cutter. It was meant to be.
Supplies:
To make my mittens, I placed the cookie cutter on the felting pad and stuffed it with wool. Then using a felting needle you just start poking the wool with the needle until it starts to take shape.

Turn it around and do it from the back and once it has the basic shape you can take it out of the cookie cutter and finish it without the cookie cutter.

When needle felting holding what you’re working on make sure you car wearing the finger protectors. Those needles are sharp and you’re usually going pretty fast and trust me they are sharp and they hurt!

Keep moving the needle all different ways from all directions. Once you’re happy with your mitten you can string them by taking string, yarn, fishing line etc and string them using a large sewing needle.

They turned out so cute and really happy with my first needle felting project!

Want to try needle felting? All the supplies I have been using are linked here.


Since making these mittens I have also finished my hearts and a bowl!