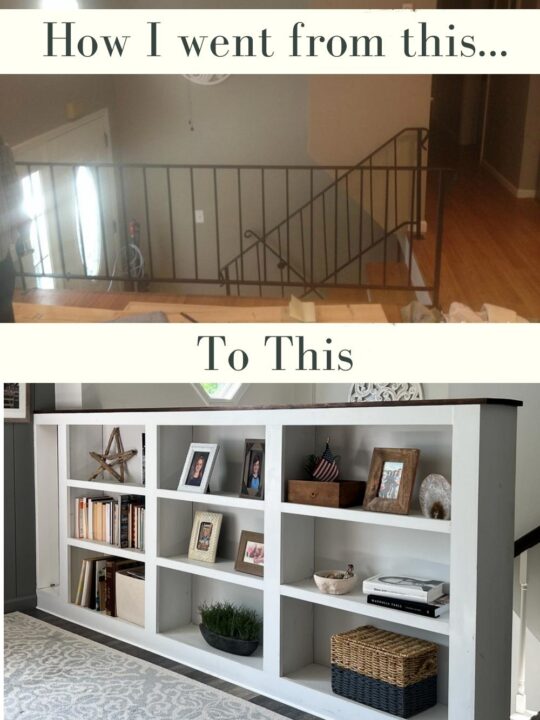
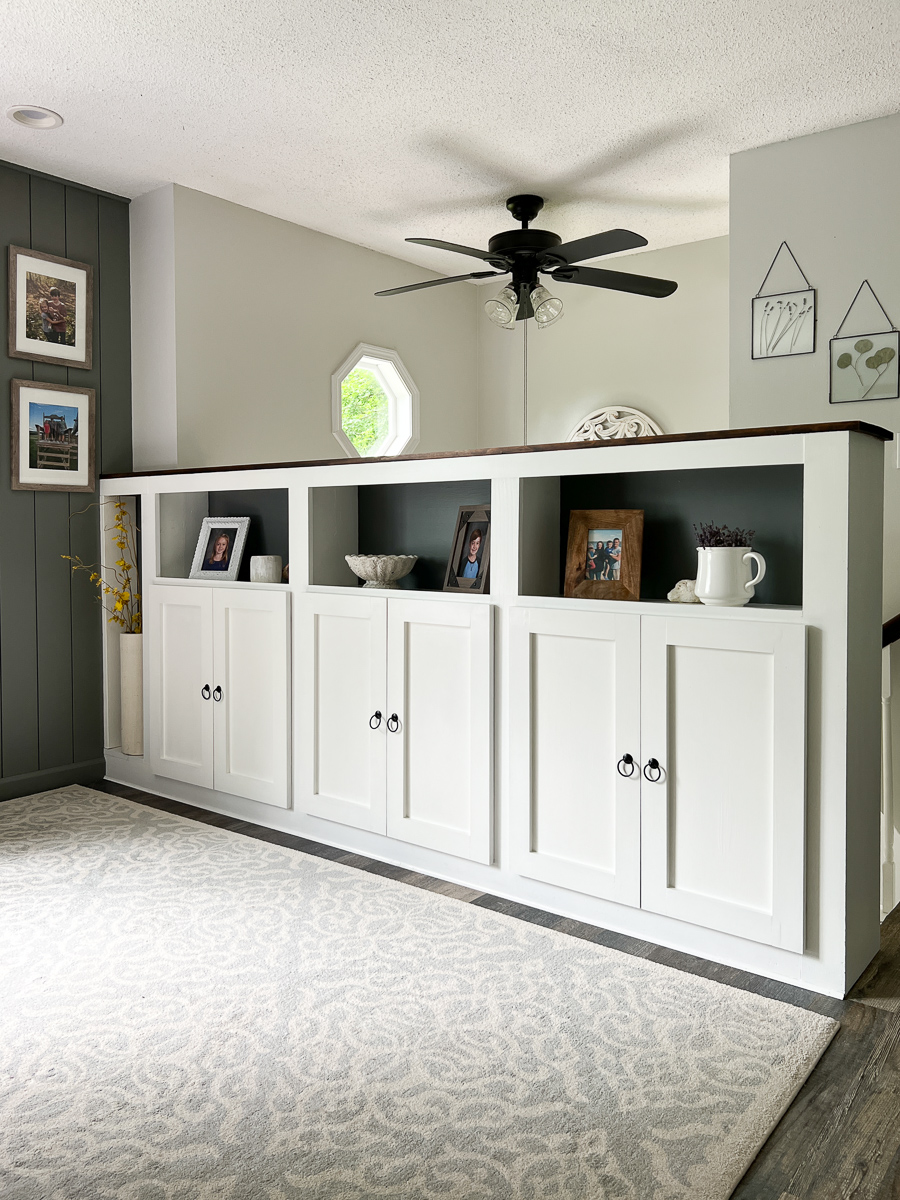
The time has come! I finally made Shaker cabinet doors for our built-in bookcase! I have wanted to make cabinet doors for about 7 years now but I have always been so intimidated thinking that they need to be so perfect and I am not a perfect DIYer. Caulk is my best friend.

After doing more and more research I finally felt confident that I could do it too. To my surprise it was extremely easy! I can’t believe I didn’t do it sooner.
How to Make Shaker Cabinet Doors
Some of the following links are Affiliate links. Click here to see my full disclosure.
Supplies:
- Miter Saw
- Drill/Screwdriver
- Pocket Hole Kreg Jig
- Kreg Jig for Concealed Hinges
- Router
- Screws
- 1/4″ Underlayment or sanded plywood
- 1×3 Pine Boards
Measure
When I was figuring out the measurements for my door I googled how to do it. Which made things more complicated than they should have been. How I ultimately measured is by measuring the opening of the area that two doors were going to cover. I then added 1″ to account for 1/2″ overhang on both sides of the cabinets.
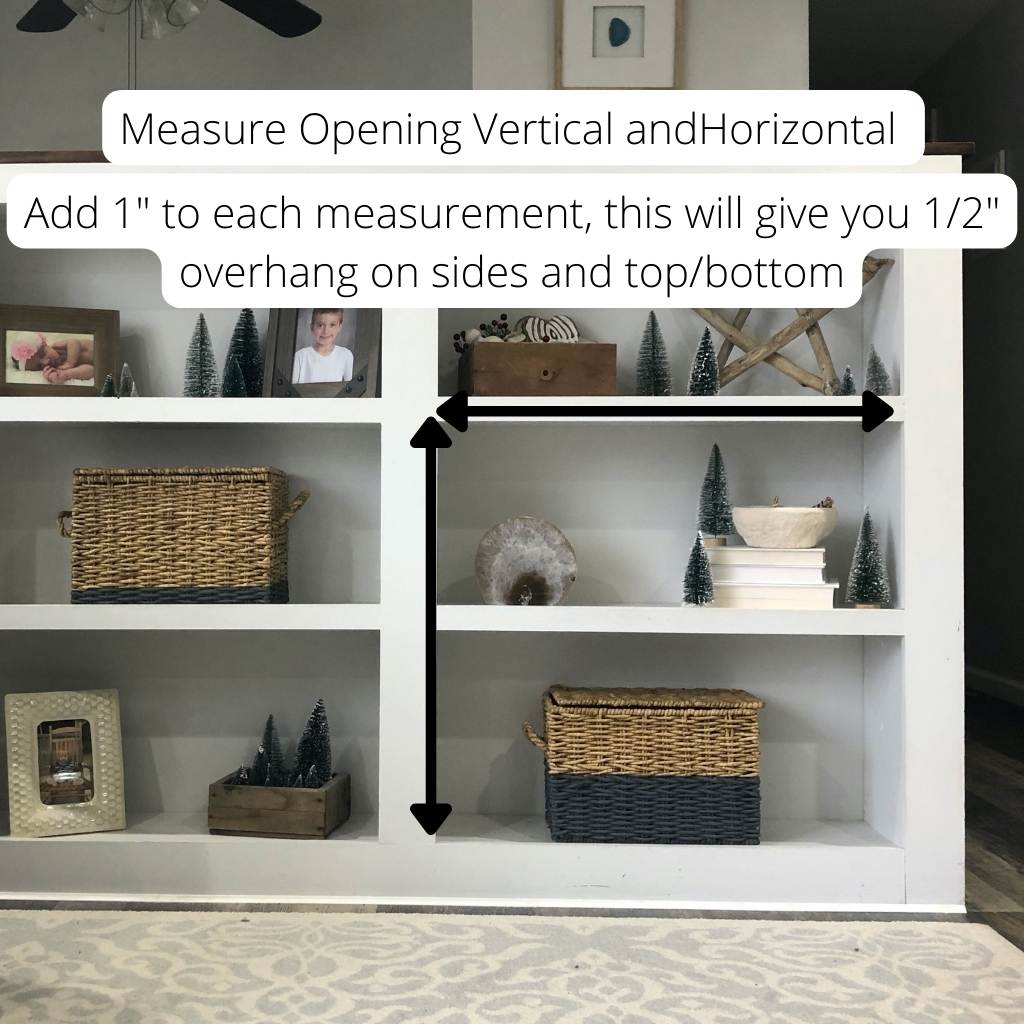
Then dividing the horizontal measurement by 2 gives you the width of each door.
When cutting the boards I cut the length (which is called a stile) first. For the top and bottom pieces (which are called rails) the boards are 1×3 with an actual width of 2 1/2″ I subtracted 5″ from the width measurements to account for the length pieces. This is how I got my cut measurements for my rails.
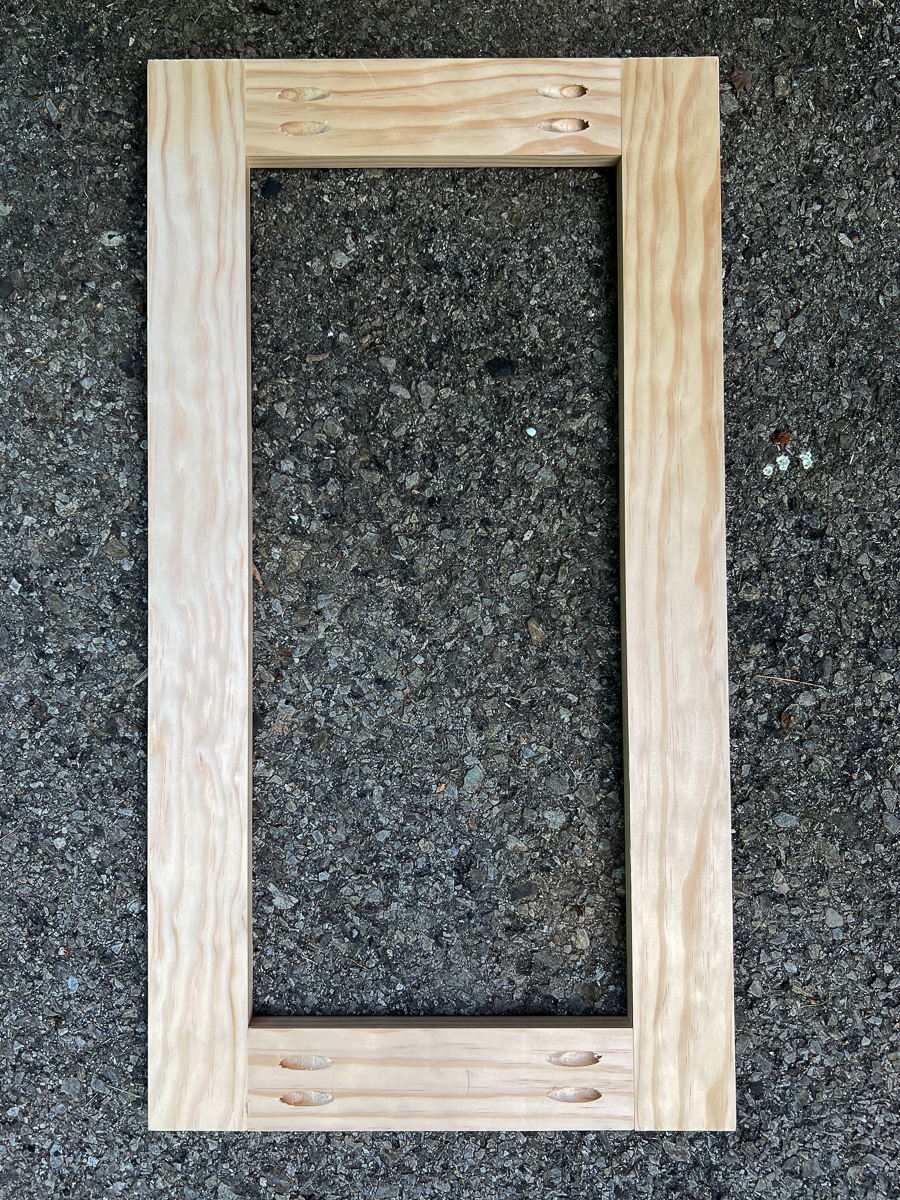
Screwing the Frames
Once everything is cut, I drilled two pocket holes on each side of the rails. This is where I would be securing the rails to the stiles)

Using a clamp I made sure the rails and stiles were flush and 90 degrees before screwing.
Router
To create an inset for the panels I used my router. You could also use a table saw setting the blade to 1/4″ height and run your boards through before screwing them together.
I used a rabbeting bit and ran the router on the inside back of my frames.
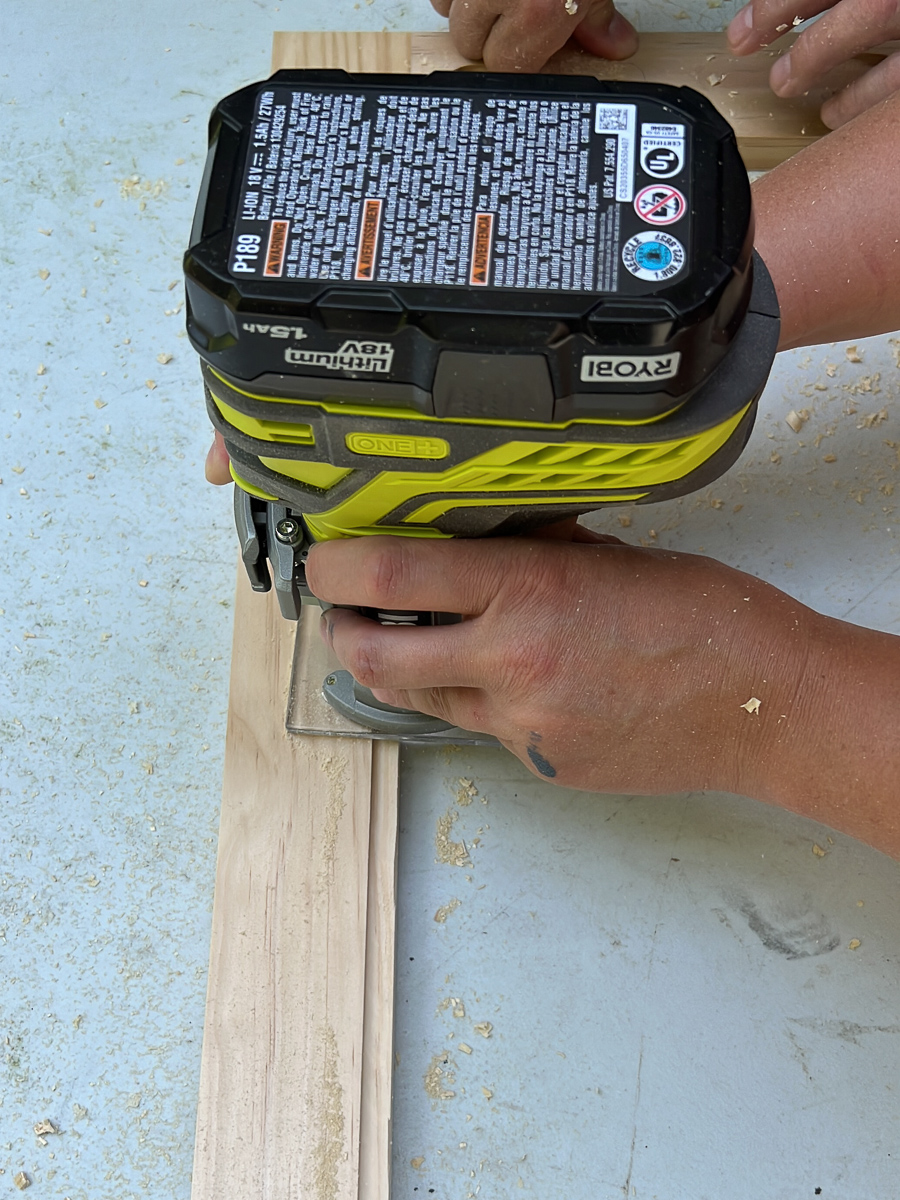

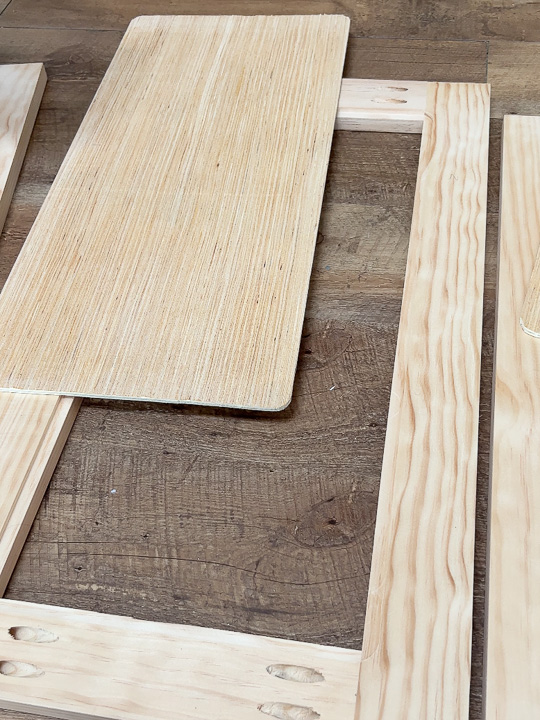
Panels
I cut the underlayment board with my table saw to the size I needed. because the router corners are rounded, I used my jigsaw to round the edge of the panels so they would fit.
Using wood glue insert the panels into the frames and clamp or set something heavy on them. I left them overnight, but just read the label of the wood glue.

Hinges
I knew I wanted concealed hinges for the doors but it’s something I have never done before so, to save my sanity I purchased Kreg Jig’s Concealed Hinge Jig.
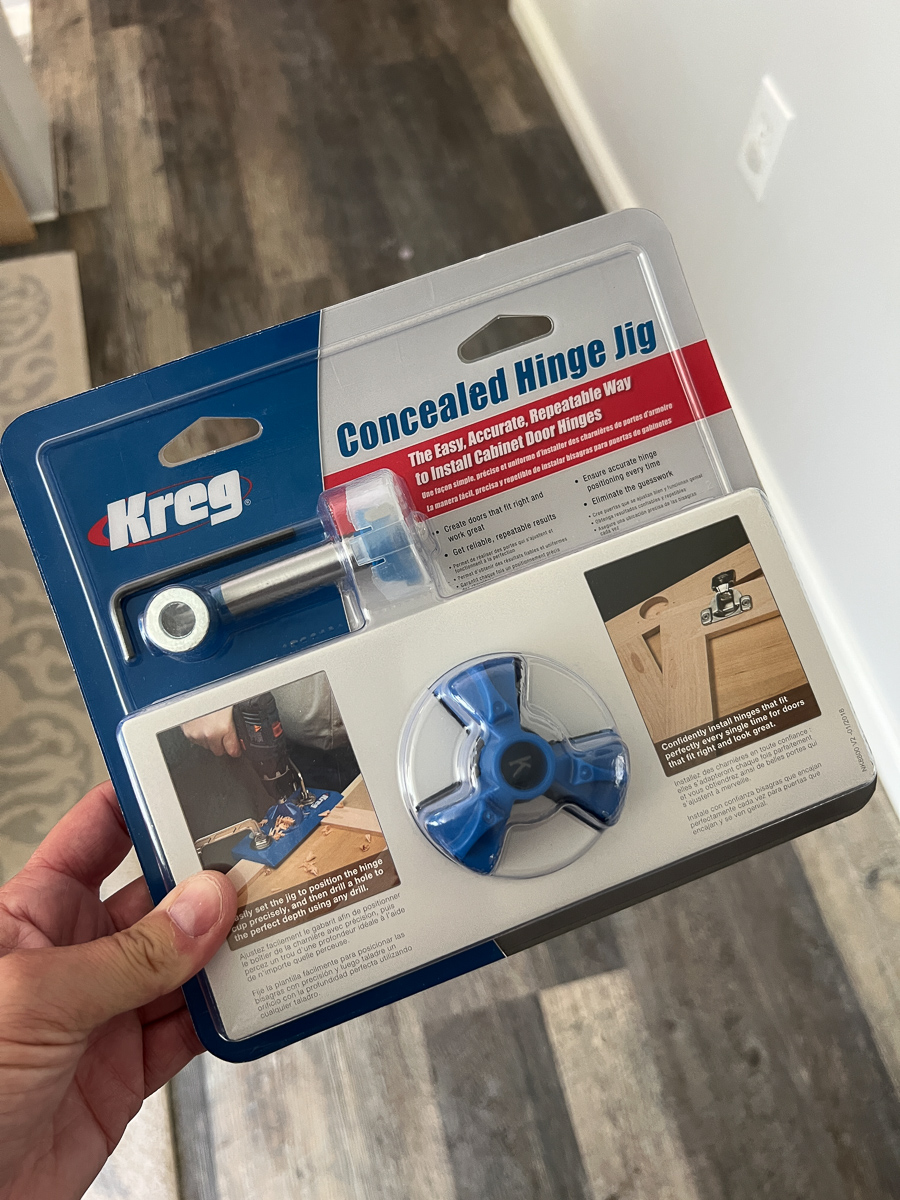
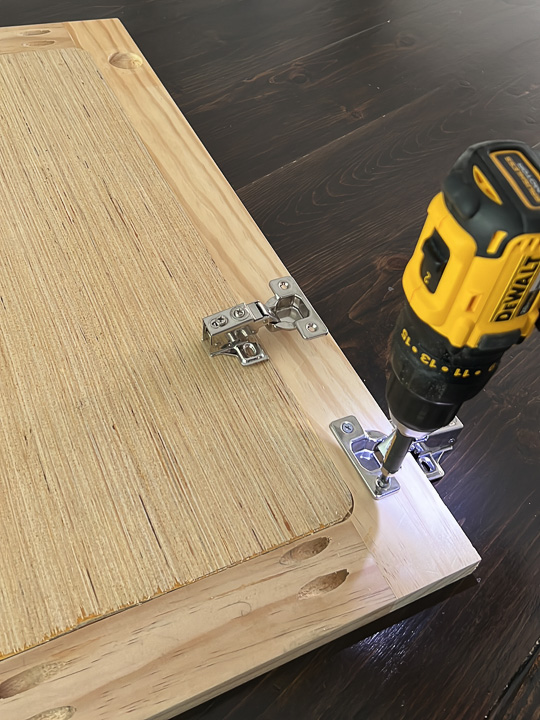
What a sanity saver it was! It was so easy to use and it made attaching the hinges seamless.

When choosing hinges you need to make sure they are the right size. The size is how much of a overhang you have with the door to the edge of the frame you are covering. Since we added 1″ in total width of the doors it means we have a 1/2″ overhang on each door.
I found these hinges on Amazon and they were a fraction of the price that I saw in stores.
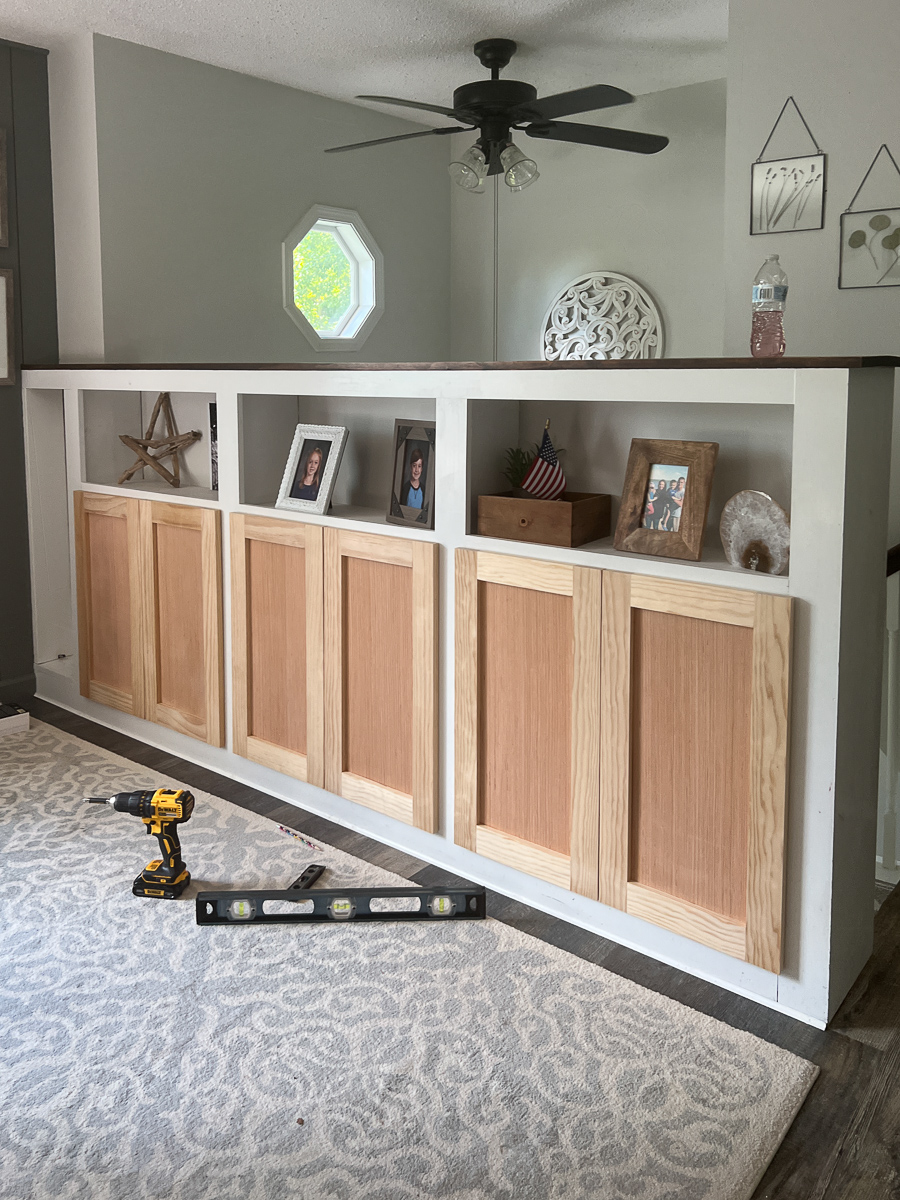
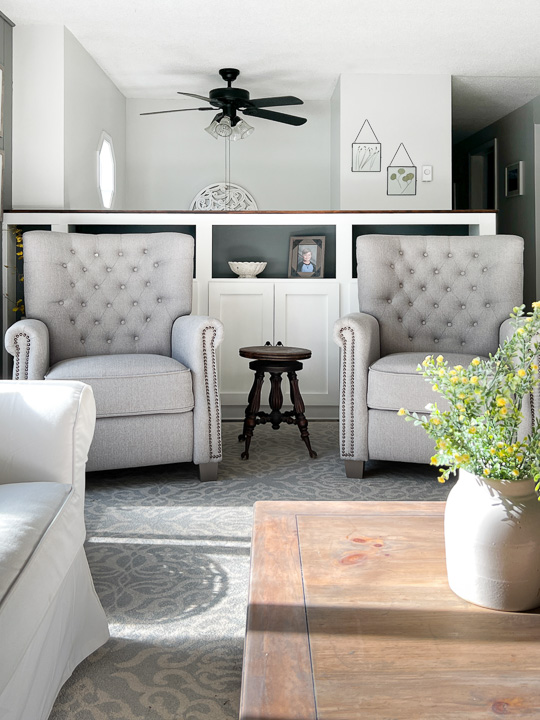
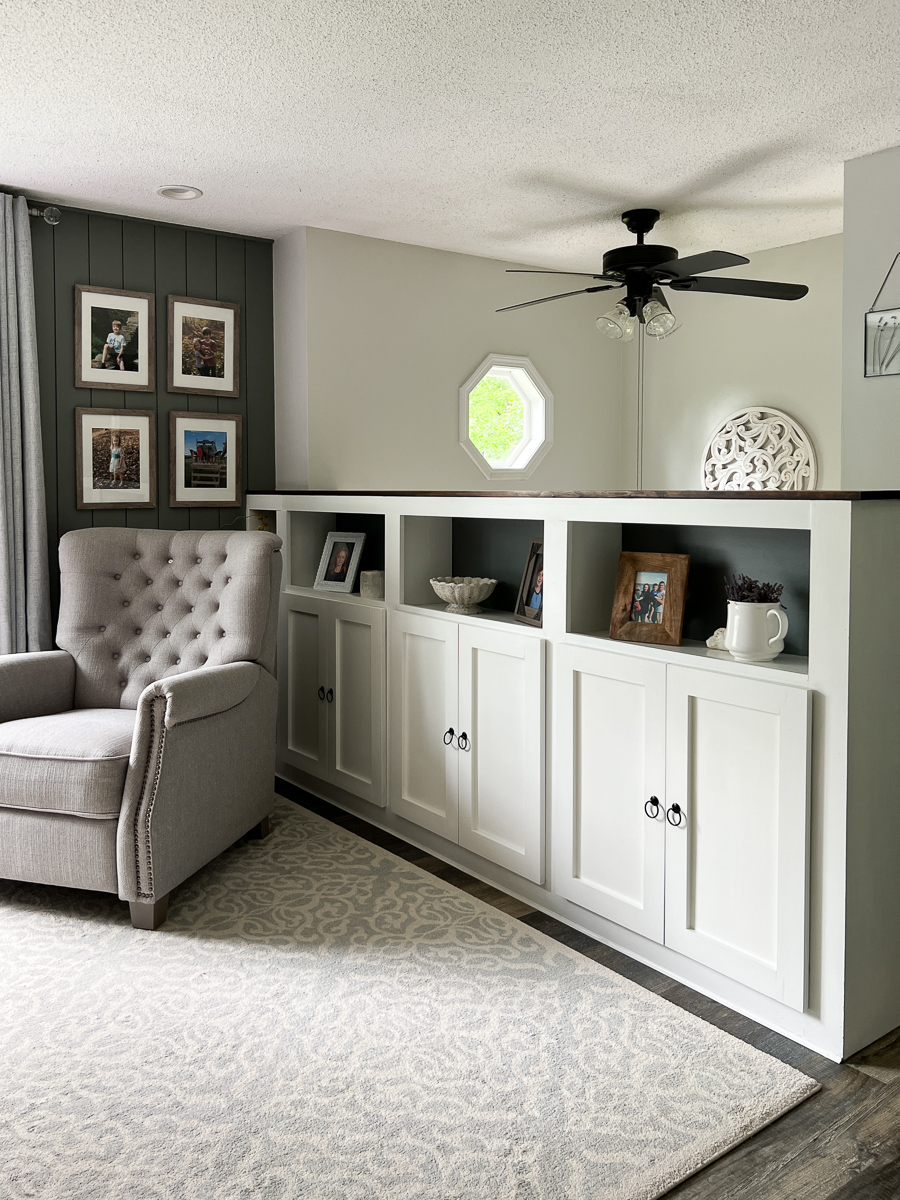
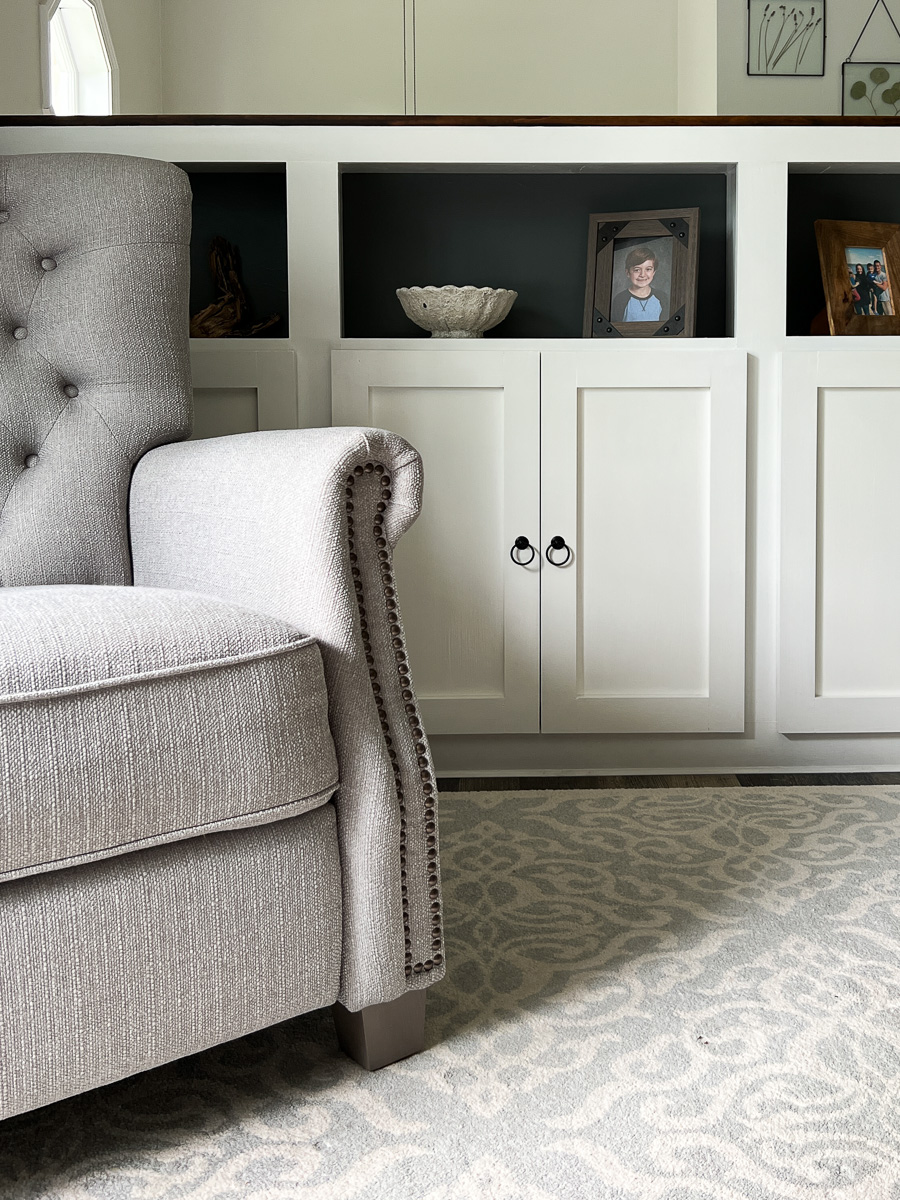
After hanging and adjusting the doors I painted and added these adorable ring pulls! Look how amazing they turned out! I can’t believe I didn’t do this sooner.
Follow me on Instagram here to watch my projects happen in real time!