When we moved in 10 years ago we converted our garage into living space while my mother in law was living with us. During that time we also moved the washer and dryer into that area from a closet in our family room.
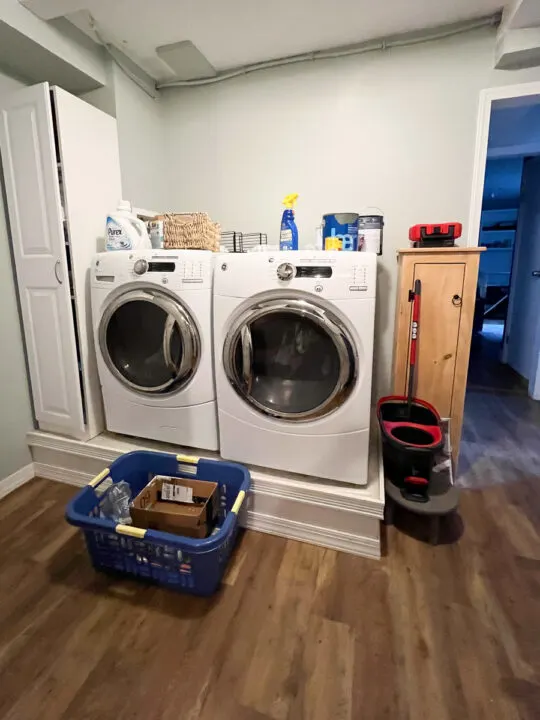
We placed the washer and dryer on a platform, which my Dad built because I was very pregnant and didn’t want to keep bending over and I figured I would make the area look pretty when I had a chance. The problem is it’s kind of just sitting open in our home and does not look like a room that would be in our home. So I finally made it look like it belongs!
It was worth the wait!
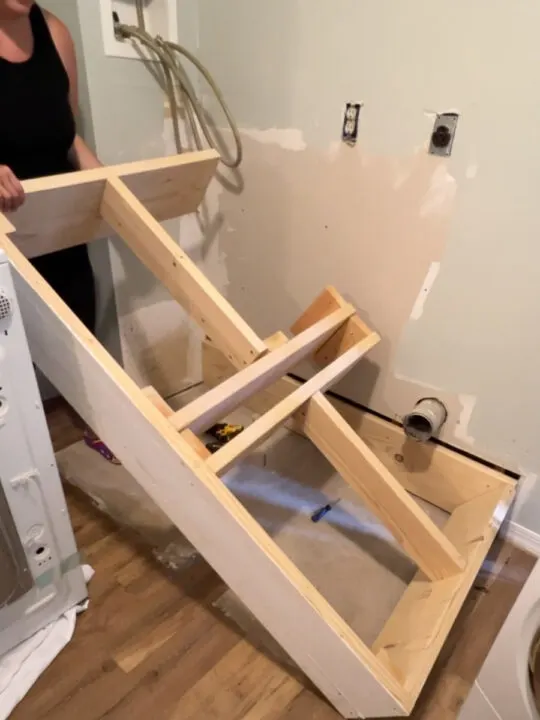
The first thing I did was remove the platform. Don’t get me wrong I loved having it and made it easier to grab the clothes without bending down, but I always thought in the future what if I wanted a top loader. I would rather do the work of removing it now and patching the floor instead of at a later date.
Plus removing the platform would provide a more appropriate counter height.
During removal I saved the 2x10s to use in making a shelf end for the new build.
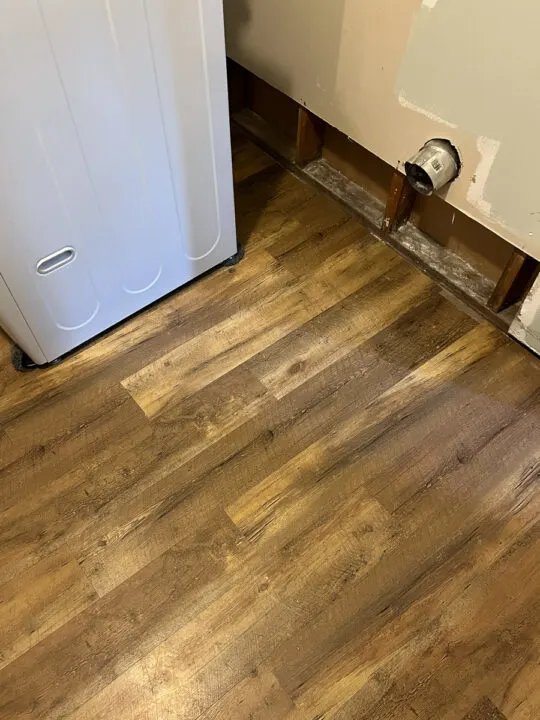
Patching the floor was relatively easy. It this vinyl plank flooring that I have had for 10 years and has been great.
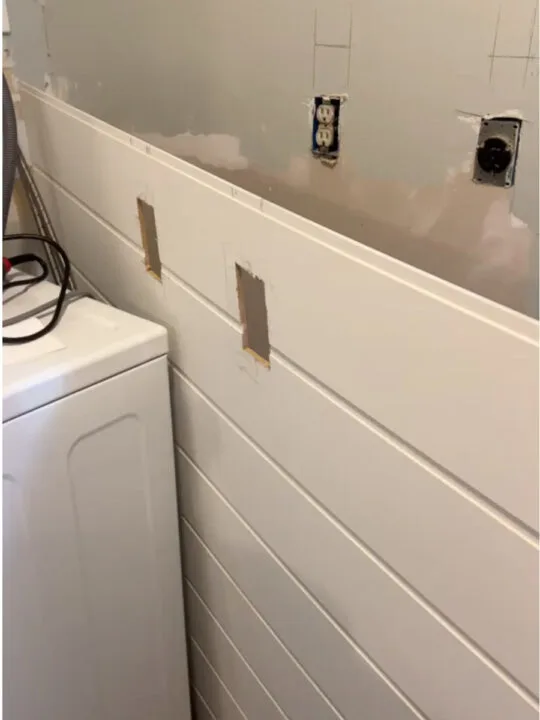
After the platform was removed and flooring patched, I realized I had a gap in the sheetrock of the wall because of the platform plus it was in bad shape because I must have figured why patch and finish it when no one would see it behind the washer and dryer.
Instead of trying to patch it I decided to use a shiplap wall panel. at 4×8′ it was a perfect height and would make the job easier.
I also had enough to wrap it on the side wall as well. I used my Ryobi brad nailer to secure it to the wall studs.
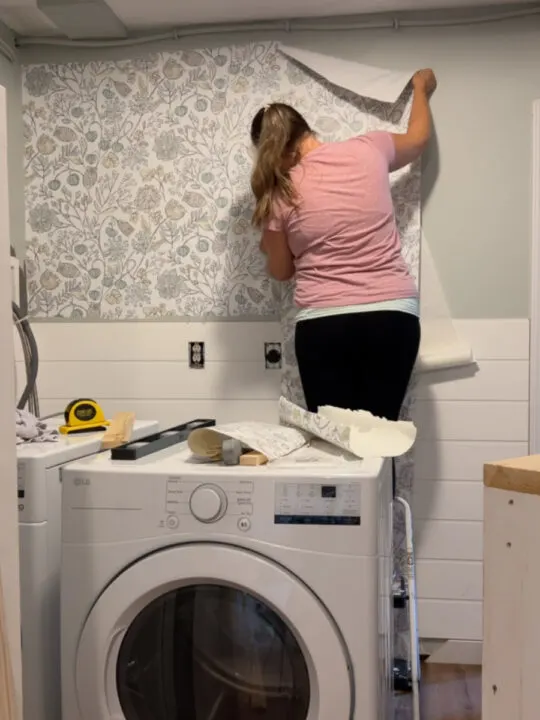
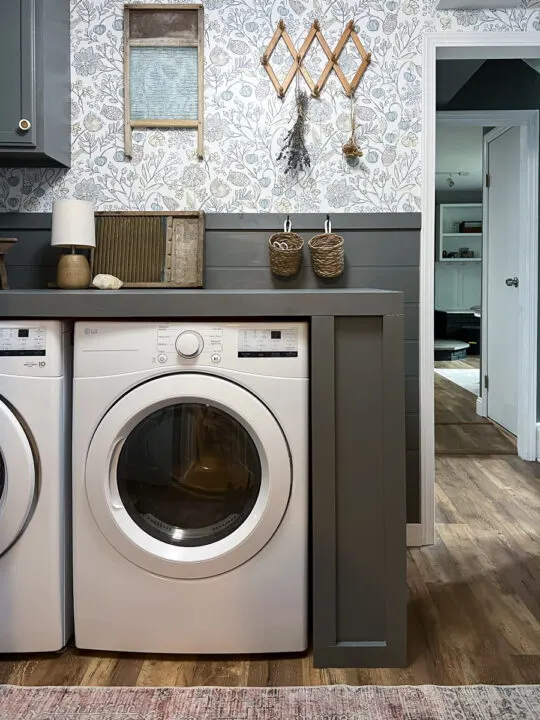
For the wall above the shiplap panel I found a cute removable wallpaper I thought would look great with the wall color I was using, Amherst Gray by Benjamin Moore.
If you have never used a removable wallpaper it is really a simple DIY with a great impact.
I built the side shelf wall out of the 2x10s I salvaged from the platform. A very simple build with one shelf. This will also act as support on one end for the table top.
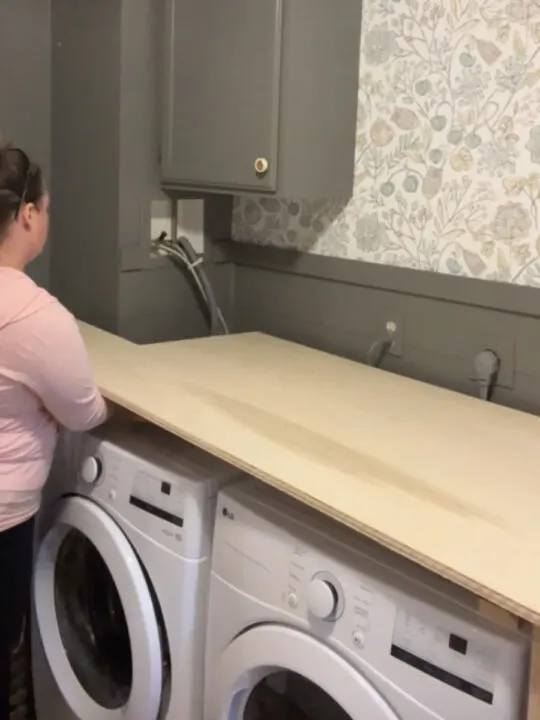
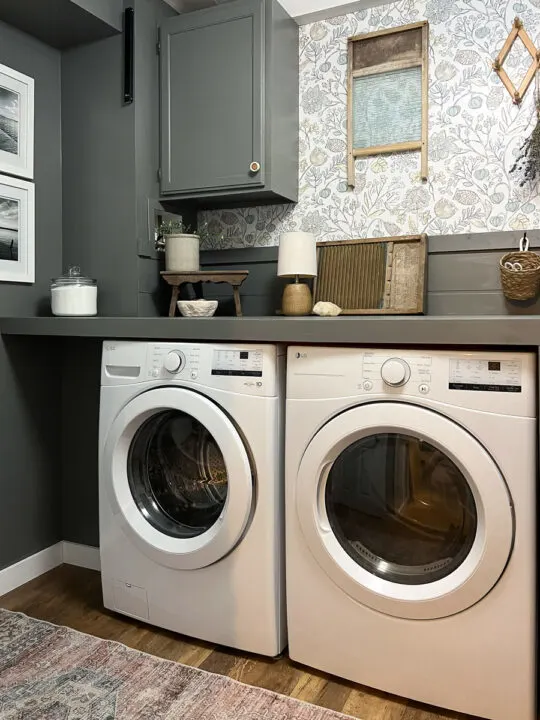
For storage of cleaning supplies I found an upper wall cabinet at the ReStore for $5, gave it a good sanding, primed and painted it the same color as the wall.
For the top of the washer and dryer I used a 3/4″ thick piece of sanded plywood. I cut it out to fill in the niche by the wall and used 2×4’s screwed into the studs on the wall for the plywood to sit on.
I wanted to to make sure the plywood was totally removable incase we needed to service the washer and dryer.
To make it look built in I trimmed out the top and the side shelf using 1x3s. Making it appear as one piece.
I gave everything few coats of Amherst Gray by Benjamin Moore and it turned out better than I expected.
I choose accessories that I had around the house, like my great grandmother’s washboard that is hanging as well as rustic finds I have found over the years at yard sales and flea markets.
What do you think?
Follow me on Instagram here to watch my projects happen in real time!
Some of the following links are Affiliate links. Click here to see my full disclosure.










Emily
Wednesday 27th of September 2023
It’s very cute! I especially love how the washer and dryer have the counter above it. I think I would have put some open shelving next to the upper cabinet to balance out the wall a bit more. But I do still think it’s great!