
I have been wanting silhouettes of my kids since they were born. I think they’re so adorable, so classic and a perfect touch to any wall.
I remember in Elementary School the teacher having us sit in front of the screen projector and tracing our shadow so we could make them for our parents.
A few months ago we were playing in our living room as the sun was setting and it made perfect shadows on the wall. I jumped and asked the kids to stand sideways so I could take their picture of their shadows.
I had them in my phone for a few months not knowing how I was going to convert them to an actual silhouette.
Some of the following links are Affiliate links. Click here to see my full disclosure.
Then my Cricut Explore Air 2 arrived! After I learned how to do basic things, I was ready to learn how to upload my own photo and create a cut from it.
How to Make a Silhouette in Cricut Design Space
- Head into your Design Space App and click on “new project”.
- Click upload on the left and then “Upload Image” and choose the image you would like to make into a silhouette. I choose the picture of their shadow just because I thought it captured them perfectly, but you can definitely use a picture of the side of them.
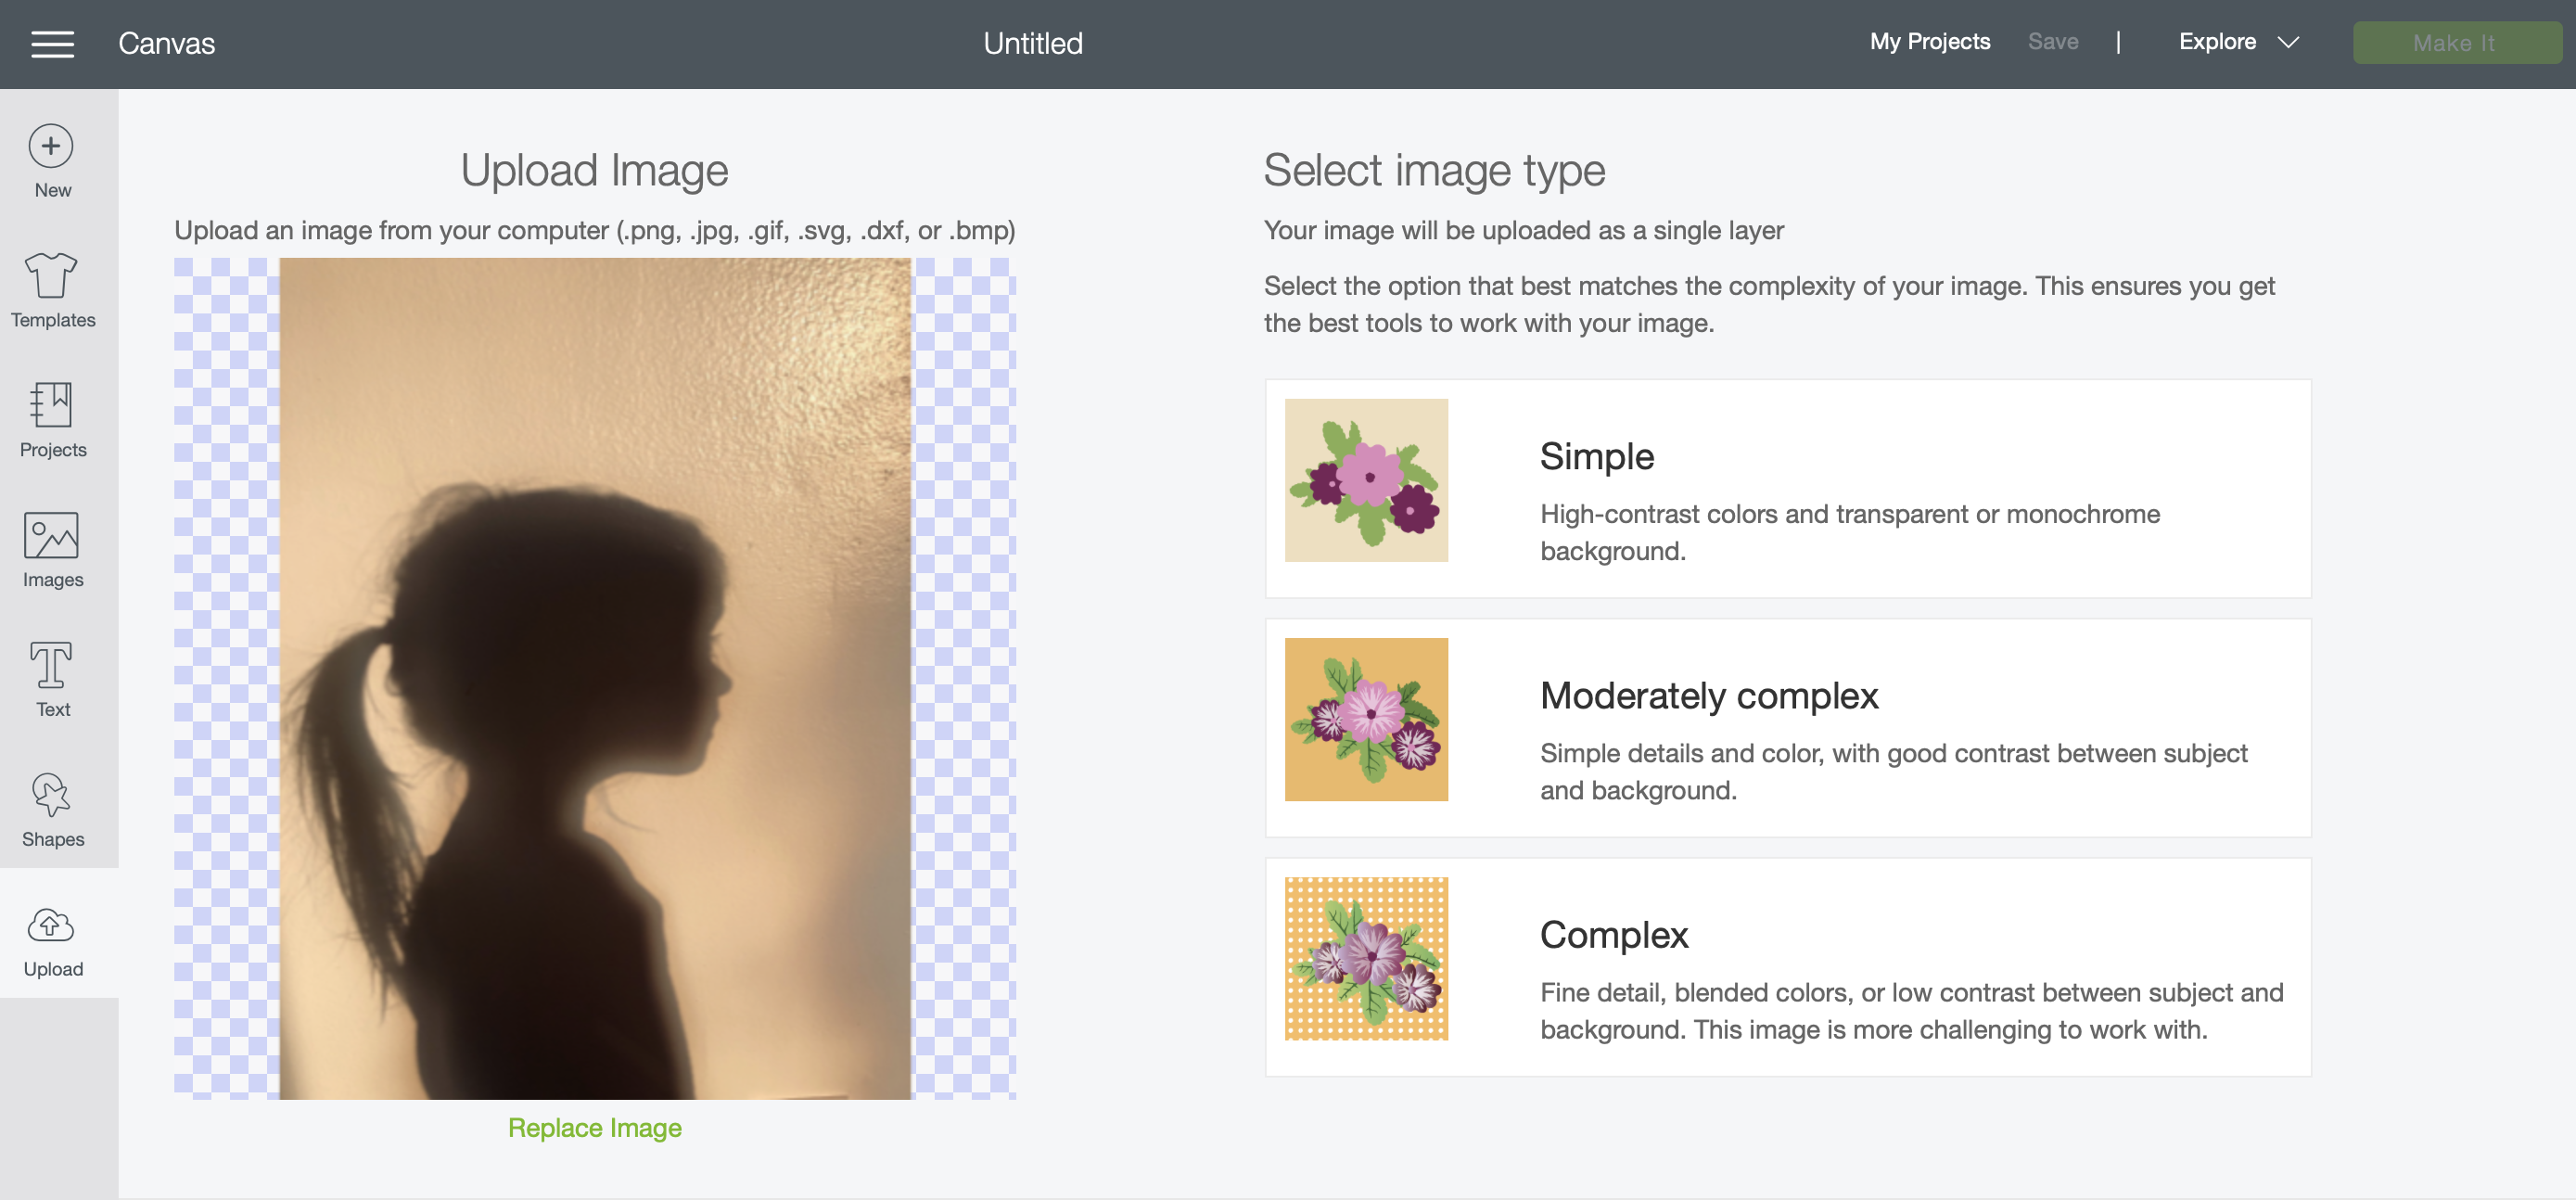
- Once uploaded it will ask you if your picture is, Simple, Moderately Complex or Complex. Basically it’s asking you how detailed is it? Is there a ton of different colors or is there is it a basic picture of a few colors.
- I choose Moderately complex since the shadow coloring has different hues to it.
- I then zoom my picture all the way out from the right hand upper corner.
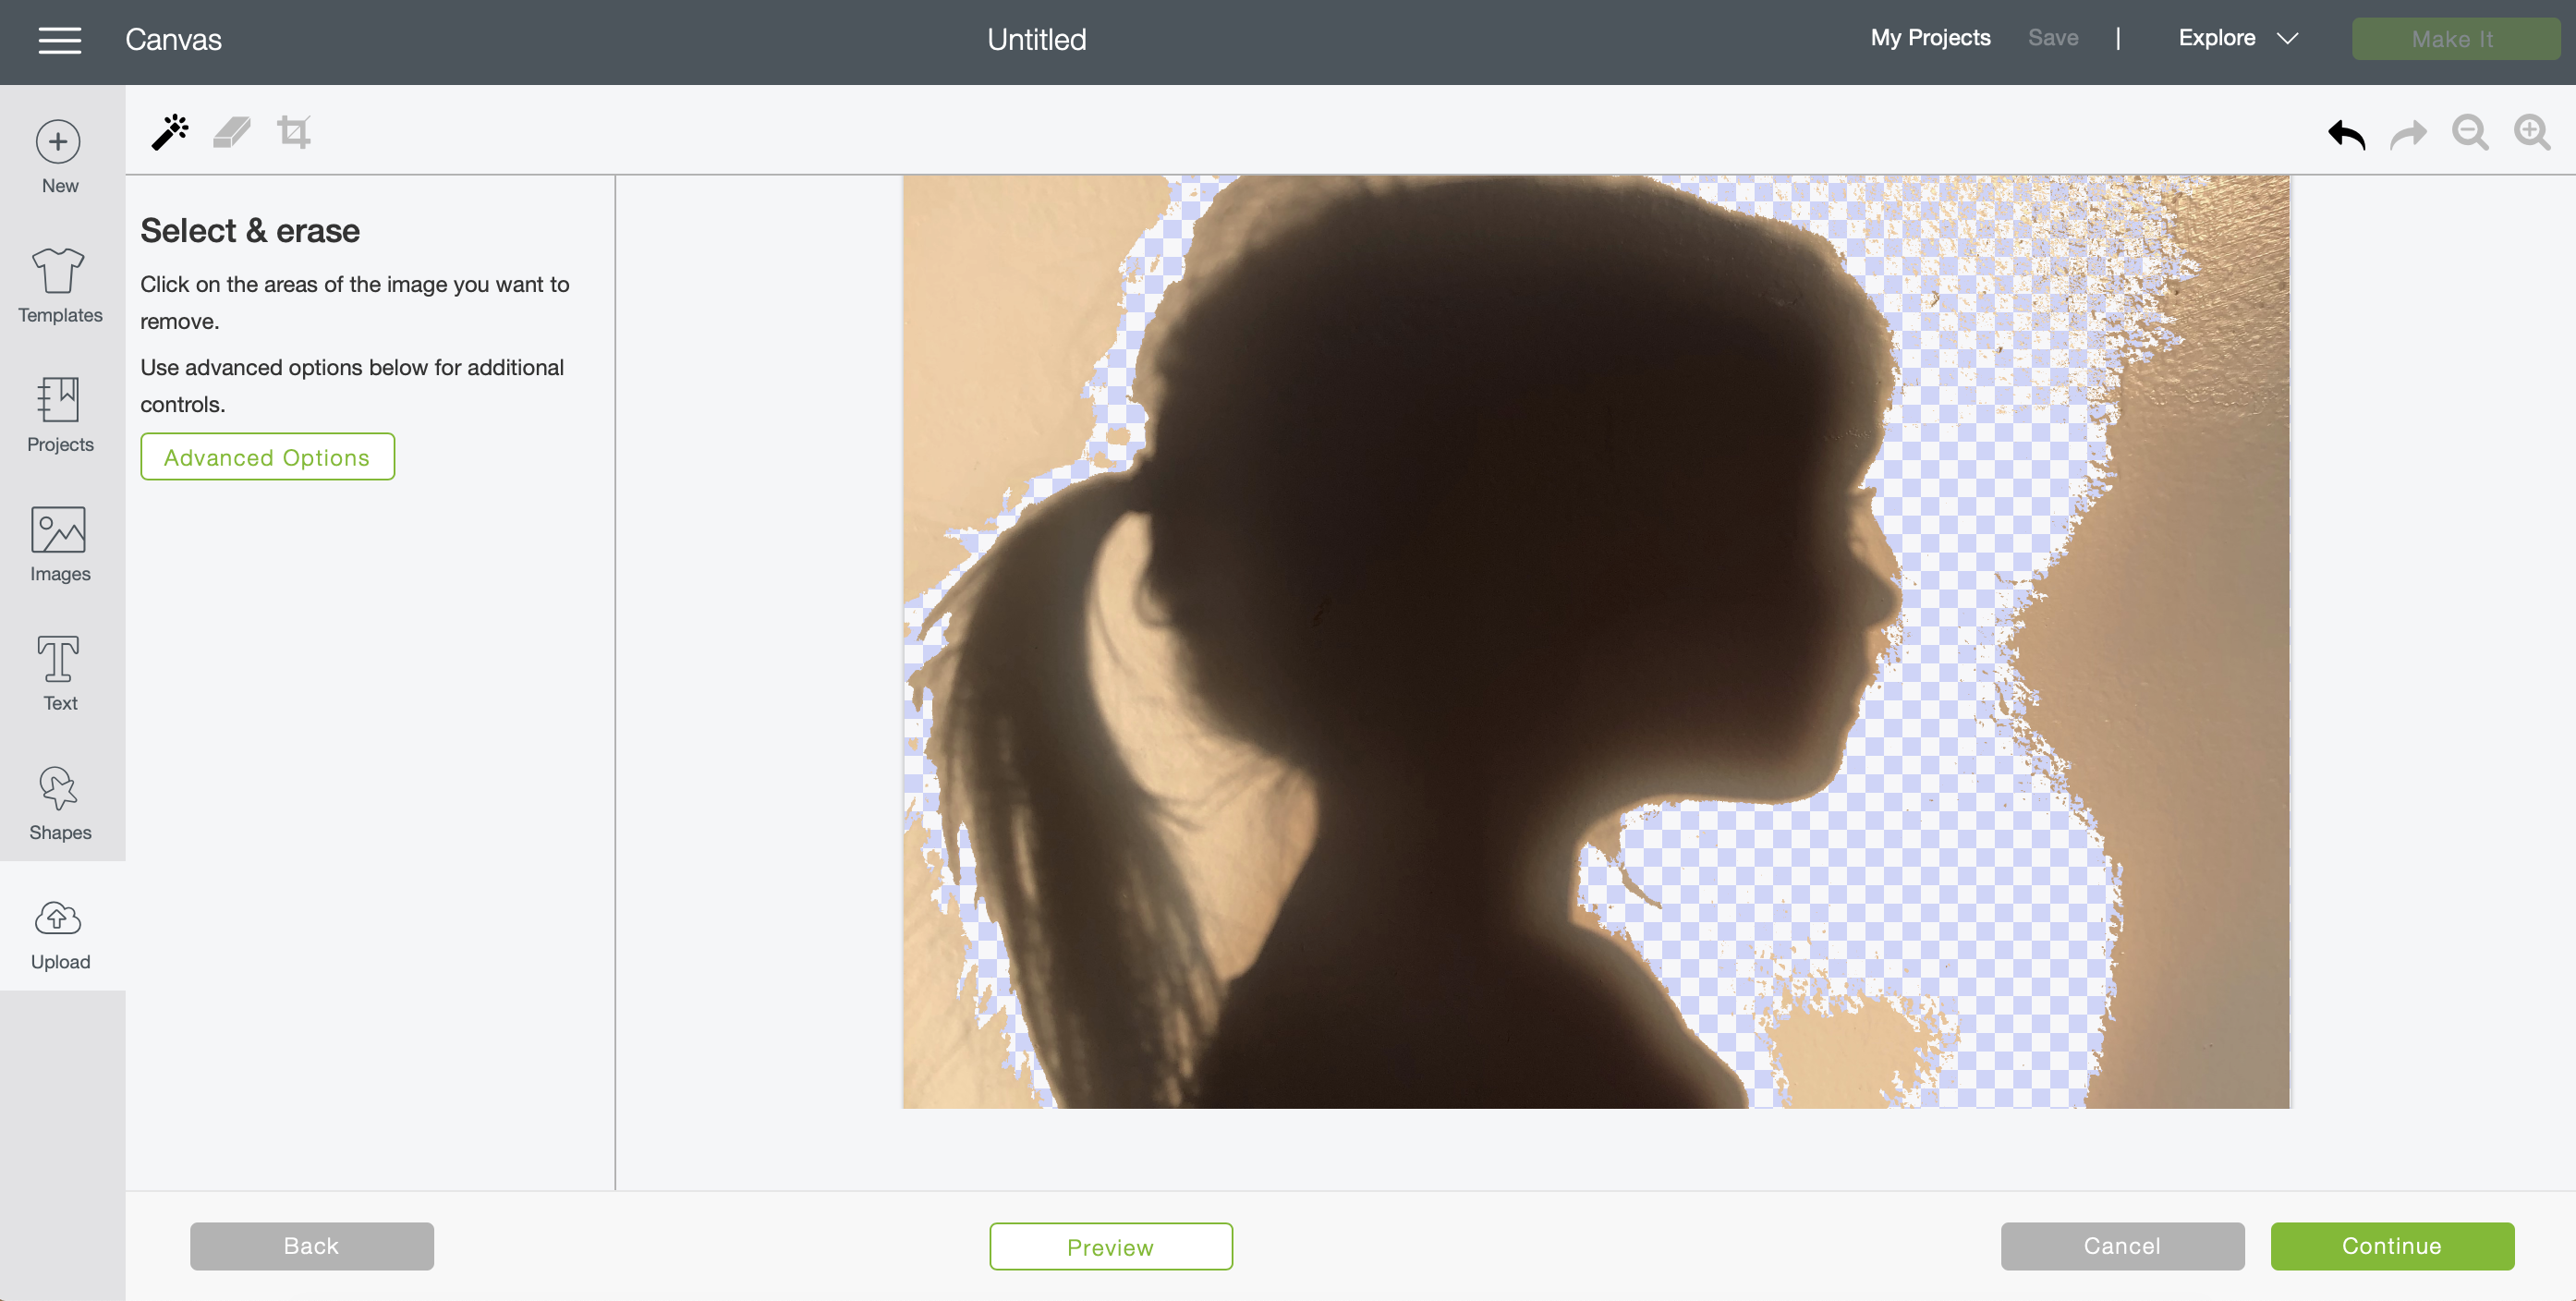
- Before going to the eraser, I take out as much background as possible with the click. Because of the different hues of the wall from the sun, I need to click on each part to get rid of it. If you take it in front of solid color it would make this step very easy.
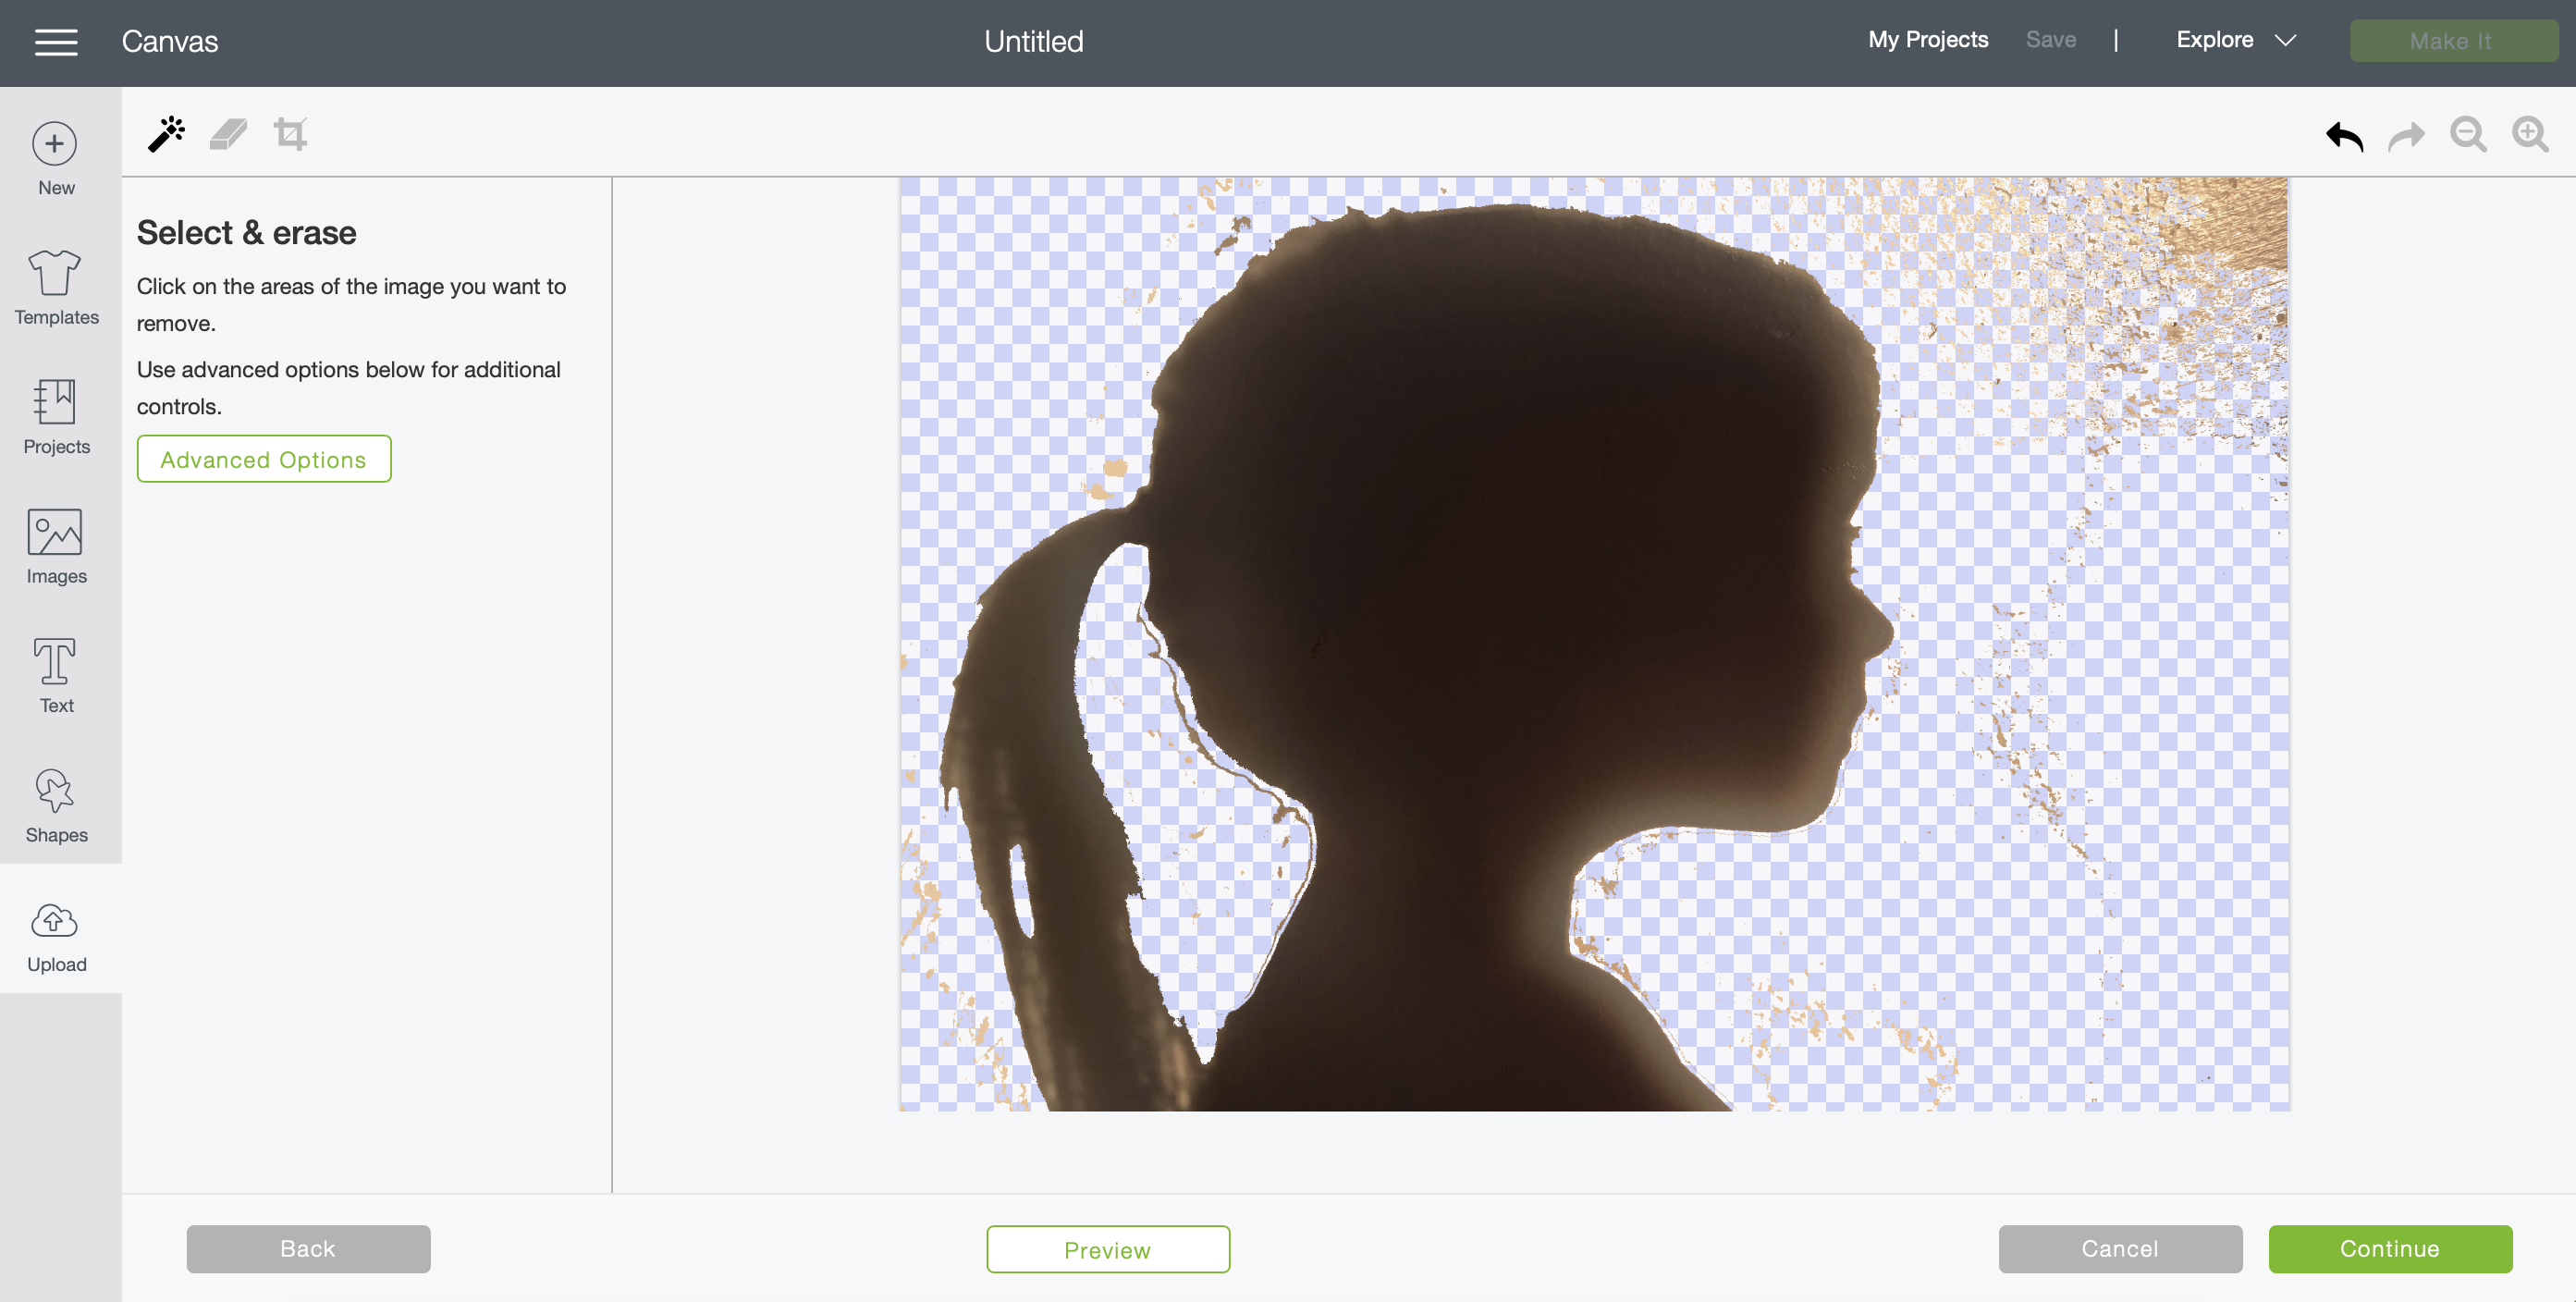
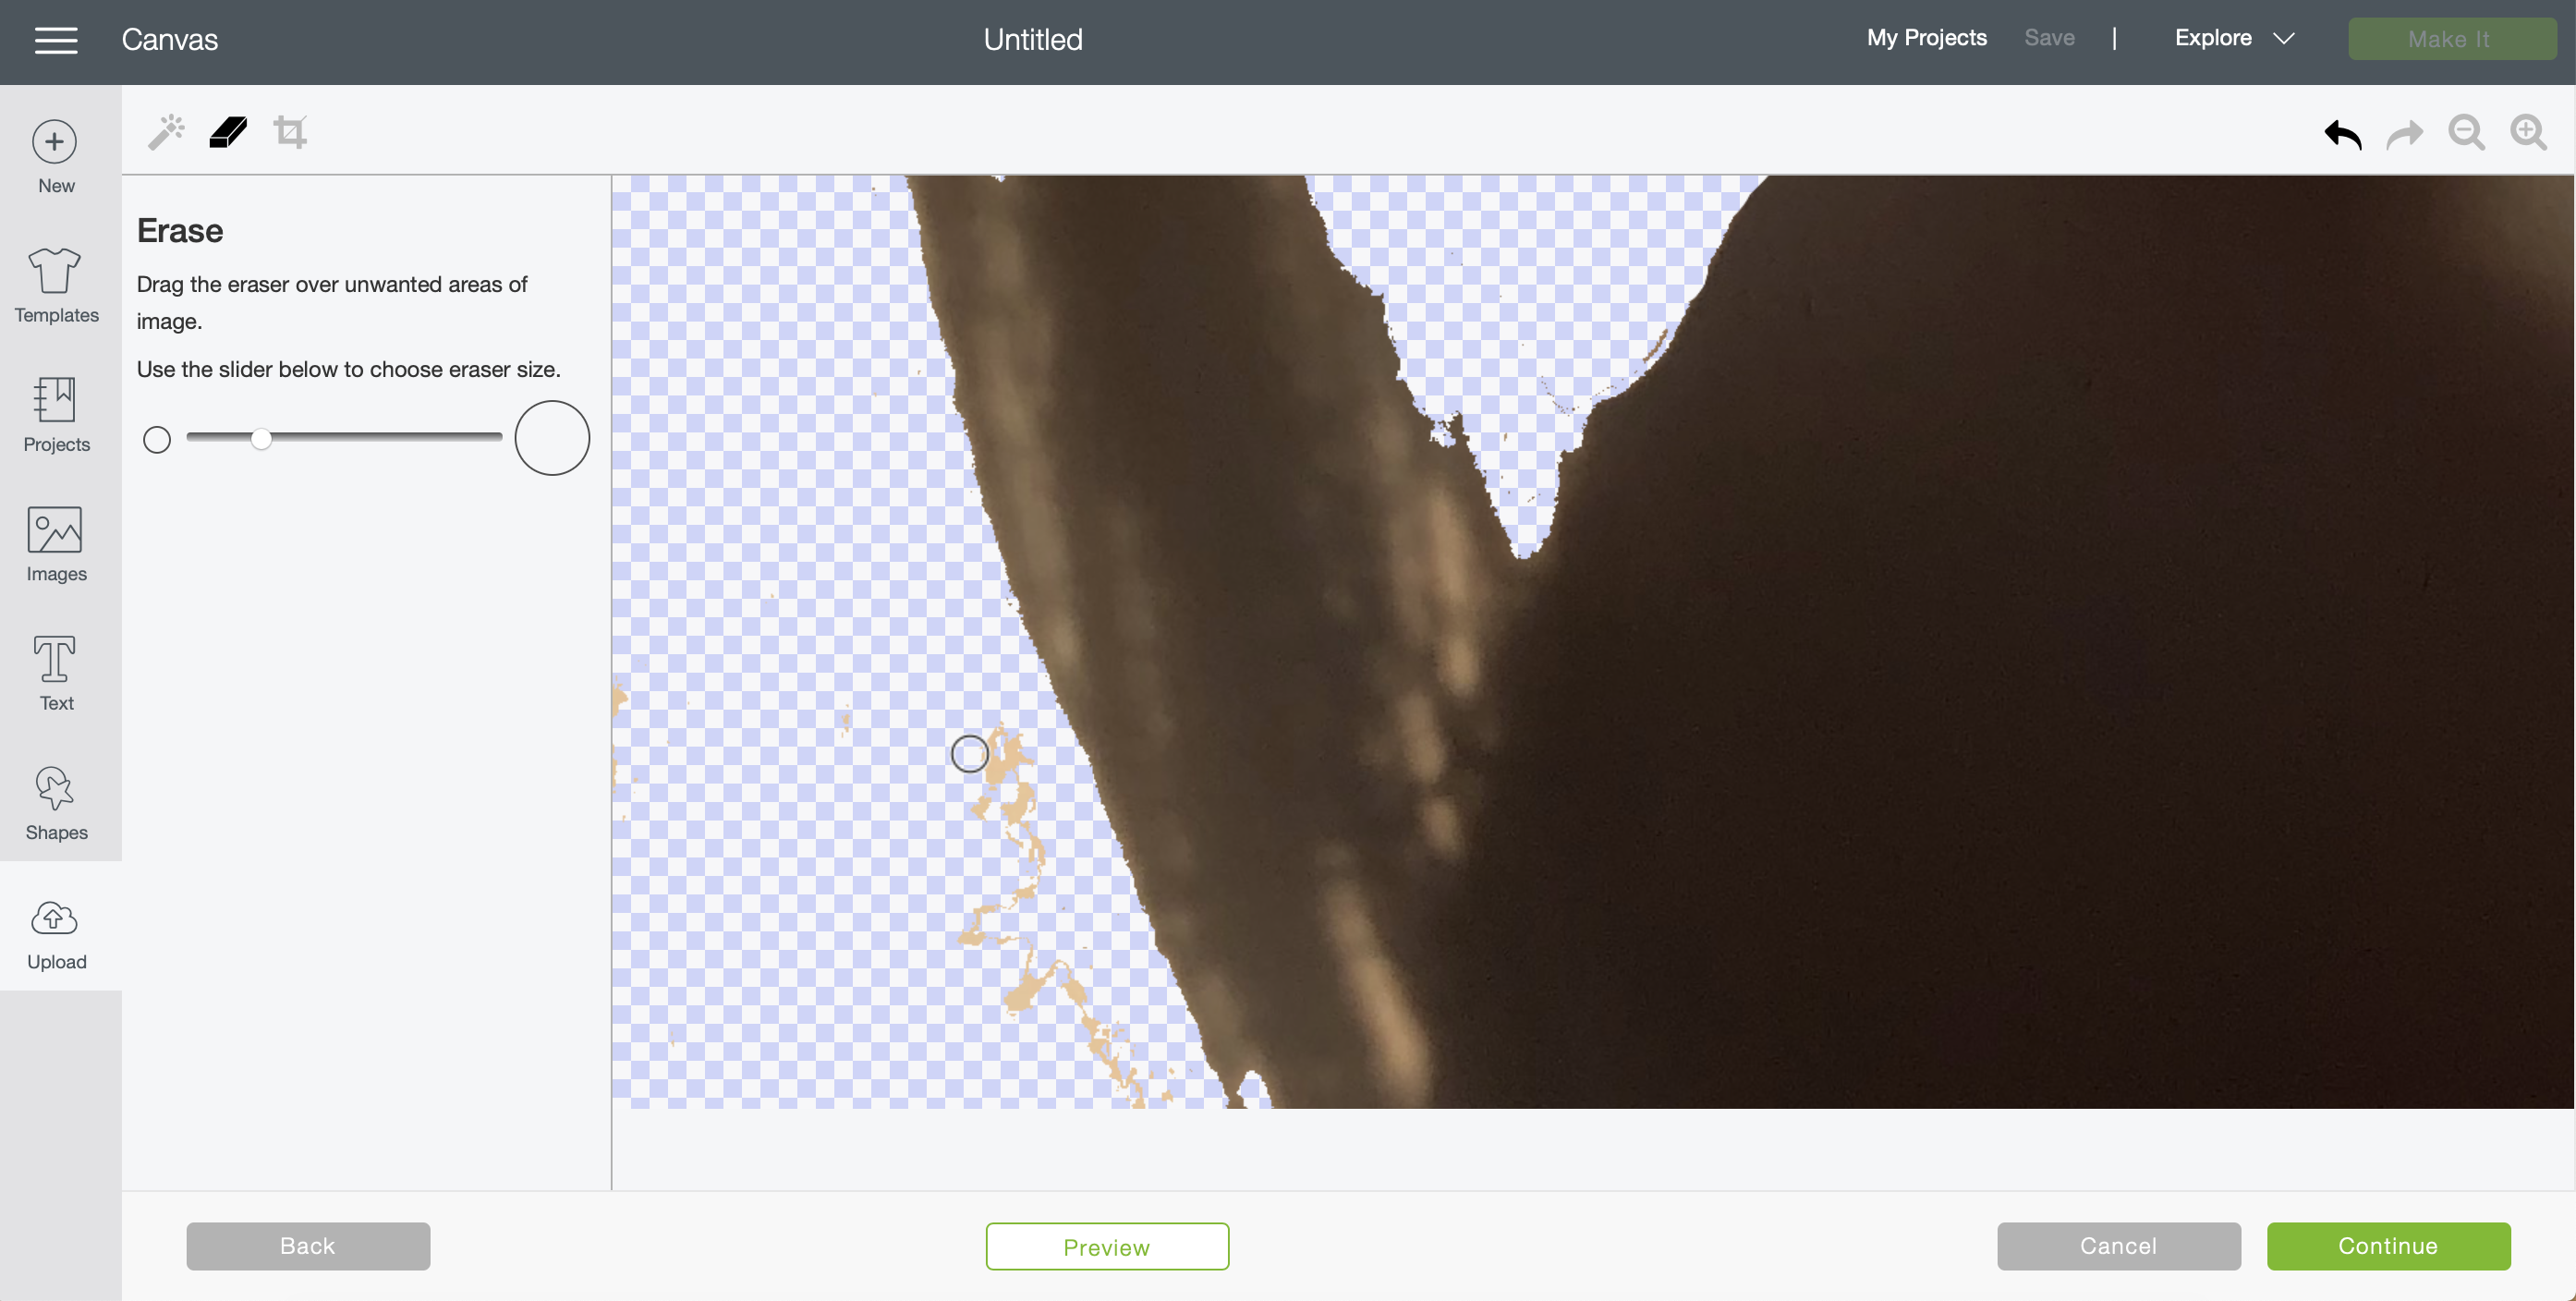
- You can then zoom in and use the eraser feature to get rid and clean up the fine detail.
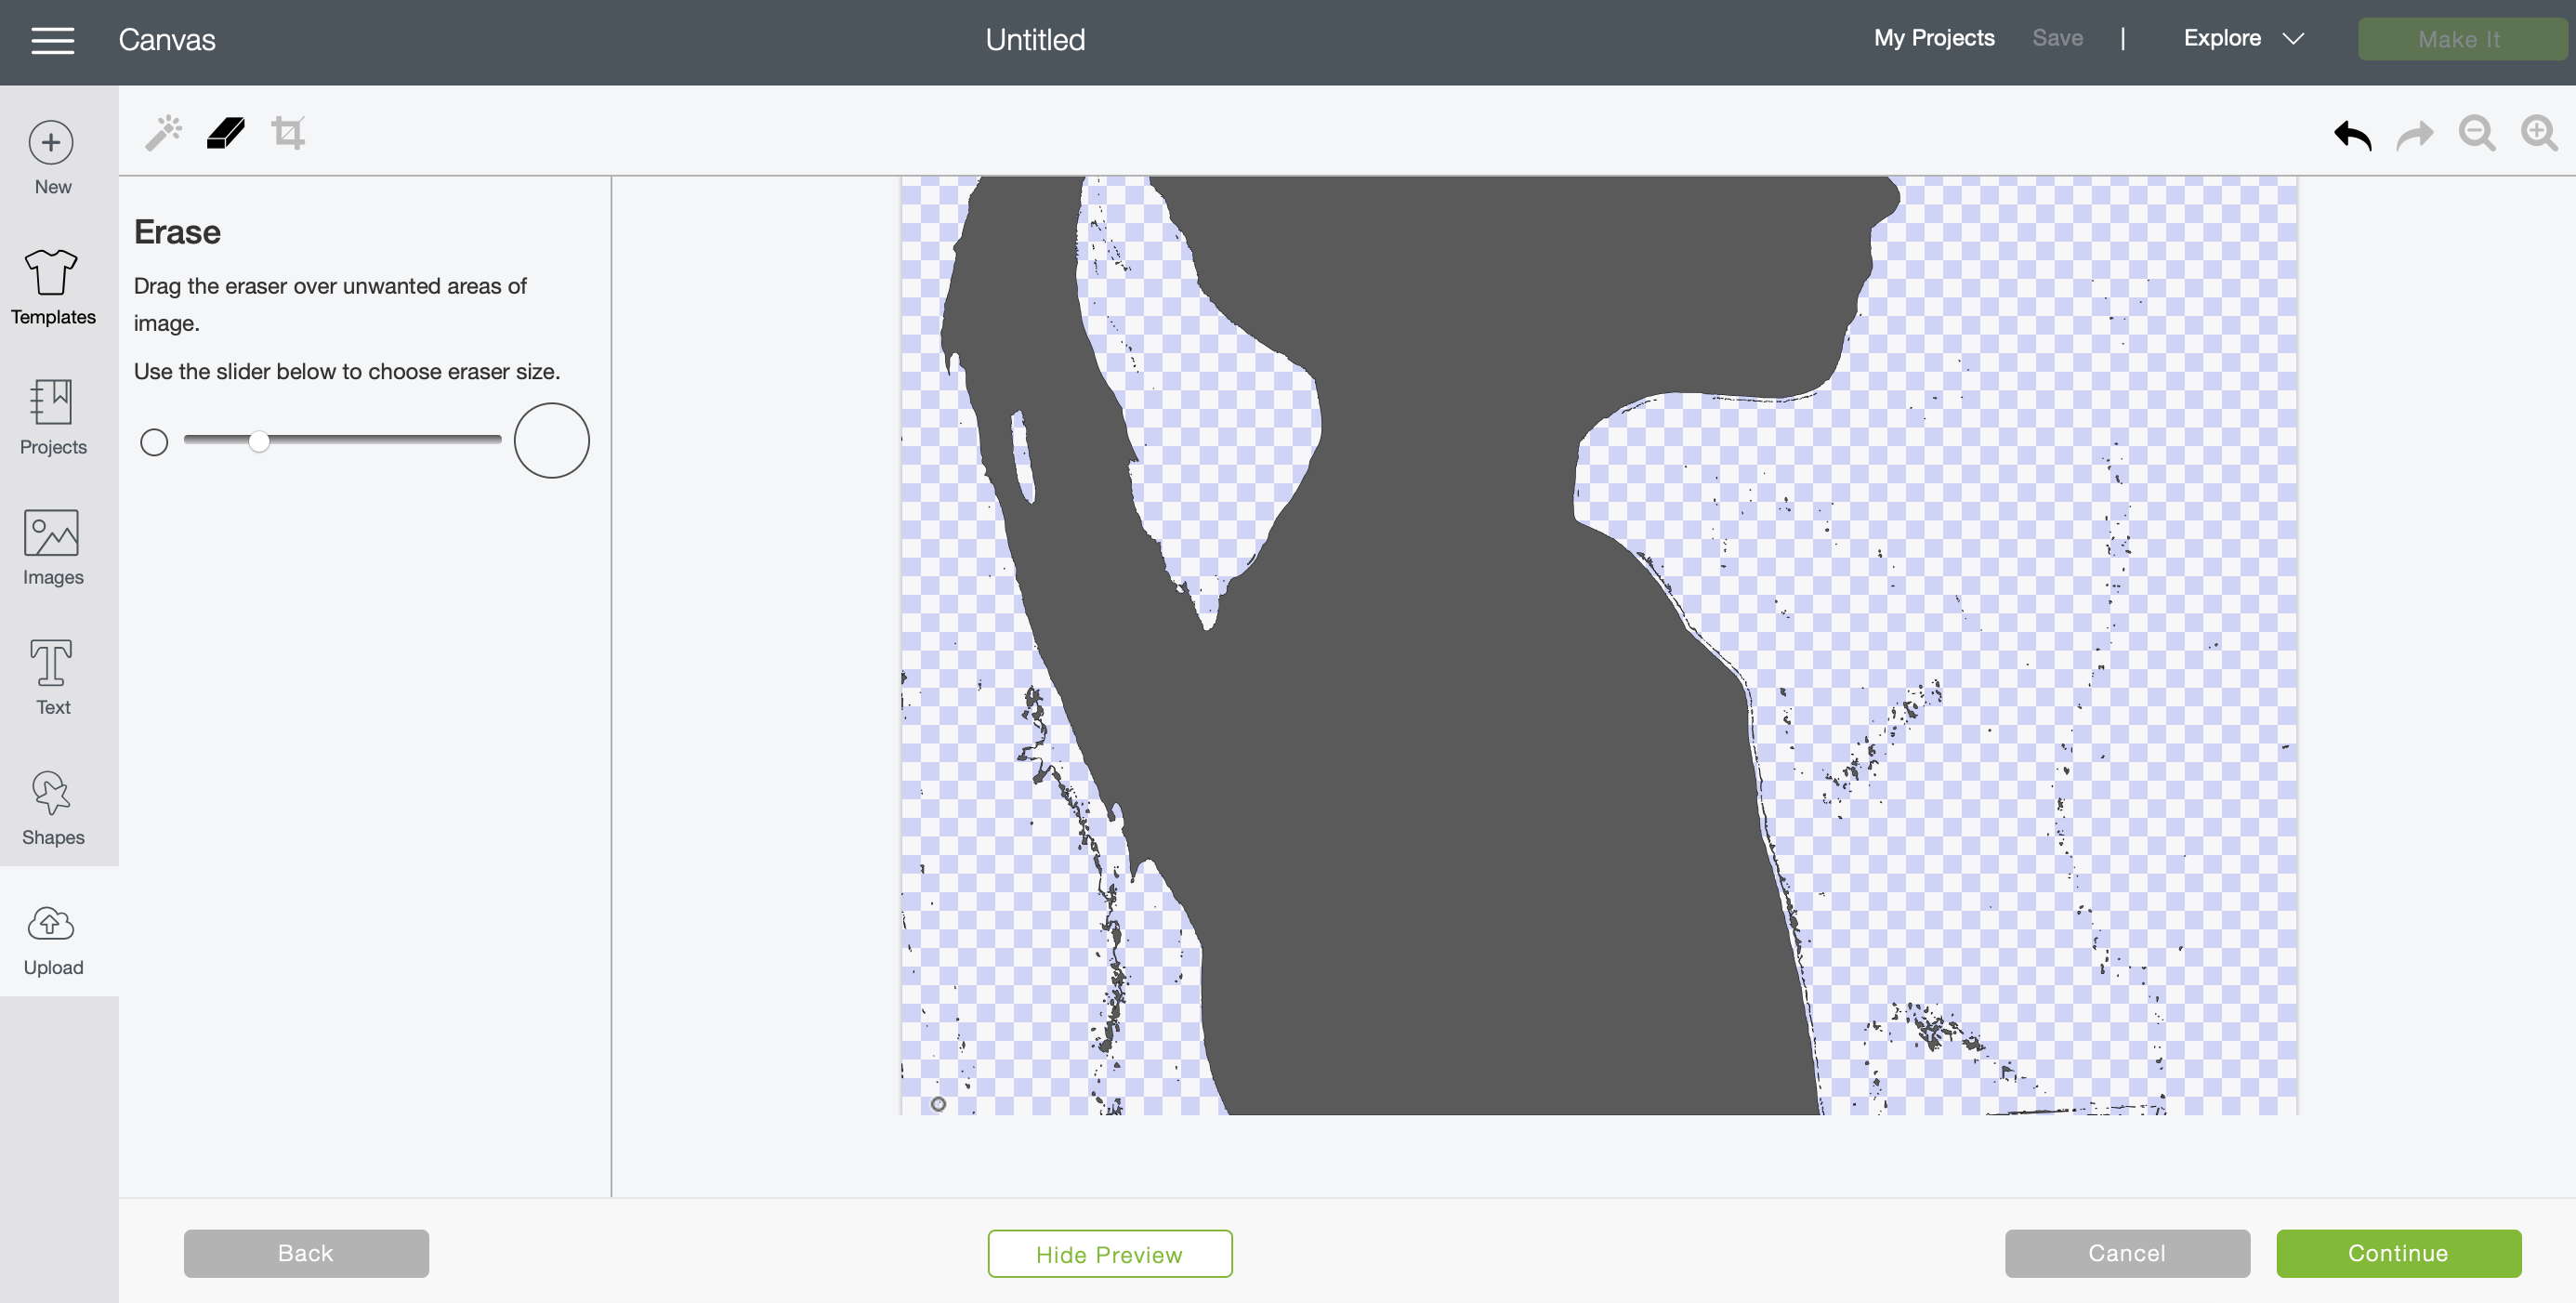
- When you hit preview it will show you what your cut file will look like. You then can erase any little black spots you see that it will cut and you don’t want them too.
- Once your finished and your happy with the preview, then continue and save as a cut file.
- It will be saved into your images on Design space and from there is where you upload it to a project and size it and add any embellishments you would like to it.
- Once you have it where you want it then finish it like any other Cricut project by clicking, Make it and load your mat.
I chose to cut mine on black permanent Vinyl. But you could also use iron on to create pillows, blankets or other gifts.
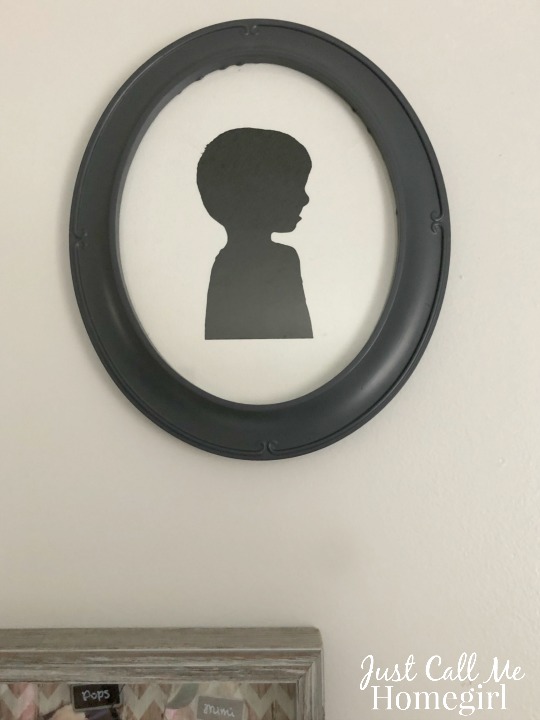
Once it’s done cutting, weed and then place where you want it.
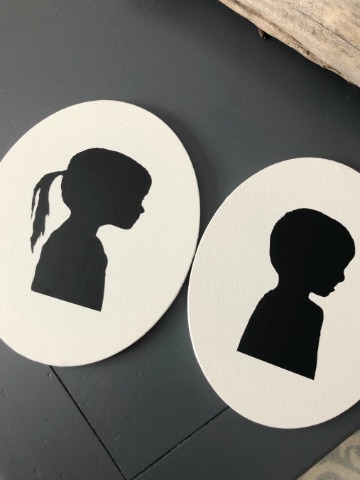
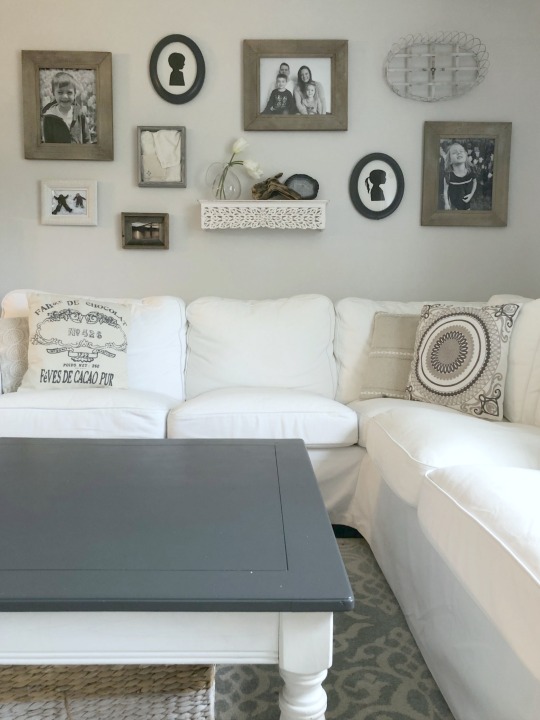
I chose 2 oval canvases and put them in frames I found and painted from Hobby Lobby.
That’s it.
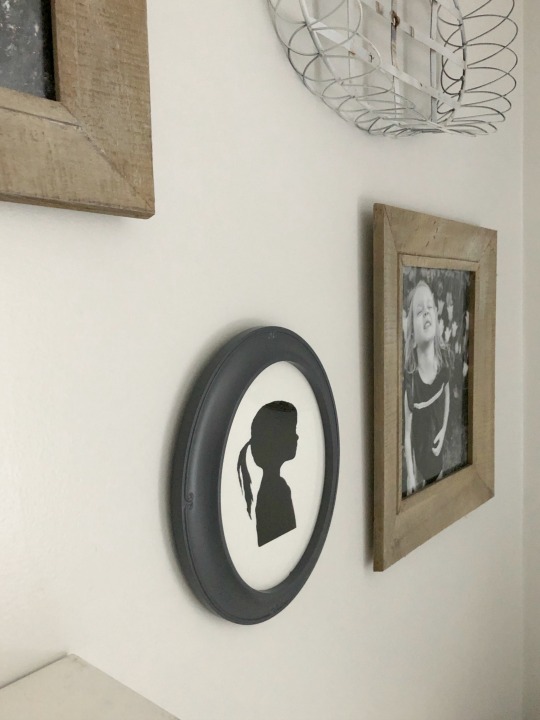
I treasure these so much and I think they look exactly like my kids. I added them to my newest gallery wall and they look fantastic.
These would also make great gifts for grandparents or size them to go into a locket or jewelry. Endless possibilities!

How adorable is that! Just too cute and sweet. What a lovely memory for when they have children and are able to show them their own silhouette! Great job Mom!
How did you get the file in design space? When I take a photo it is some weird file type that isn’t supported by design space. Did you use an svg convertor? If so, I’d love to know which one.
In Design Space you can upload a jpg or png. If you’re taking a picture with your phone it should be one of these.