As you can see with the boots in this picture when the kids come in from the snow their snow gear gets thrown in front of our wood stove. Which is a great place, but should be hanging and out of the way.
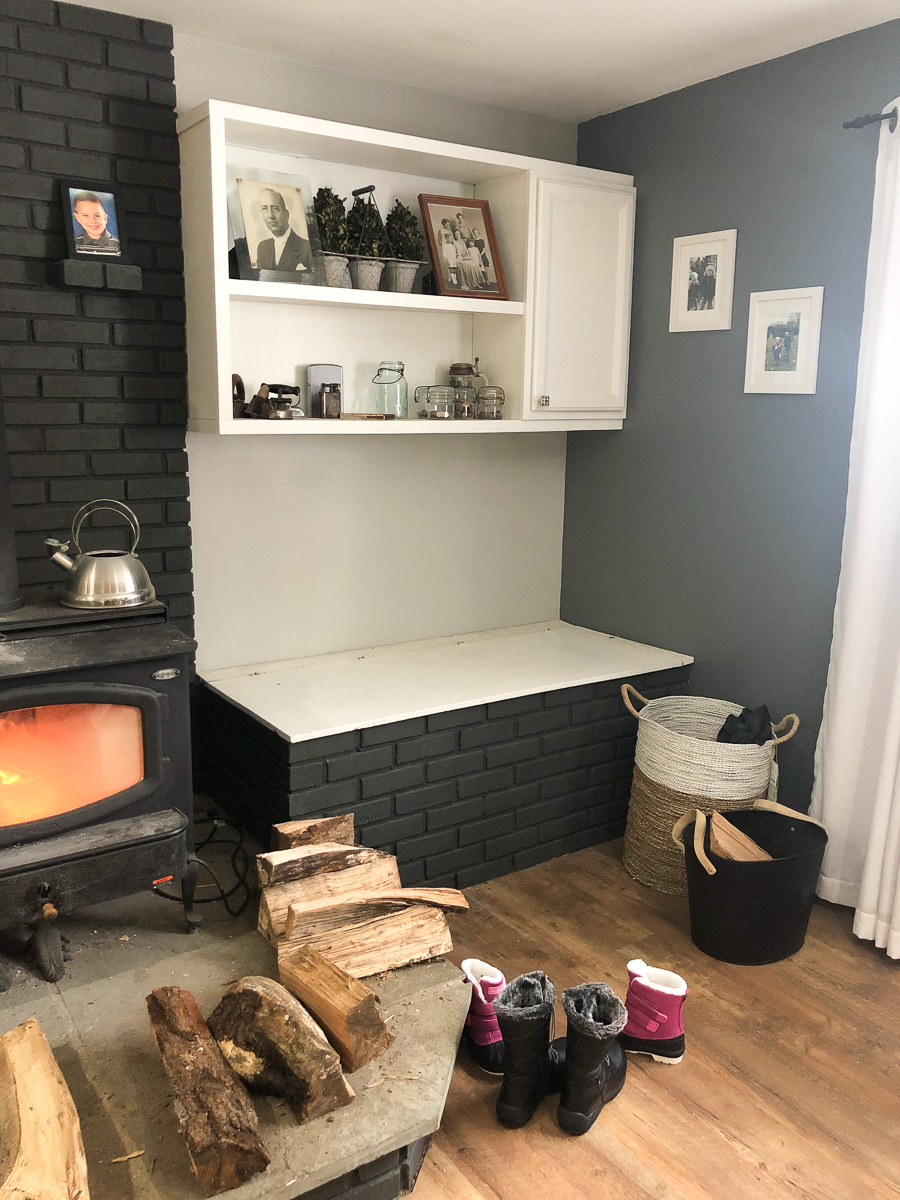
Yes I could just purchase a drying rack, but then it I would have to put it up and down and most likely be in the way.
But I noticed some unused space Just above our wood storage and thought a peg rail would be perfect there.
I had some leftover dowel from the small peg rail I made in our dining room and I also had some board remnants leftover from the board and batten I did in the hallway. Which I thought would look nice to add to the rail so the whole side of the wood stove looked like one unit.

First I made the peg rail. Cut the 1/2″ dowel to around 4″. I basically just measured to see how many I could get and cut them evenly.
I then lined them up and used wood glue to adhere them to the 1×4 top board. I let it dry before I continued.

Using my nail gun I nailed the board onto the wall and then used the 1x2s to trim out the area and added the battens in the inside.
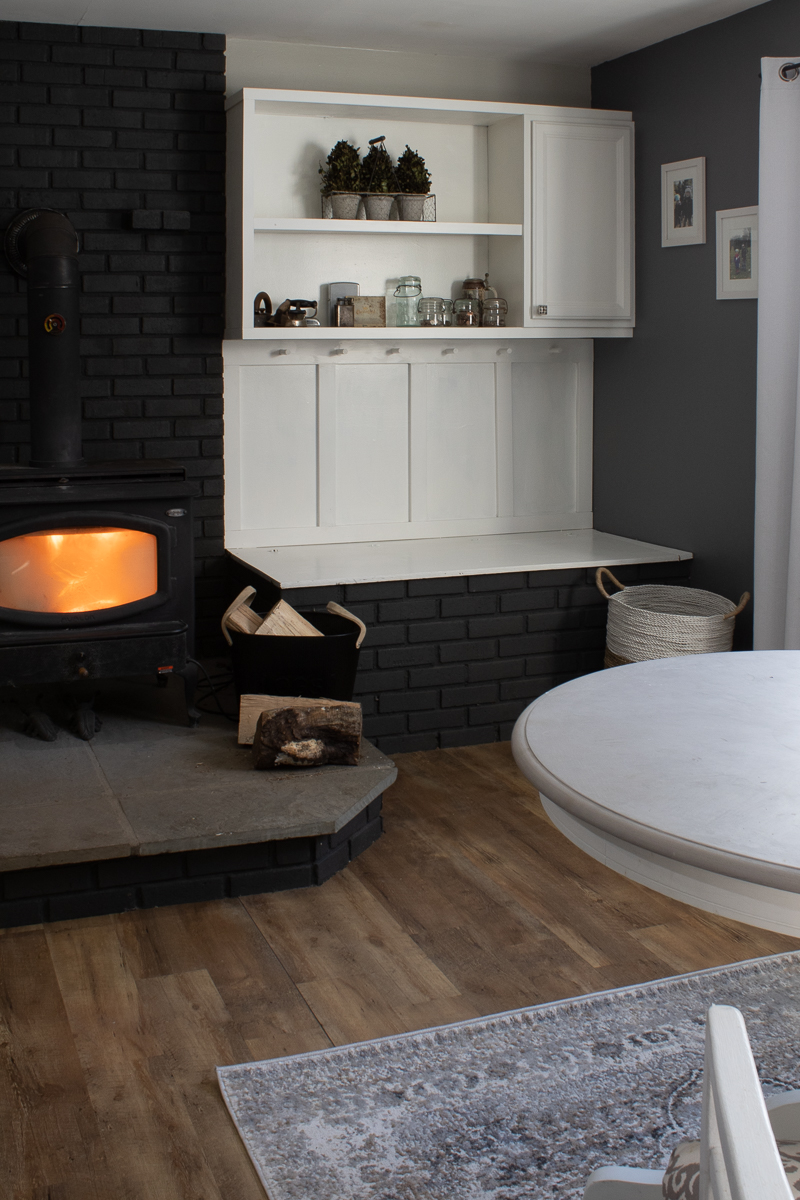
I painted everything white to make it look like the whole area was one unit.
I love the way it came out. Now when the kids come in from playing in the snow there won’t be a huge pile on the floor and items will actually dry.
Supplies
Some of the following links are Affiliate links. Click here to see my full disclosure.