The day we closed on our home 9 years ago, we were doing the final walkthrough and I did a double take at the mailbox. The mailbox was attached to a log. A literal log.
The seller said “Sorry about the mailbox, the girl scouts came then backed into it.” Little did I know this would be the story of my life.
Our first trip to the home store, we found the the cheapest metal mailbox and metal post. We put it in the ground – the only way we knew how – digging a hole and sticking it in. No cement.
Well over the next 9 years our mailbox keeps getting hit, because people just don’t know how to back up out of our driveway, even though it’s mostly straight.
Now our mailbox is leaning, rusting and looking pretty sad. Time for a new one, with more landscaping to hopefully deter drivers from running over our mailbox.
Some of the following links are Affiliate links. Click here to see my full disclosure.
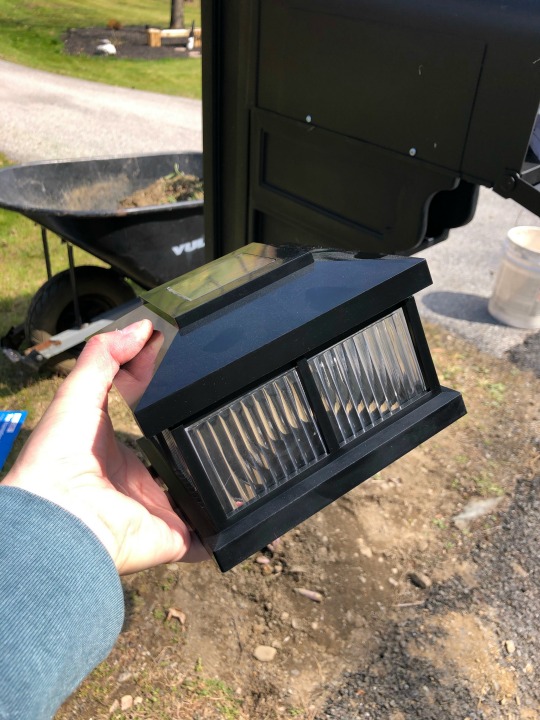
I am partnering with Mayne for this post and I picked out a beautiful mailbox post with a solar light cap on top, which is a great option because our road is DARK. No street lights, only one neighbor has a light post so this gives us a little something when we take the garbages up when it gets dark at 4pm.
I had the mailbox in my office waiting for the weather to be nice enough to dig…well someone came last week to drop off food and I looked out and they were holding our mailbox in their hand. Totally ripped it off the post.
Time to put up the new one!
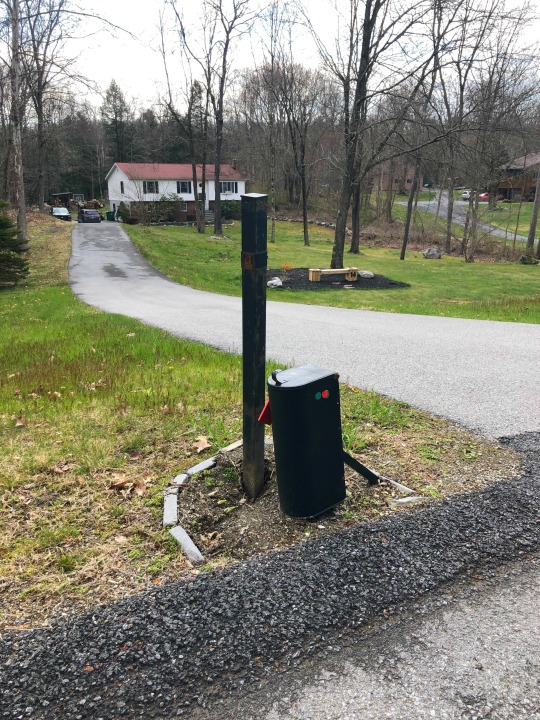
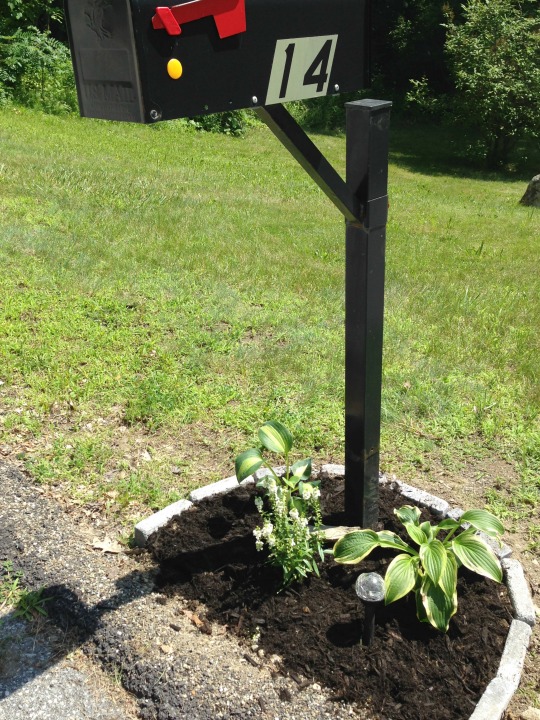
Here is our little guy all rusty and battered. I attempted landscaping a few years ago, but of course the bricks were constantly being backed over and smushed into the ground and our plants were trampled.
Time to put in the new one and put it in correctly!
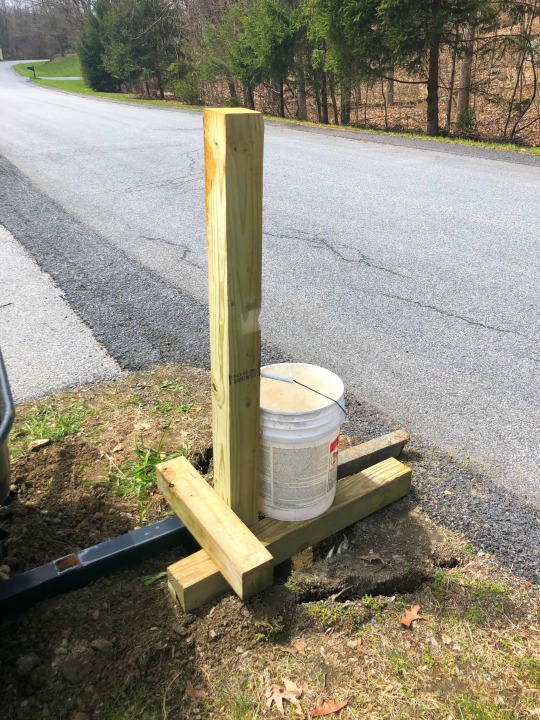
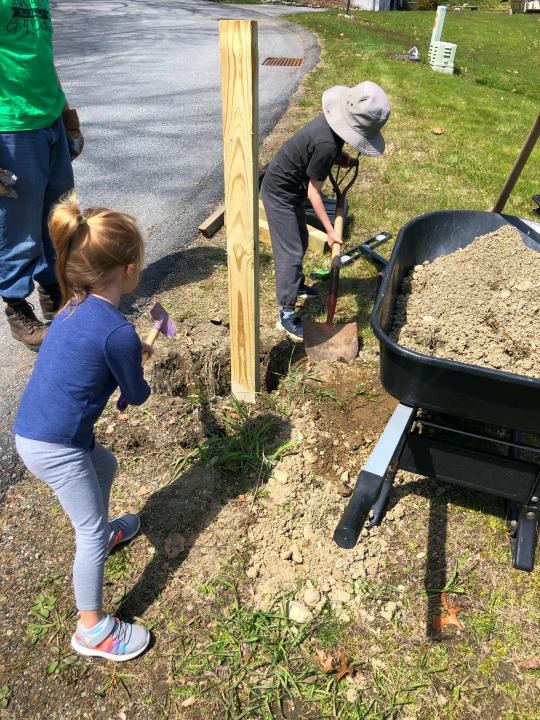
The first thing we did was dig a proper hole to actually secure the 4×4 into the ground with concrete. You need to put the post at least a 1/3 of the height of the pole. we had a 6′ pole so we dug 2′ down.
Once the pole was level I dumped in water and then the concrete mix. It was a quick set so it only needed 30 minutes but we waited a few hours.
The kids helped to fill in the rest of the hole and it was time to slide the post right over the pole. It went on easily with no force, it was level and looked so good.
I attached the arm of the post where the mailbox will sit. I predrilled holes to make it easier and the screws and bolts went in with ease. It even comes with screw caps for a finished look.

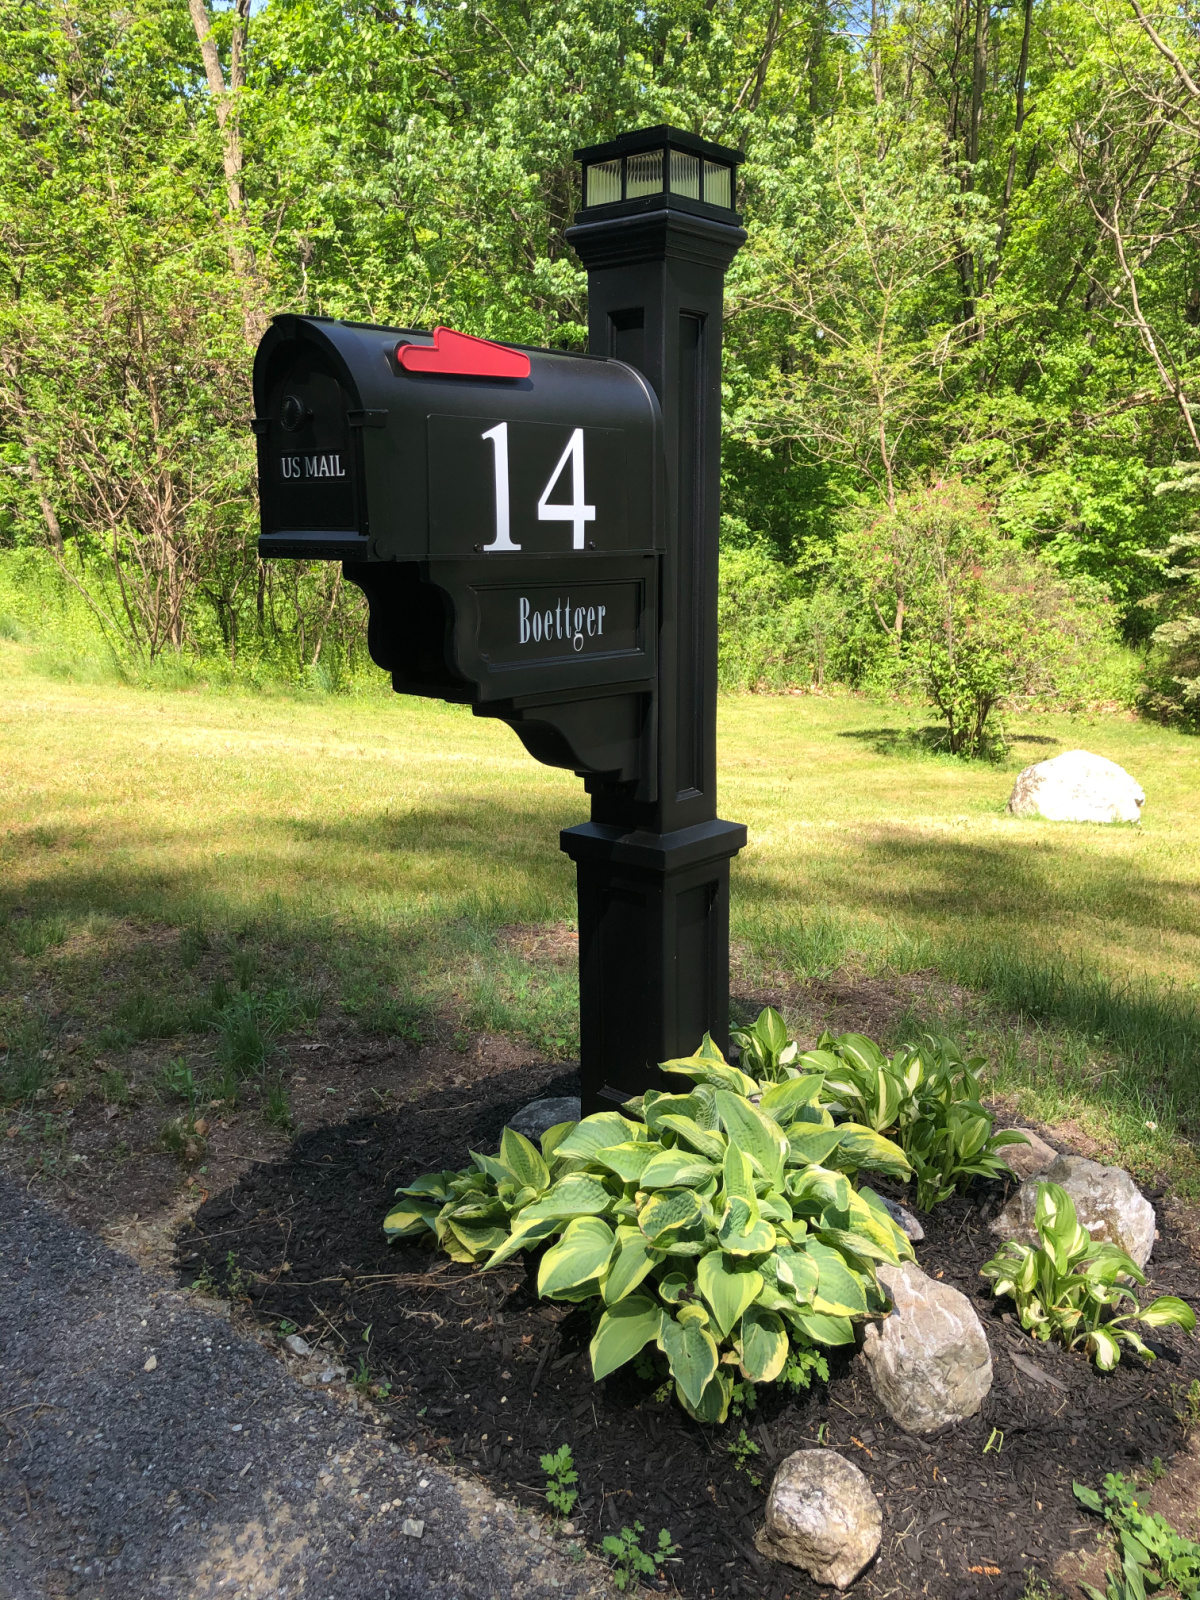
Mayne doesn’t make the actual mailbox so I picked up this mailbox that matches perfectly. Also it’s bigger so it holds more packages! The last piece was the solar cap!
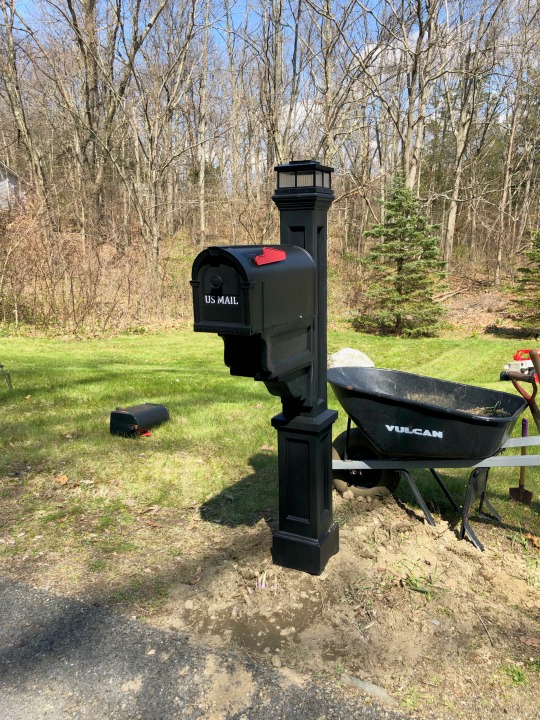
I also personalized the mailbox with our number and name using outdoor vinyl with my Cricut!
Supplies Used:
I love how this turned out and it was so easy! This time for the landscape I made sure to add large rocks all around the post so if a car does go near the mailbox they will feel the large rocks before they hit the actual pole!