
If you follow me on Instagram, you would have seen that I recently created a headboard on my daughters bed. You can see how I did it in my Instagram Highlights.
I wanted to add something a little different and a little more personalized to her headboard, and I immediately thought of putting her name on it. Since she’s only 3 you can never have to many opportunities to teach name recognition.
This is a sponsored conversation written by me on behalf of Cricut. The opinions and text are all mine.
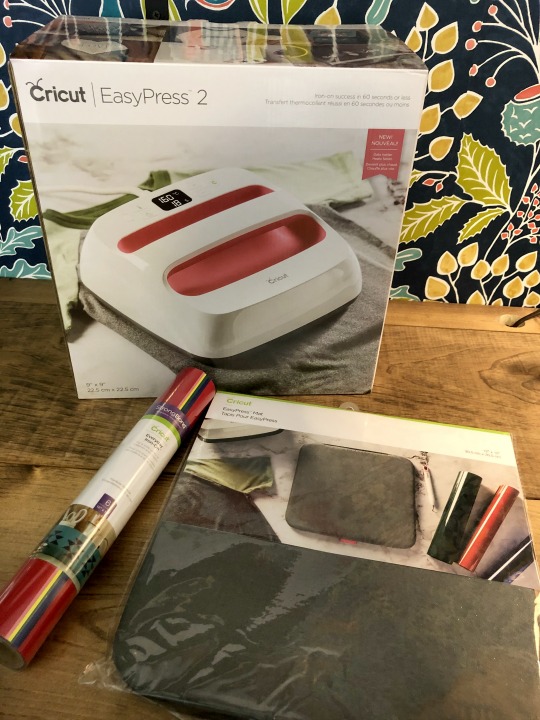
Since I have recently become a Cricut Brand Ambassador, I knew that using the EasyPress 2 to adhere her name would be a great simple project to test it out.
To create her name I simply went into Cricut’s Design Space and designed her name. I wanted it clear for her to read so I went with a simple font.
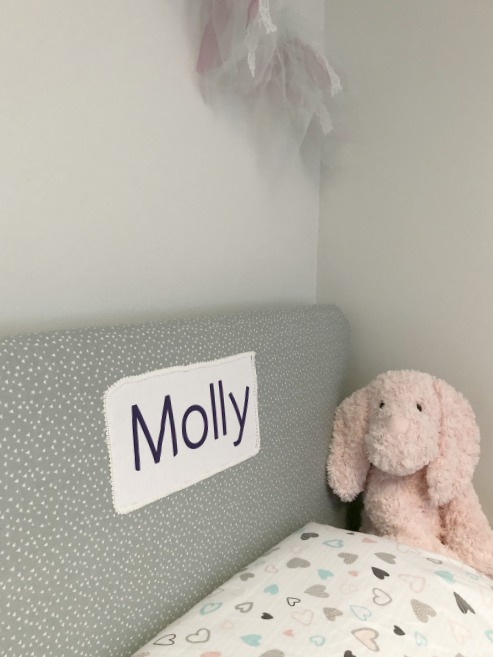
Molly’s favorite colors are pink and purple so I chose to go with Cricut’s Everyday Iron-on vinyl in Purple to pop off the gray headboard but go with the purple already in her room.
I didn’t want to place her name directly on the headboard because, well, what if it didn’t work out, and because I wanted to give a little more interest and dimension. So I looked through my scraps and found a white linen remnant and decided I would put her name on that and adhere that to the headboard.
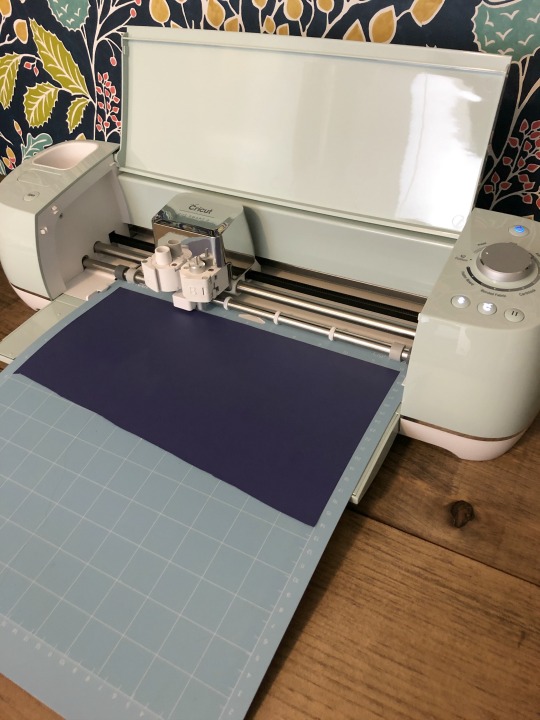
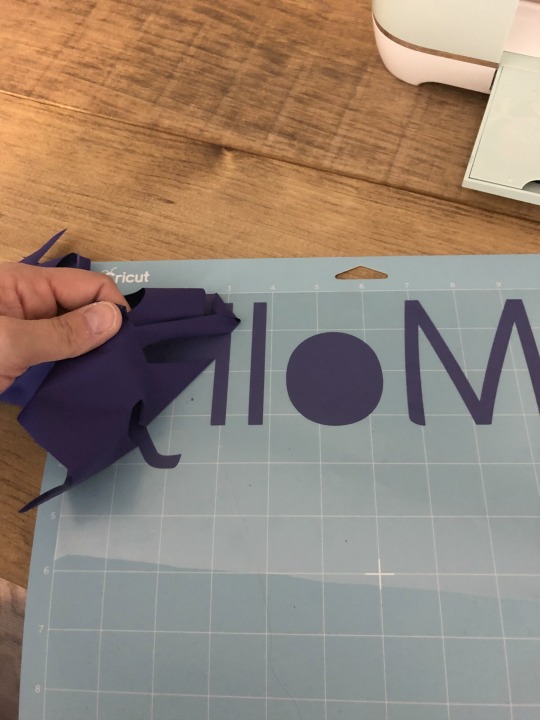
I used the Cricut Explore Air 2 to cut out the Iron on vinyl and removed it using the instructions . Isn’t it so satisfying pealing off the vinyl?
To set the temperature and how many seconds you need to press it for, Cricut has a great guide. You choose your material and you’re iron on material on the page and it will give you the exact temperature to heat the EasyPress to and for how long to press it for. It’s so user friendly!

I turned on the EasyPress 2 and set it to the temperature the guide instructed until it turned green to indicate it reached the correct temperature.

You always need to preheat the material you will be putting the vinyl on for a few seconds. It helps take away the wrinkles as well as any moisture.
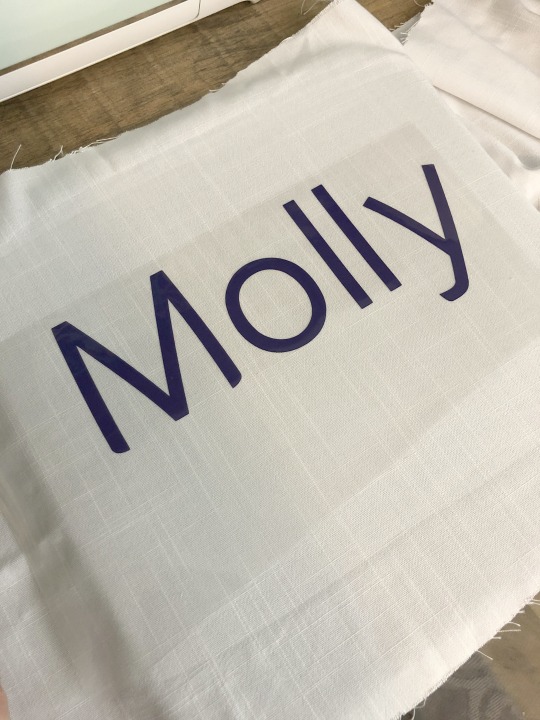
Once it was heated, I laid the iron on down, and pressed for the allotted time. The guide also stated that it should be a warm removal of the protective piece. So I waited for it to cool slightly and started to slowly peel it off.

I worked! How easy! I have used iron on paper before with a typically household iron but this was way easier. For one, the EasyPress 2 is large. So it covers a huge area if not the whole project. Second, it gives you the count down timer so you don’t have to second guess yourself. Plus, the handy tray to set it down is nice as well because it makes it sturdy and you don’t have to worry about it.
I used spray adhesive to attach it to the headboard and to clean up the ends I placed trim I had laying around with some hot glue and the was it!
It’s a sweet addition to her new headboard that she loves!
Now of course my son told me he wants one…so I guess I need to get on it.
My overall impression of the EasyPress 2 is great. It’s easy to use, kind of foolproof since they give you everything you need to know and I can see myself using this to personalize a ton of things. Especially for gifts!
Do you have one yet? What kind things do you like to use it on?
