

This is a sponsored post written by me on behalf of Cricut for Cricut. All opinions are 100% mine.
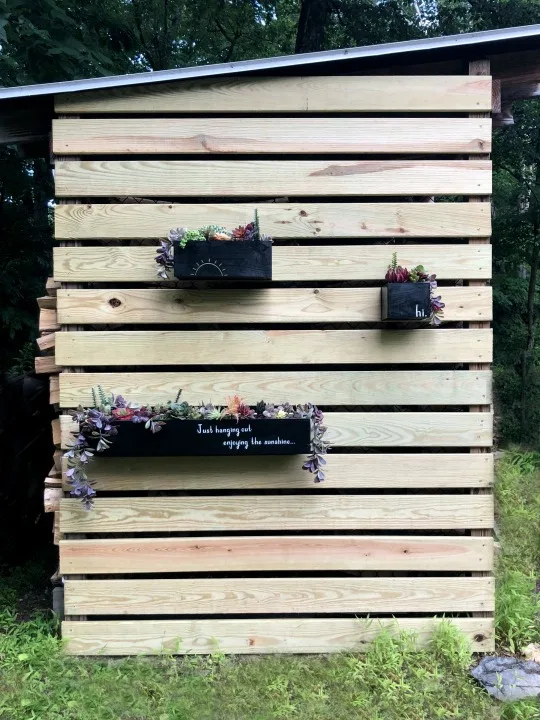
This woodshed has been an eye sore for a few years now. It’s the first thing you see when you drive up to our home and it was ugly.
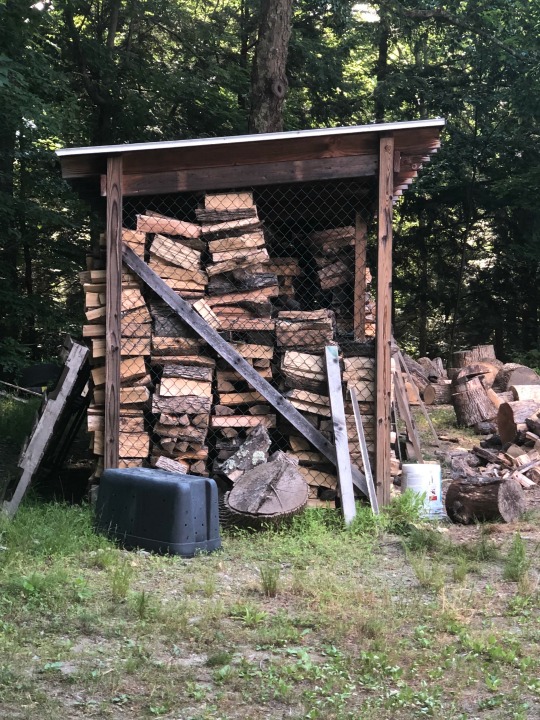

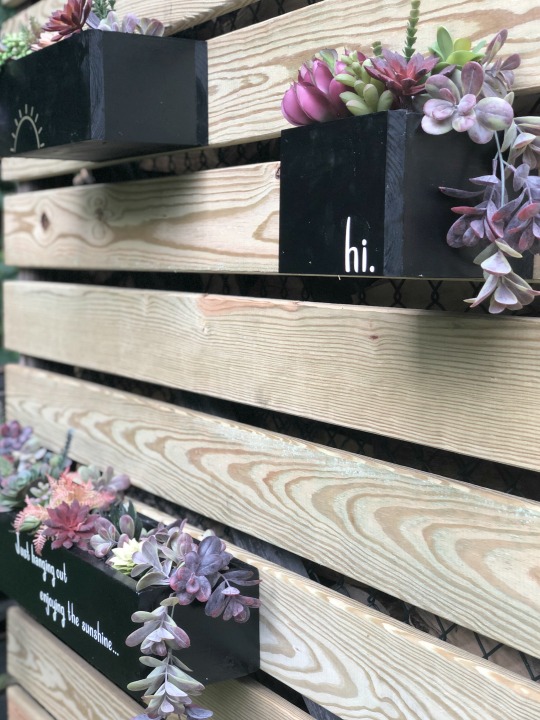
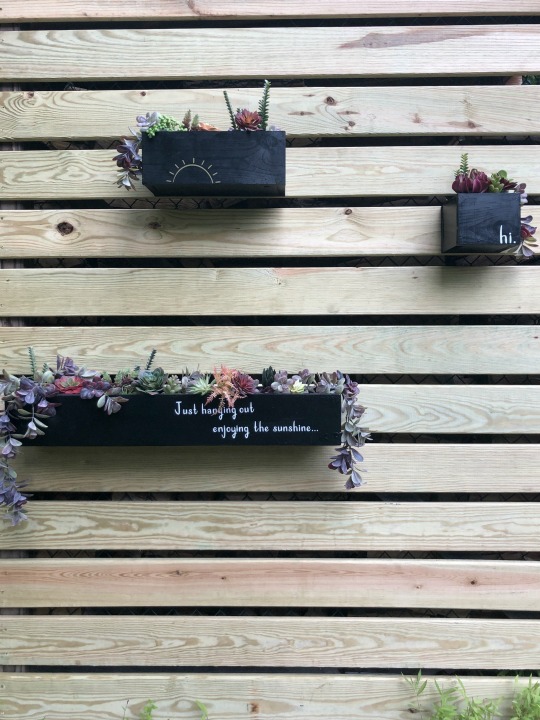
I had an idea to create a wood slat wall to cover it up, and then create some hanging planters to make it pretty…and I did! I can’t wait to show you!
If you follow me on Instagram you might have seen my time-lapse of putting up this wall. It was really simple and makes a huge impact. But like I said, I wanted to make it pretty.

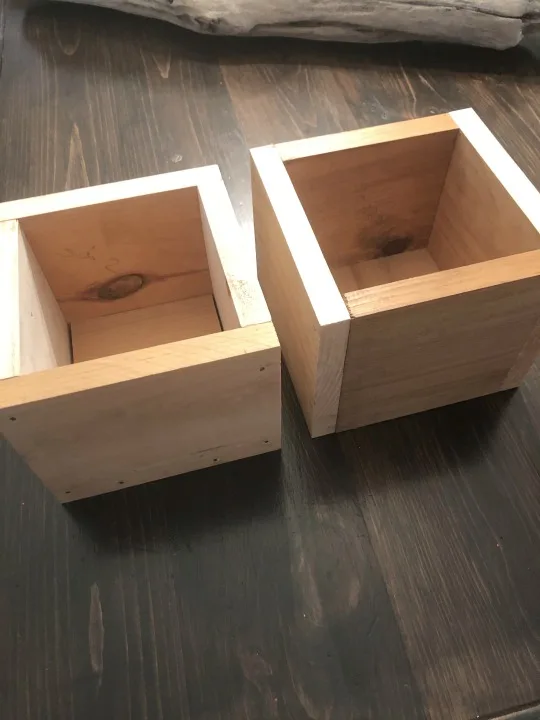
For the planters I built a few boxes out of scrap wood using my table saw and some finishing nails and then painted them black with outdoor acrylic paint.
They turned out great and I purchased some beautiful faux succulents to put in them. Low maintenance plants are my favorite and you can’t get more low maintenance than faux!

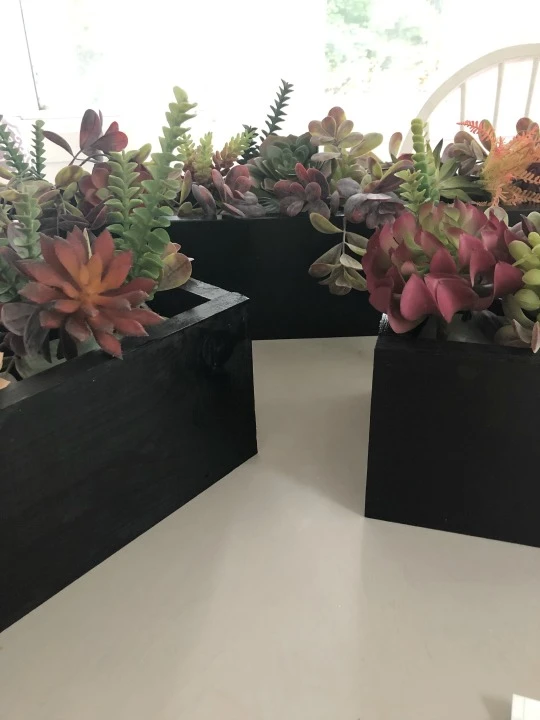
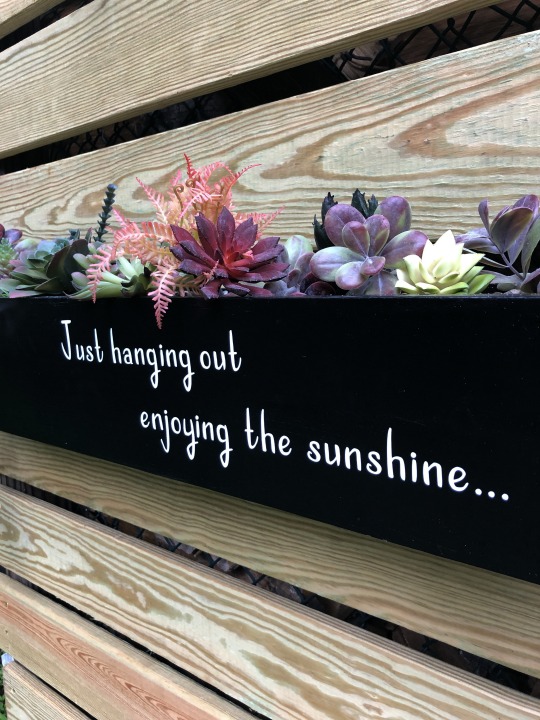
They were pretty but they needed a little something.
Affiliate links are used in this post. See full disclosure here.
That little something turned out to be my Cricut Explore Air 2. I have told you about this machine before. How I was a little hesitant to use it when I first received it, but now I am creating items weekly. You can see a few past projects on my Cricut page here.
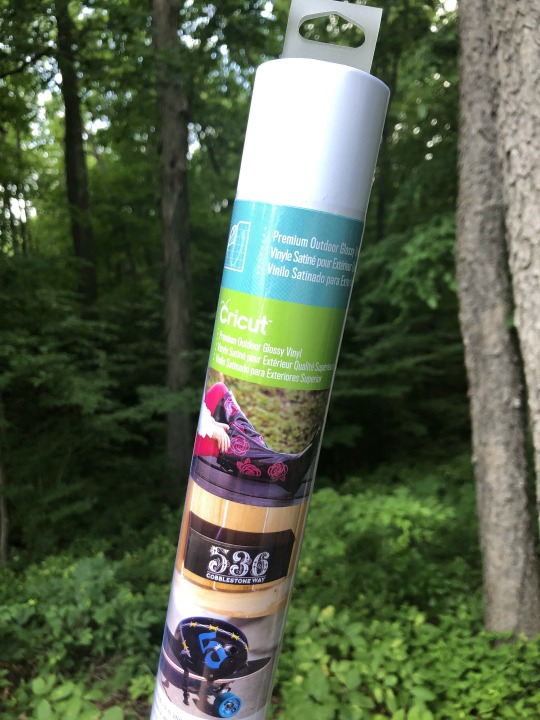

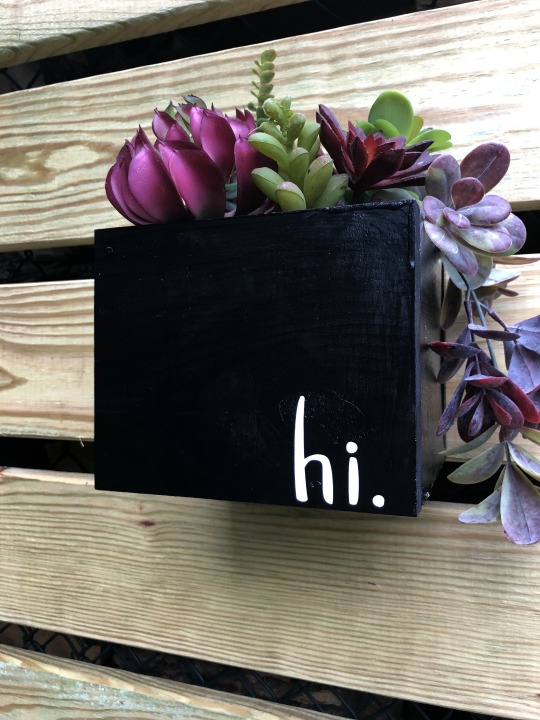
For my planters, I used Premium Outdoor Glossy Vinyl in white. The Explore Air 2 cut the phrases and image I wanted for my planters seamlessly.
The Explore Air 2 is such a great and versatile machine. It accurately cuts over a hundred materials including: iron on, vinyl, paper, cork, bonded fabric, aluminum foil, canvas, felt, faux leather (paper thin), wood veneer, wrapping paper, wax paper and more! See full list here.

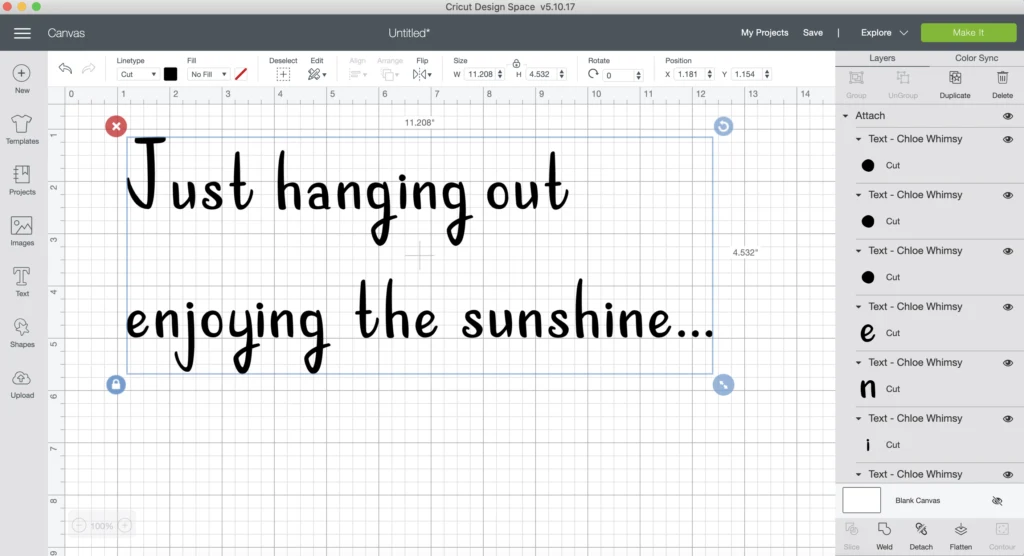
For the phrase I wanted, the Design Space App makes it easy to create and search for the font you want. I actually started this project on my phone, through the app then opened up on my computer to finish and add a few things! Cricut has many fonts to choose from for free or if you wanted more you can purchase them separately or become a Cricut Access member and save even more!
I went with the font, Chloe Whimsy because I felt like it had a laid back, just hanging out vibe, perfect for my planters.
Choosing an image was also easy in Design Space. I simply searched for “sun”, sized it, and that was it!
You can access my saved project here and create your own
Before I send materials through the Explore Air 2, I always try to cut it as close to the size I need with my Cricut portable trimmer. I never want to waste any material no matter the size because I never know when I would just need a small piece!
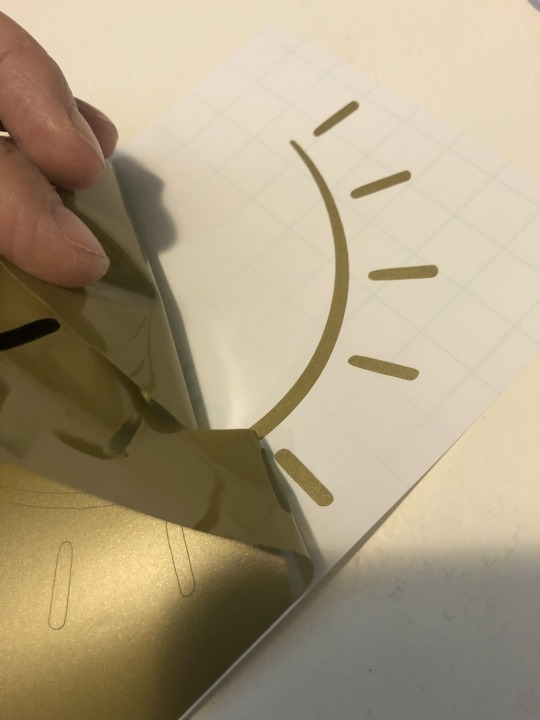

Weeding is one of my favorite things to do after cutting vinyl. Isn’t it so satisfying?
After adhering the transfer tape to the vinyl, I simply transferred the vinyl to the planters with my scraper where I wanted them.
You guys. They turned out so cute and I am now obsessed with my wall! Isn’t she lovely?! Such a better sight to see when you come down our driveway don’t you think?

With the Cricut Explore Air 2 there are so many projects you can create. That’s why it has such great value for your investment! I have used it to create cards, gifts – sooo many gifts, shirts, labels, decor, decals, Valentines and more – it actually saves me money!

Trust me if you are on the fence about purchasing one, you won’t be disappointed. You will be creating everything you dream about!
For even more inspiration with what you can create with Cricut for your home go to: http://inspiration.cricut.com


Caye Cooper
Tuesday 14th of July 2020
Exceptionally cute!!! What a great job.